3D + Motion Deisgn
In this section, I show how I merge my 3D environments with dynamic motion graphics, highlighting the way both elements interact to create energetic and cohesive visuals.
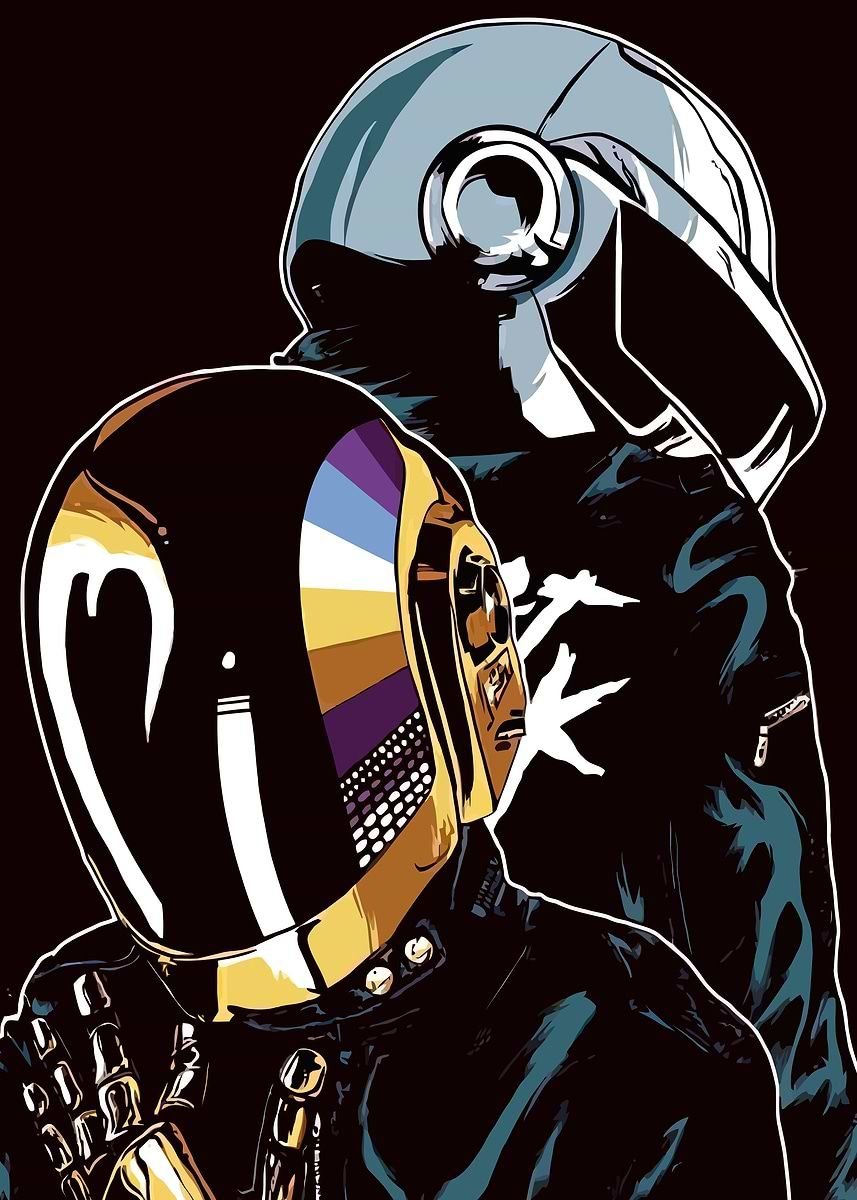
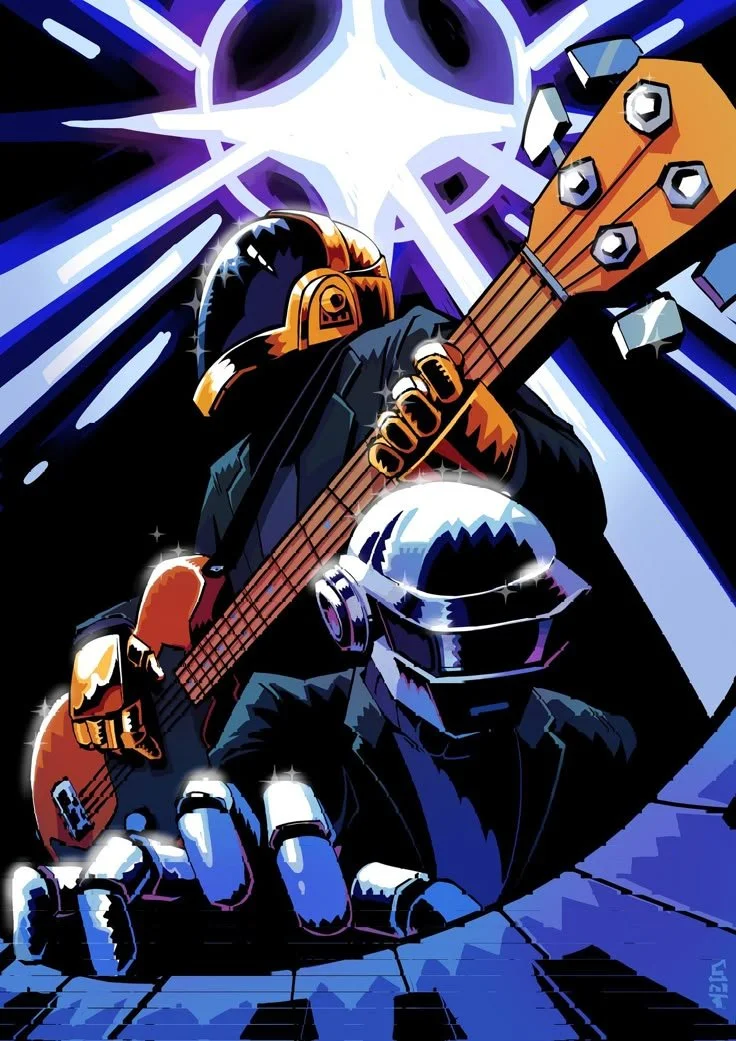
FACE TO FACE - DAFT PUNK

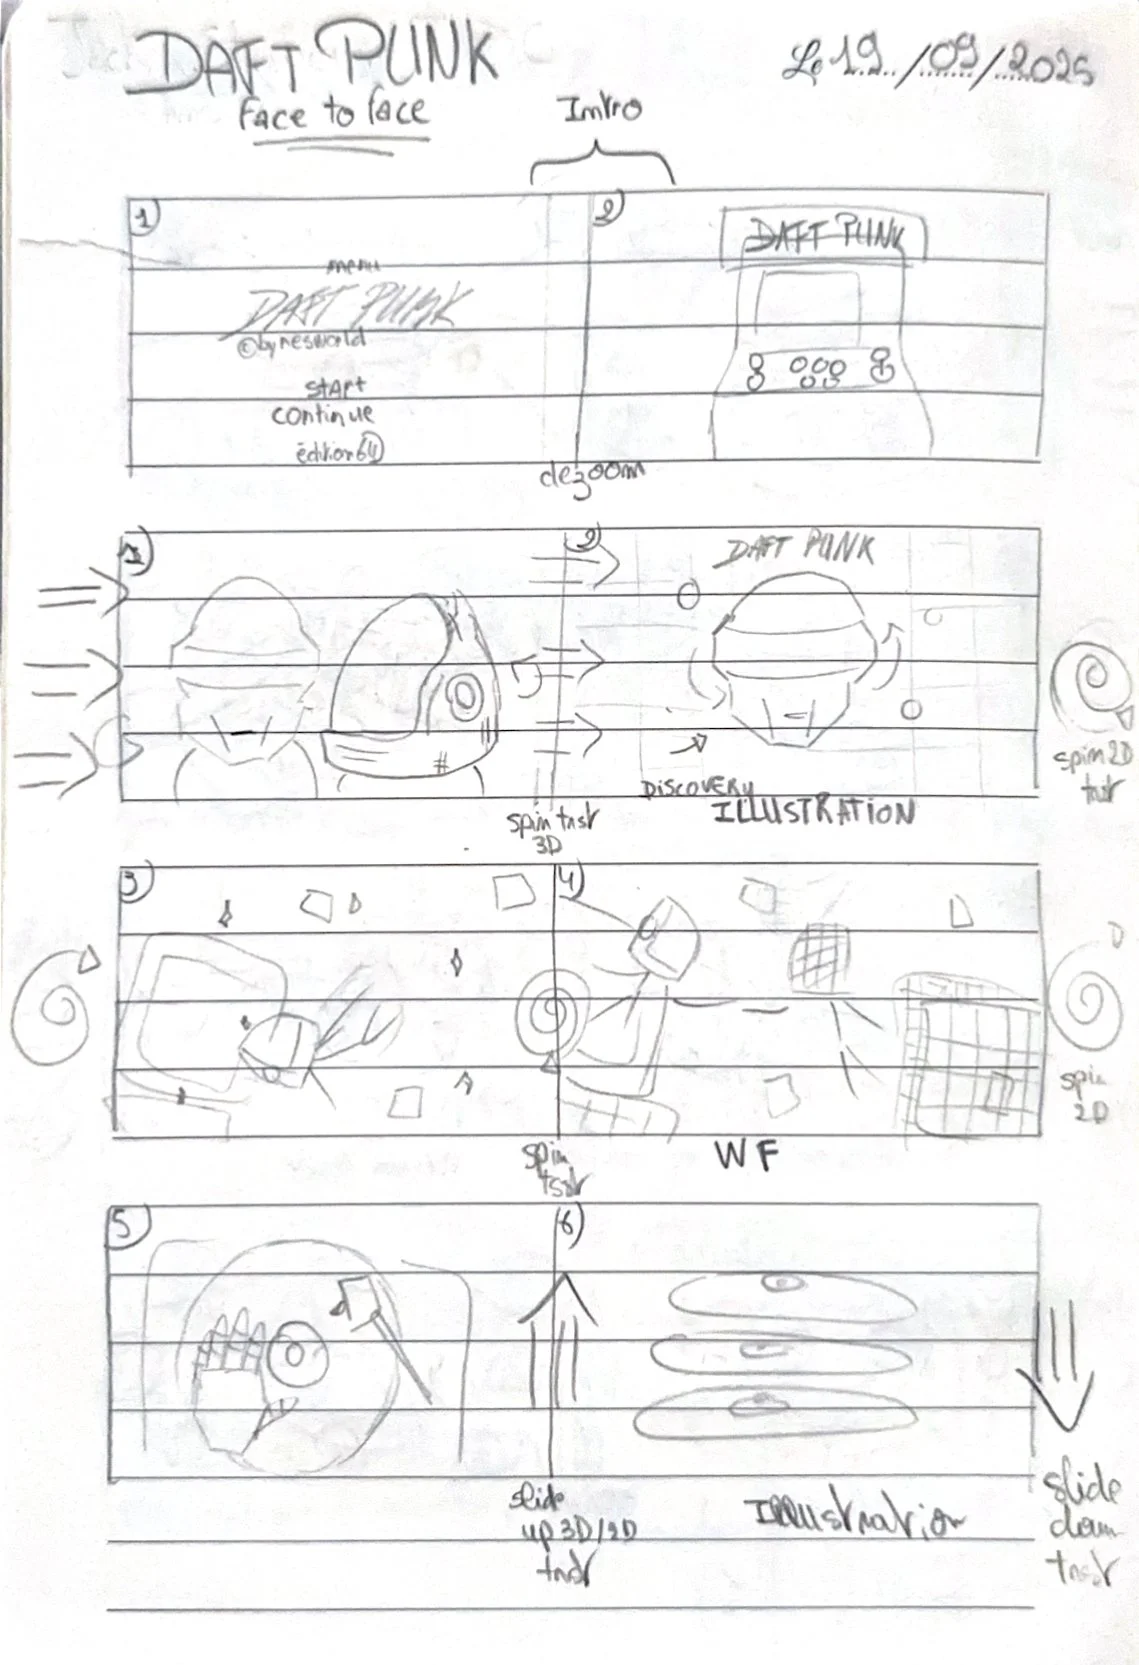
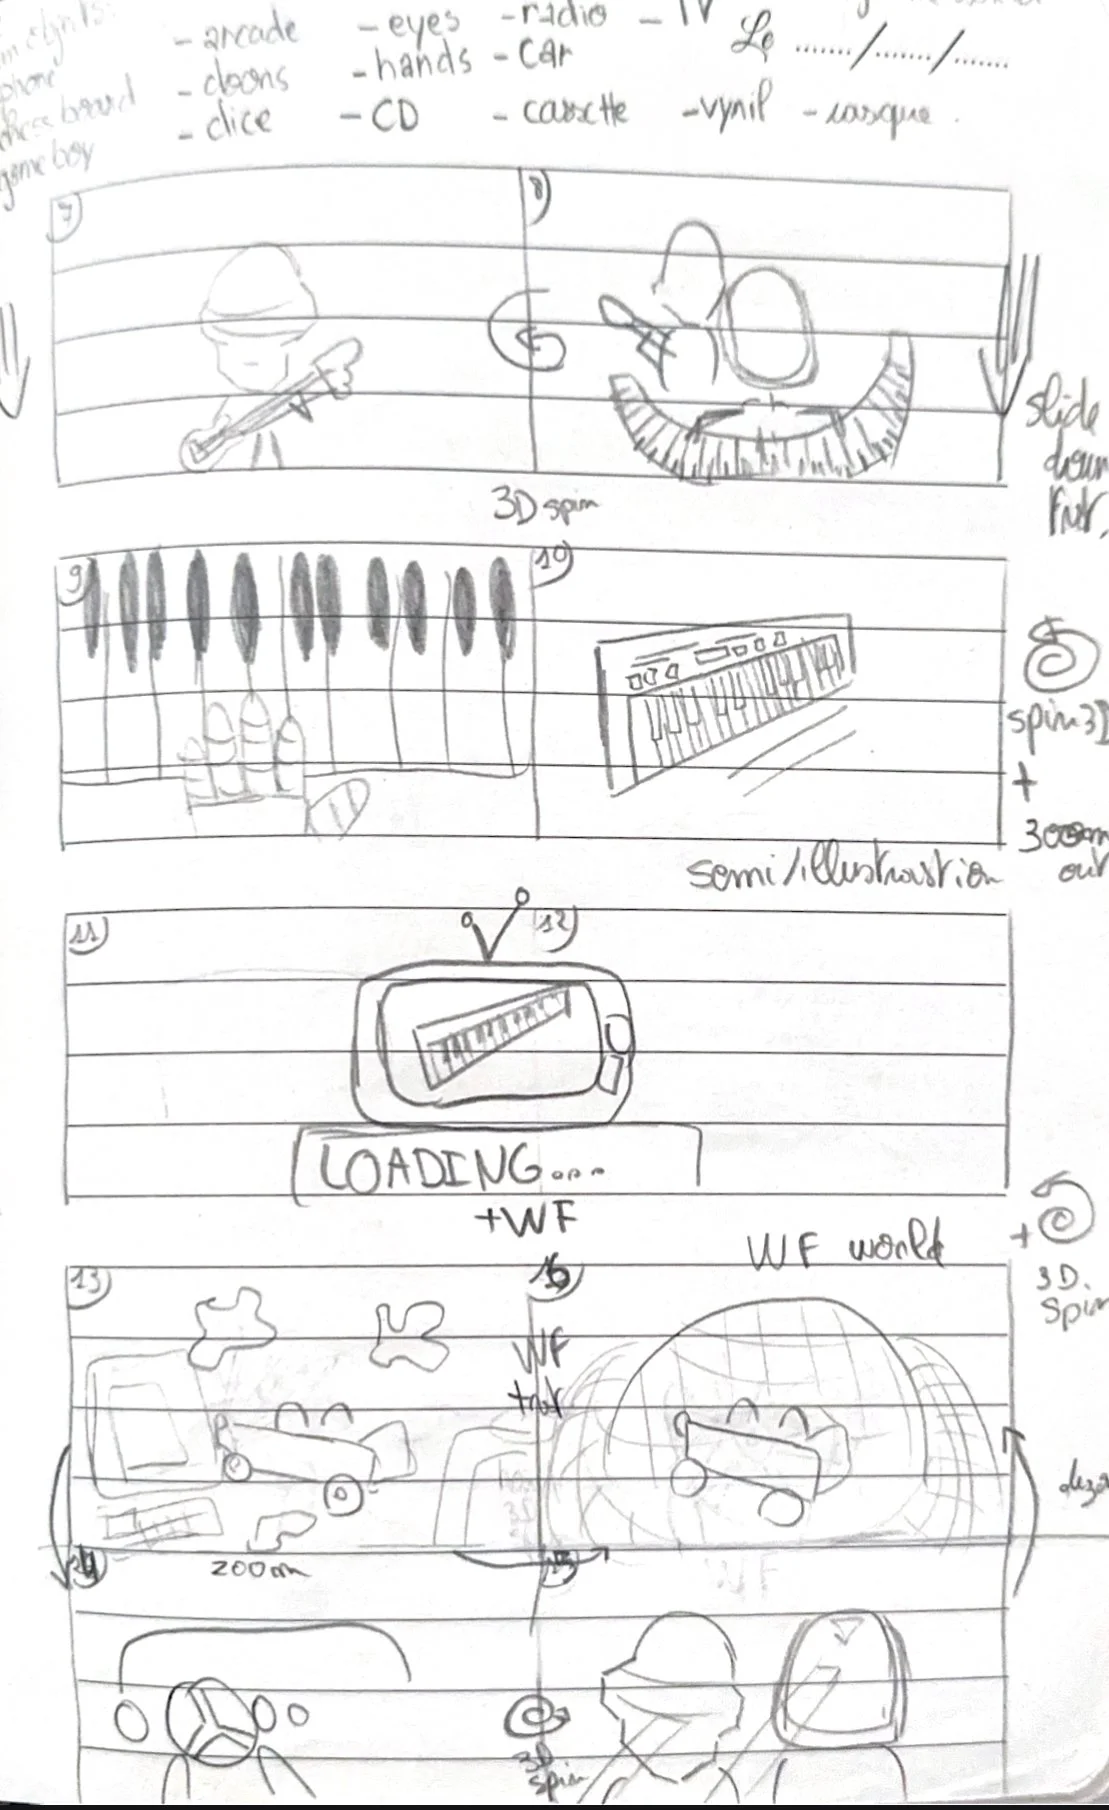
STORYBOARDS
& MOODBOARDS
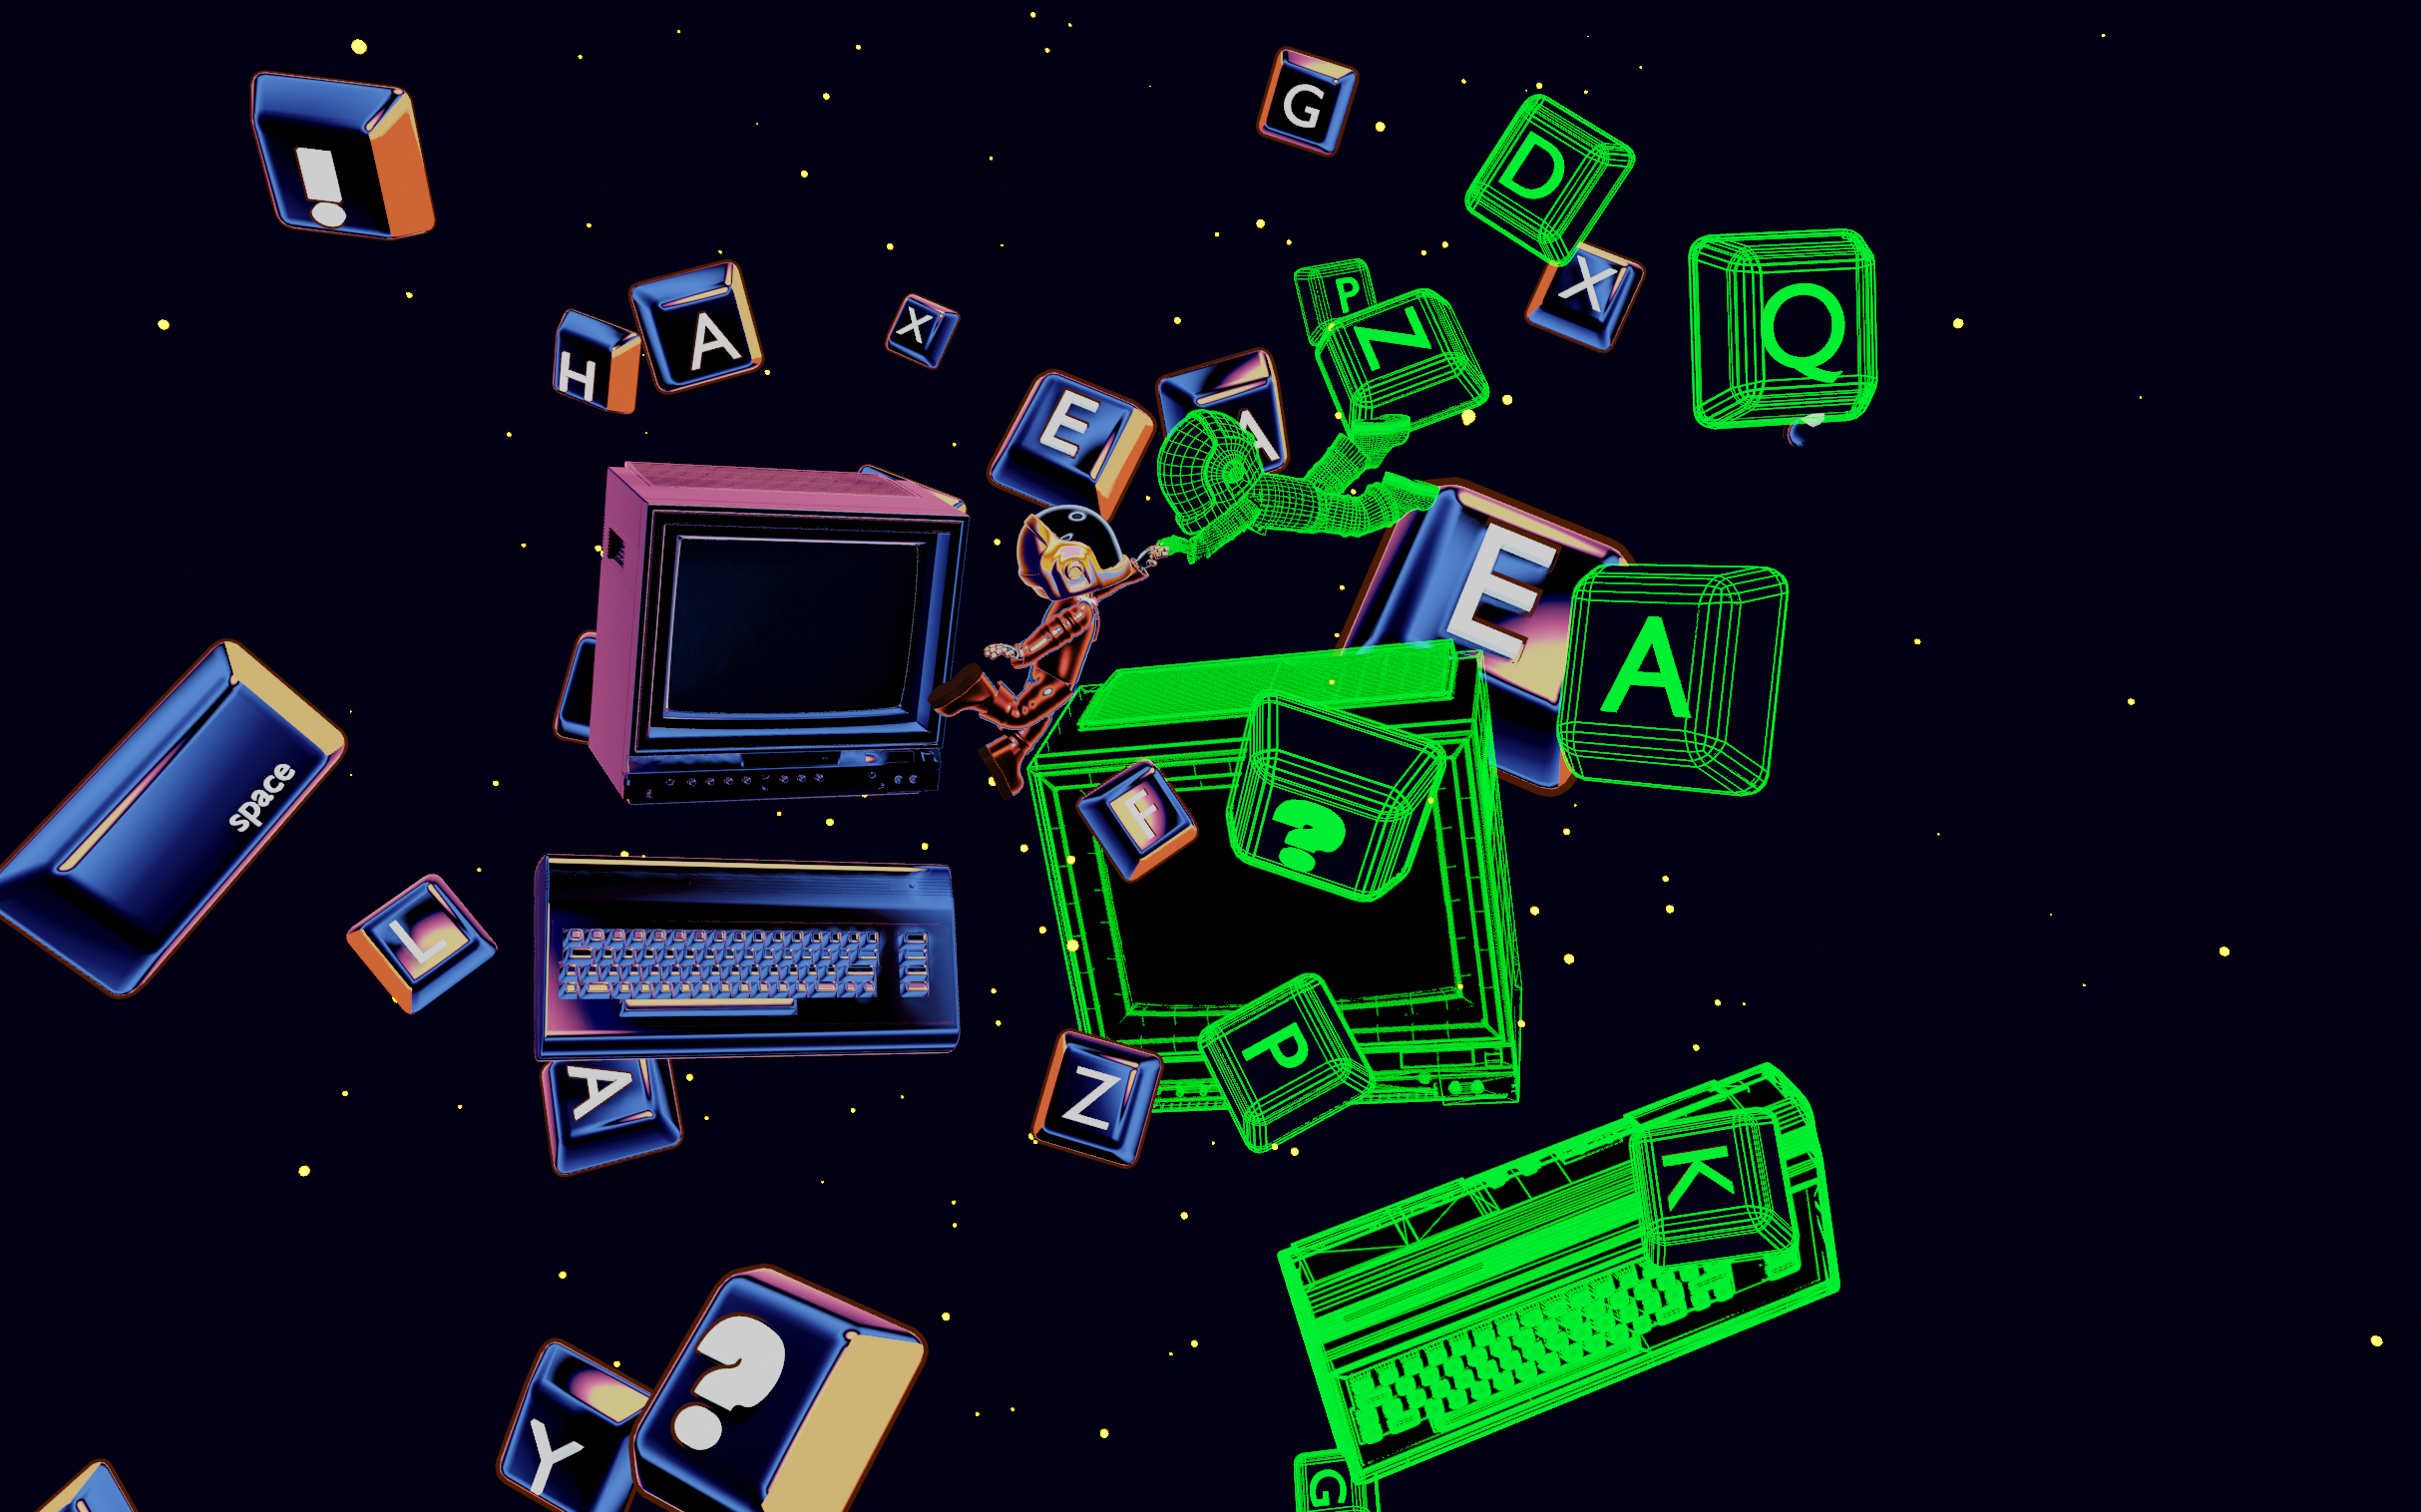
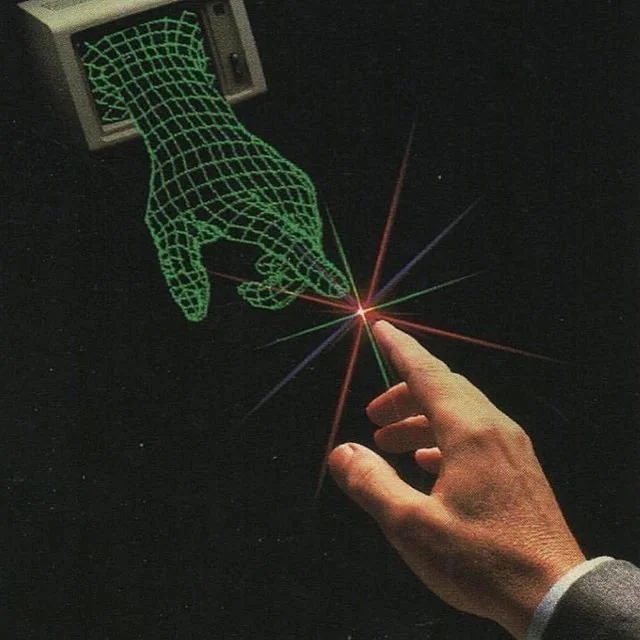
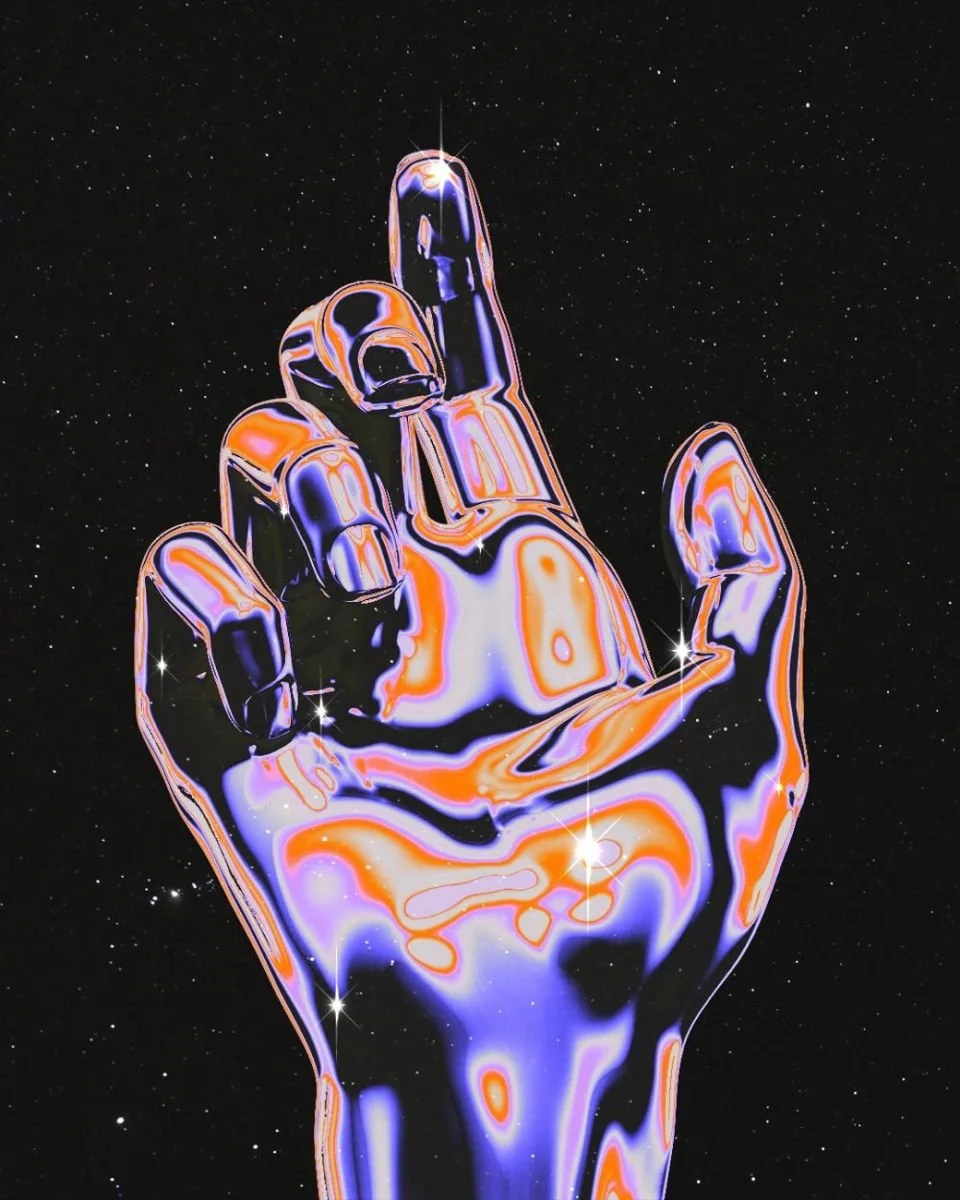
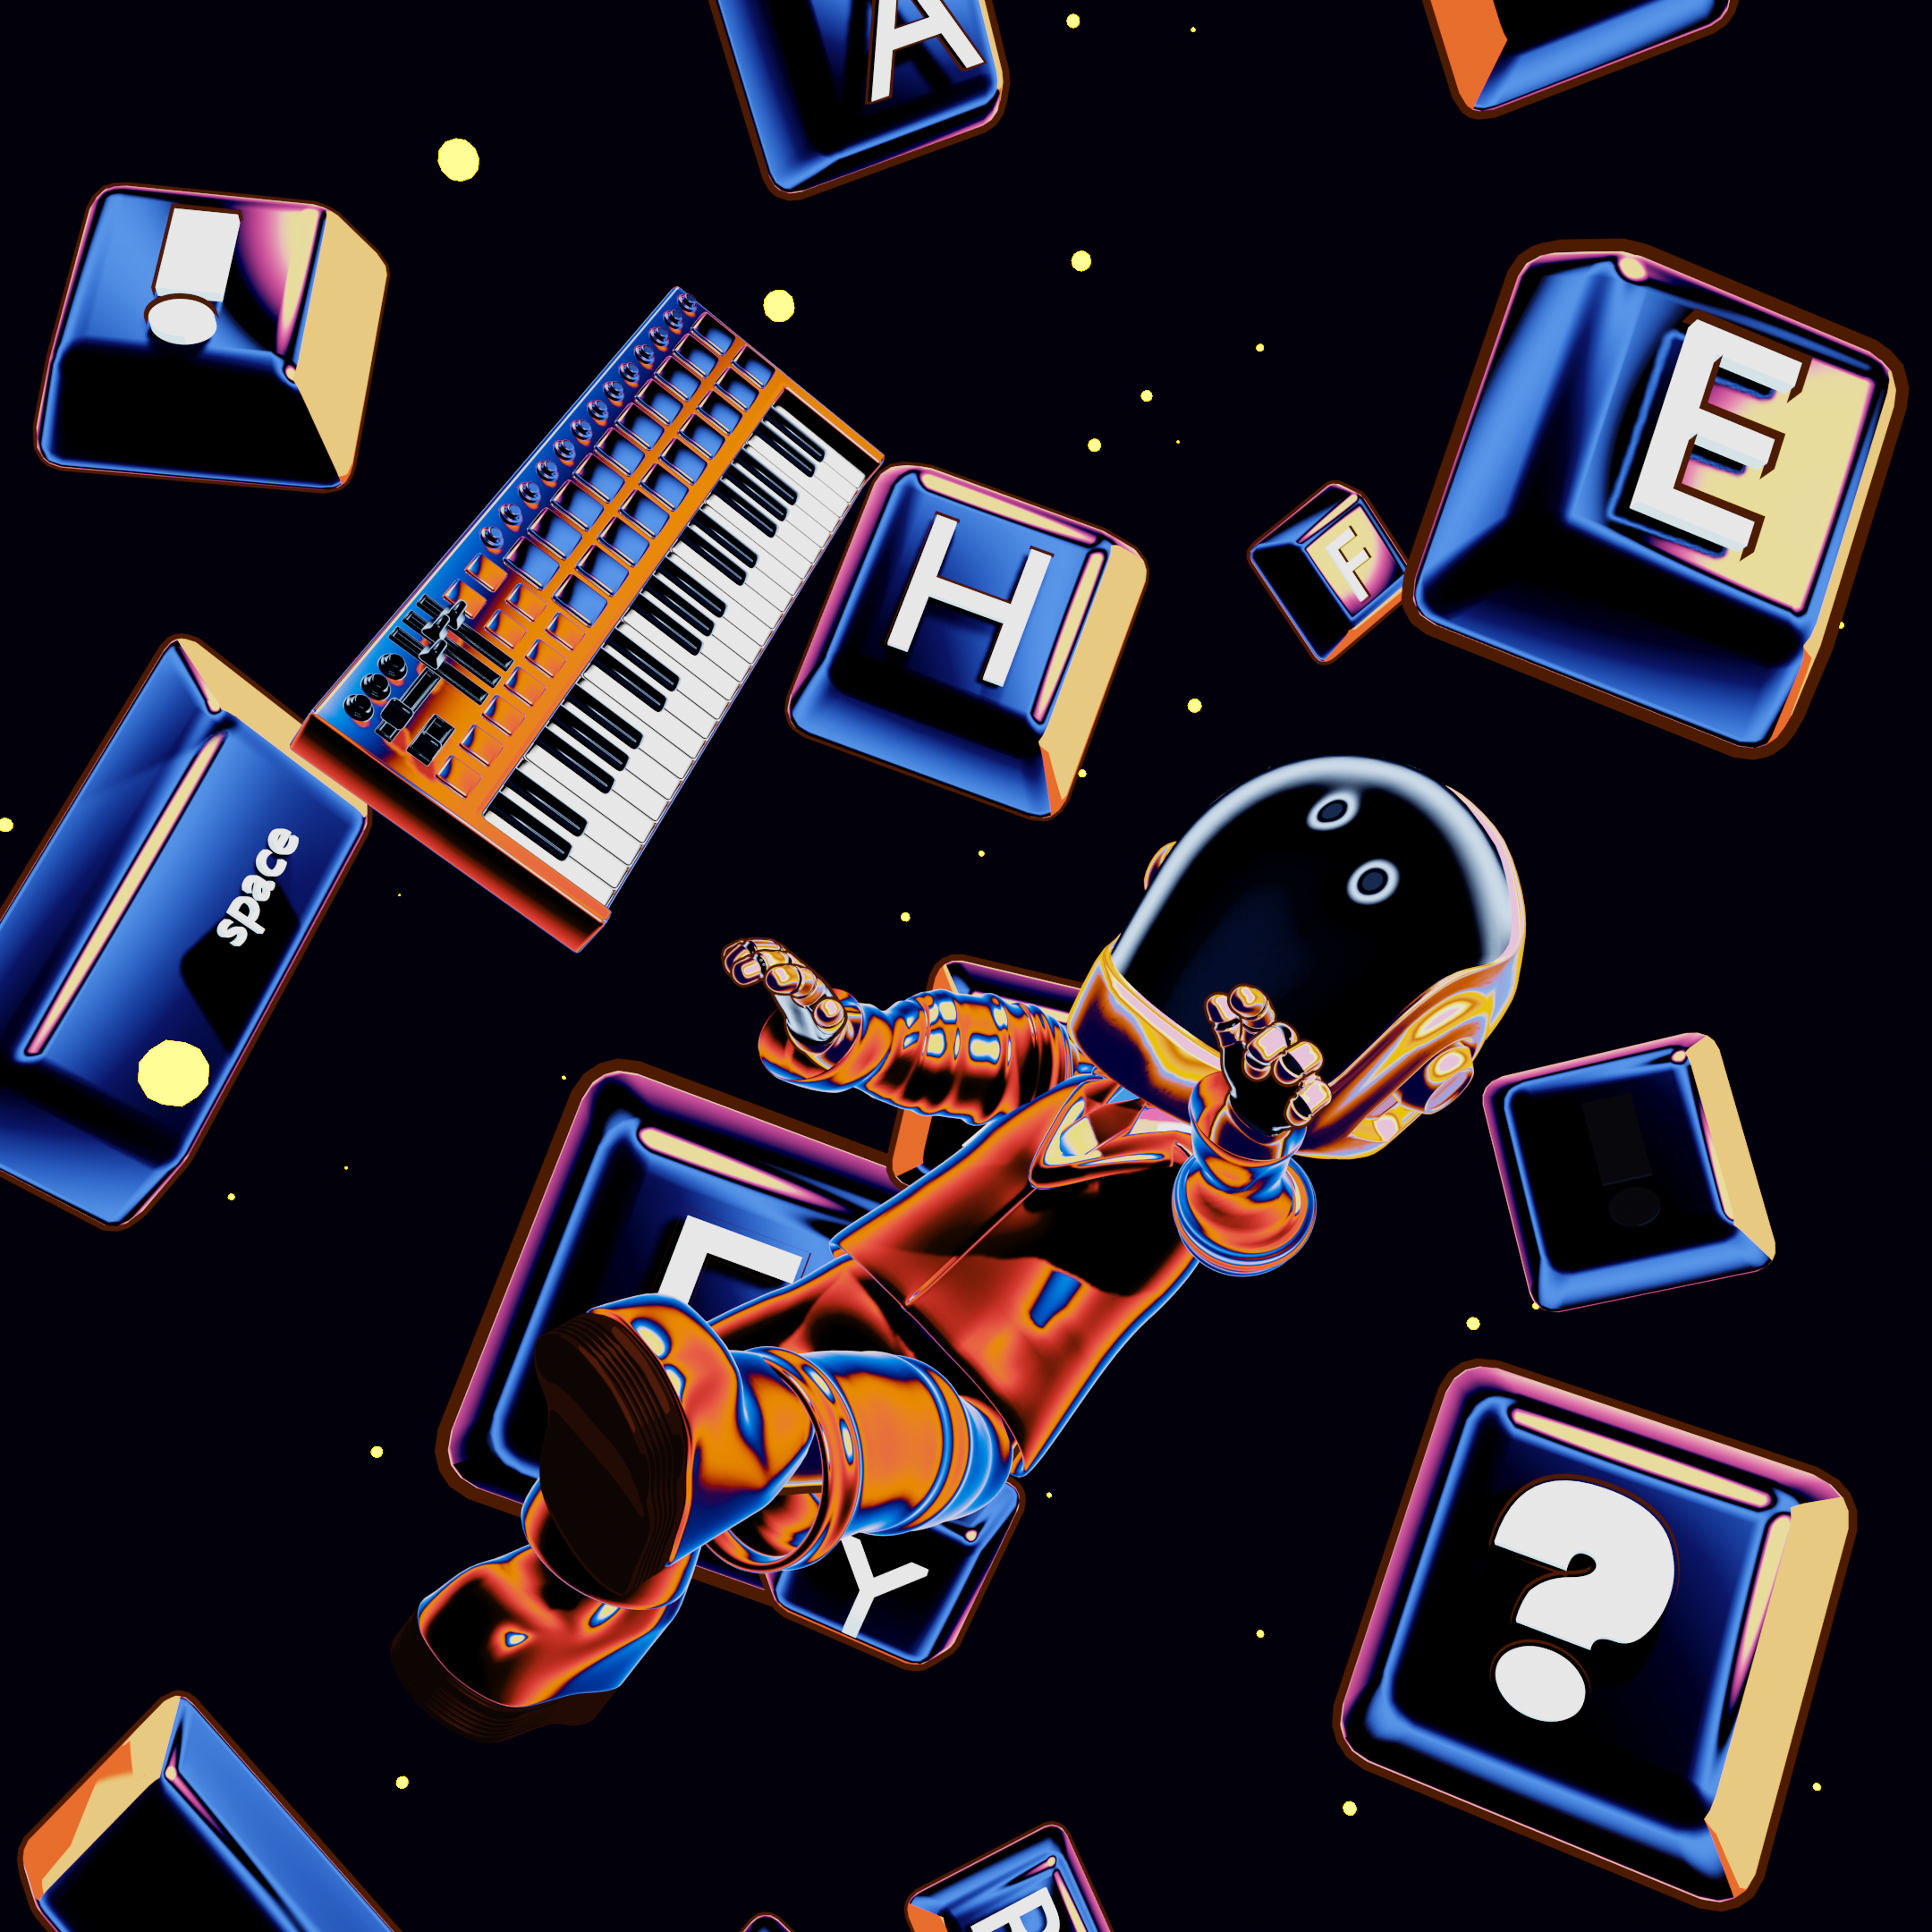
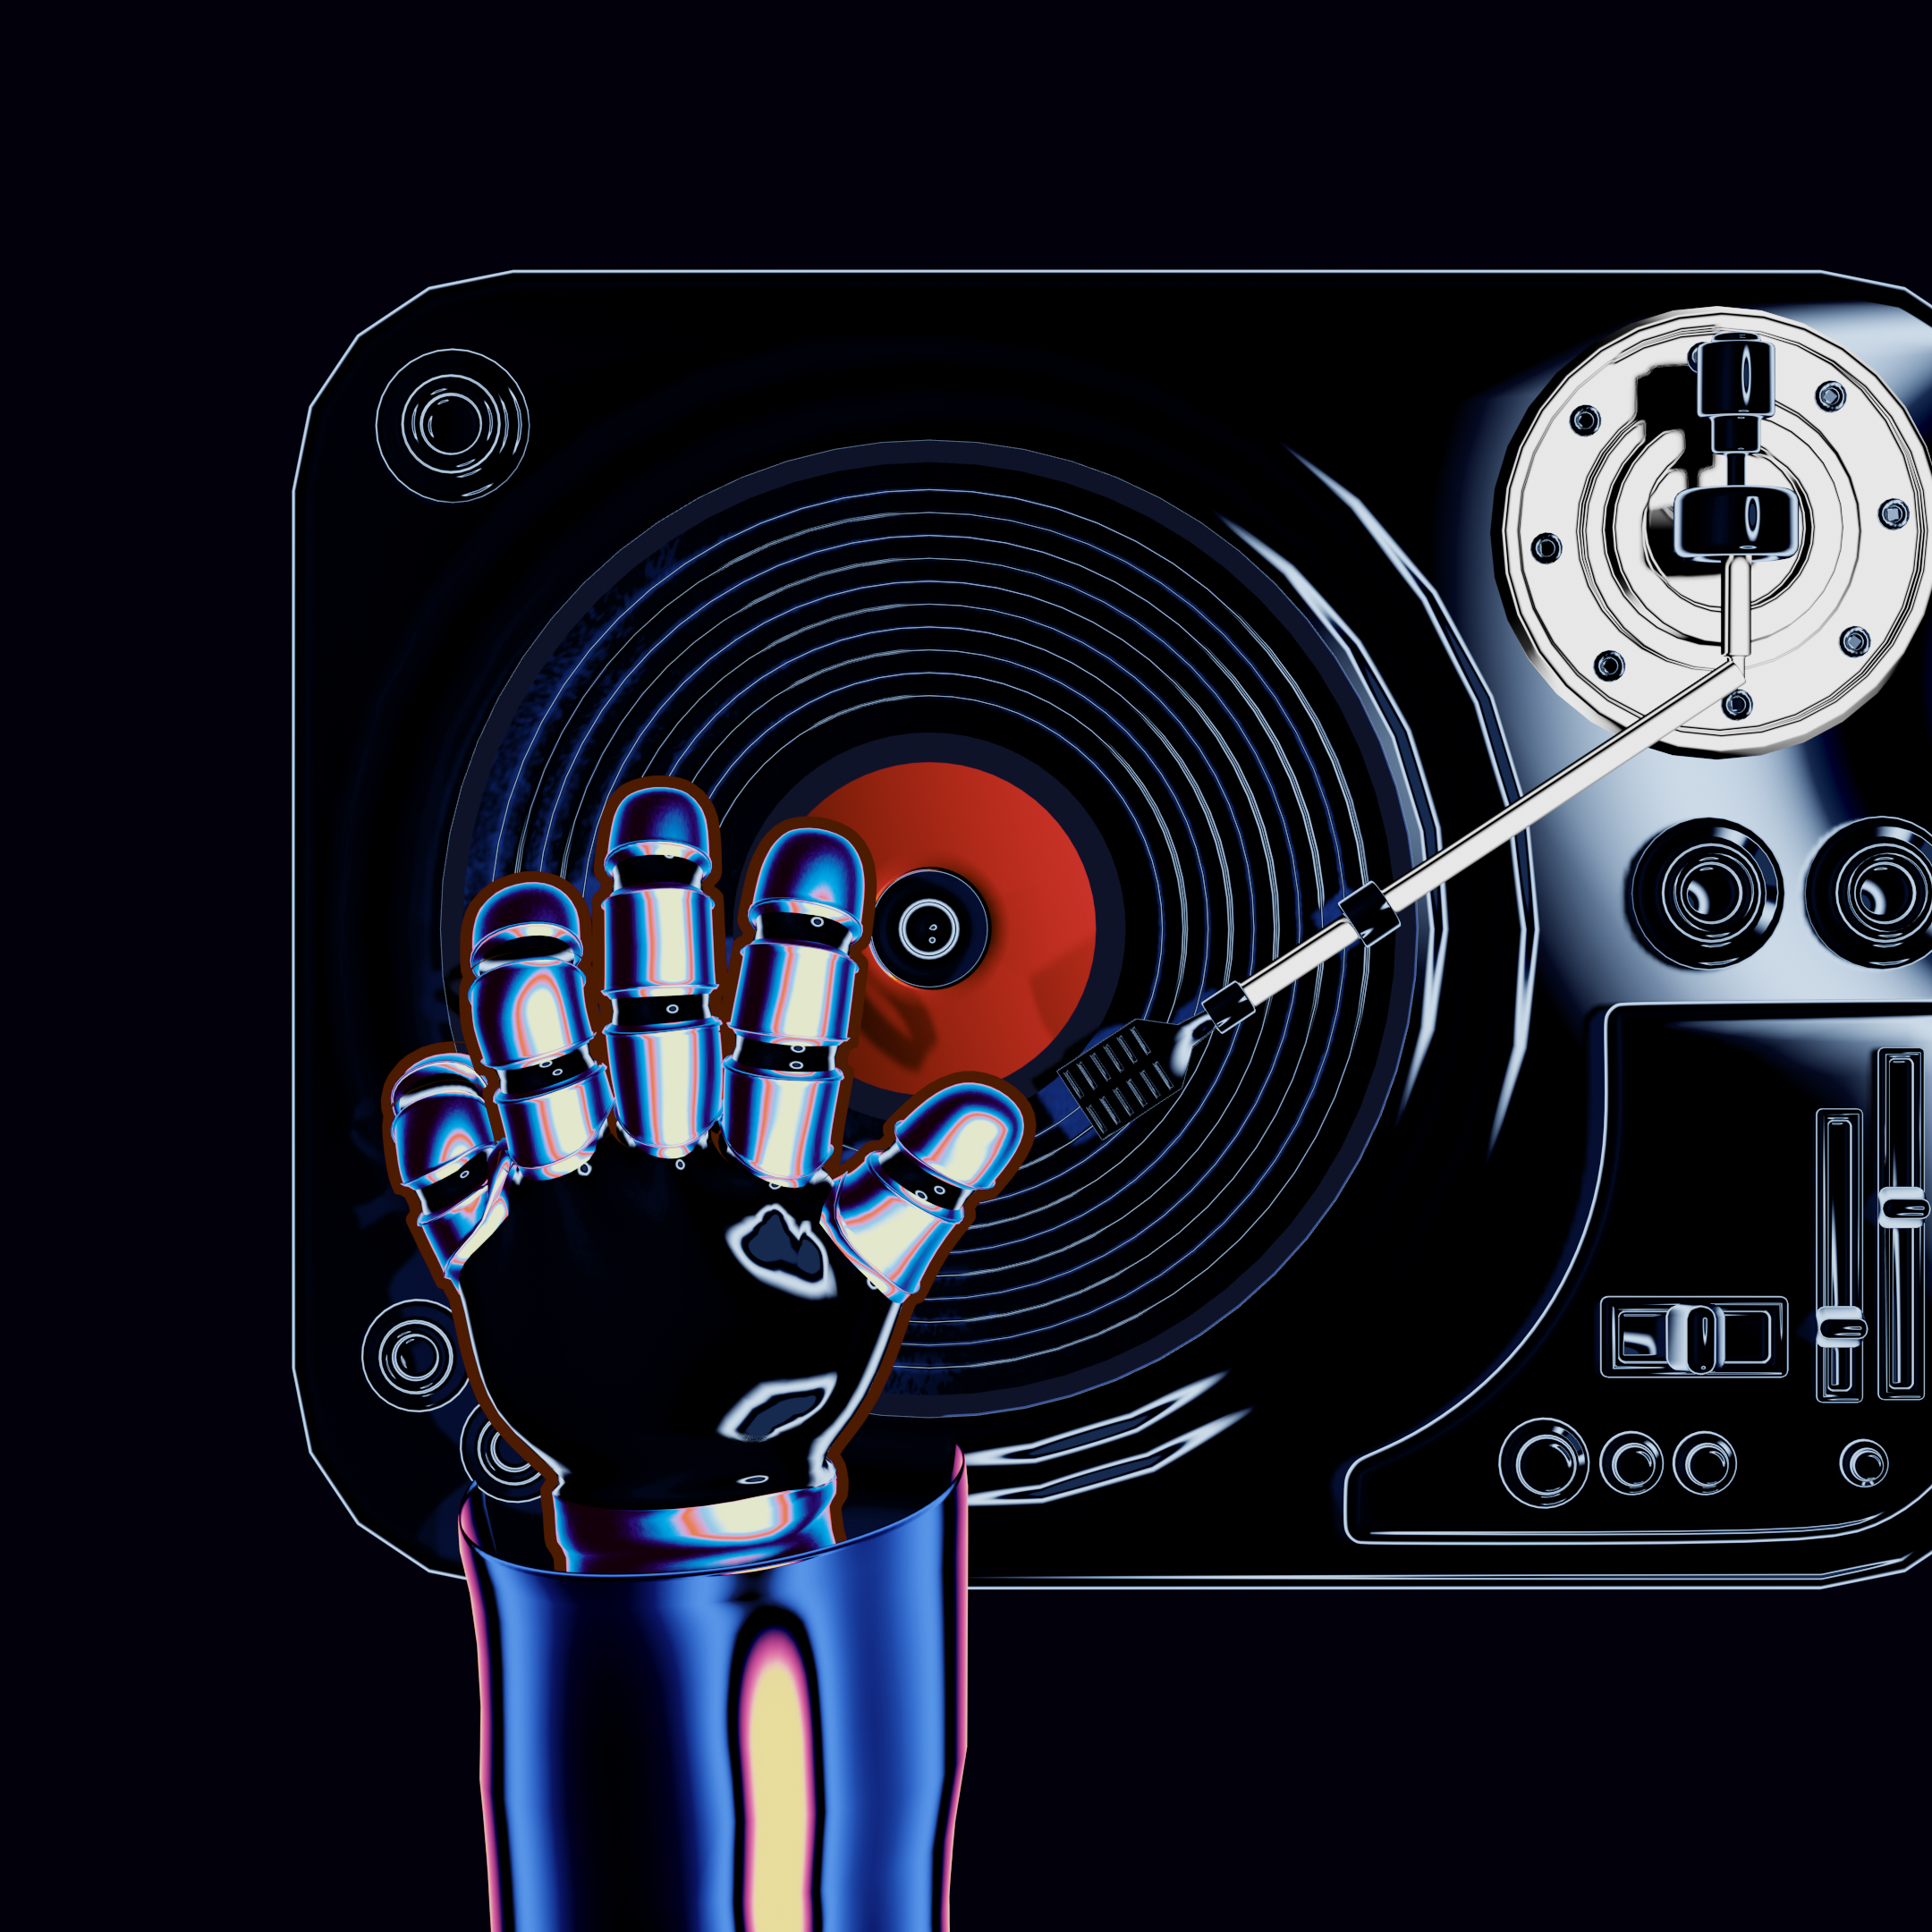
The project was inspired by the song “Face to Face” by Daft Punk, which I’m particularly attached to. I wanted to translate a digital, old-school, almost vaporwave-inspired aesthetic through the 3D visuals, while conveying a sense of speed and energy through the movements and transitions.


PROCESS
DESIGN AND MODELING
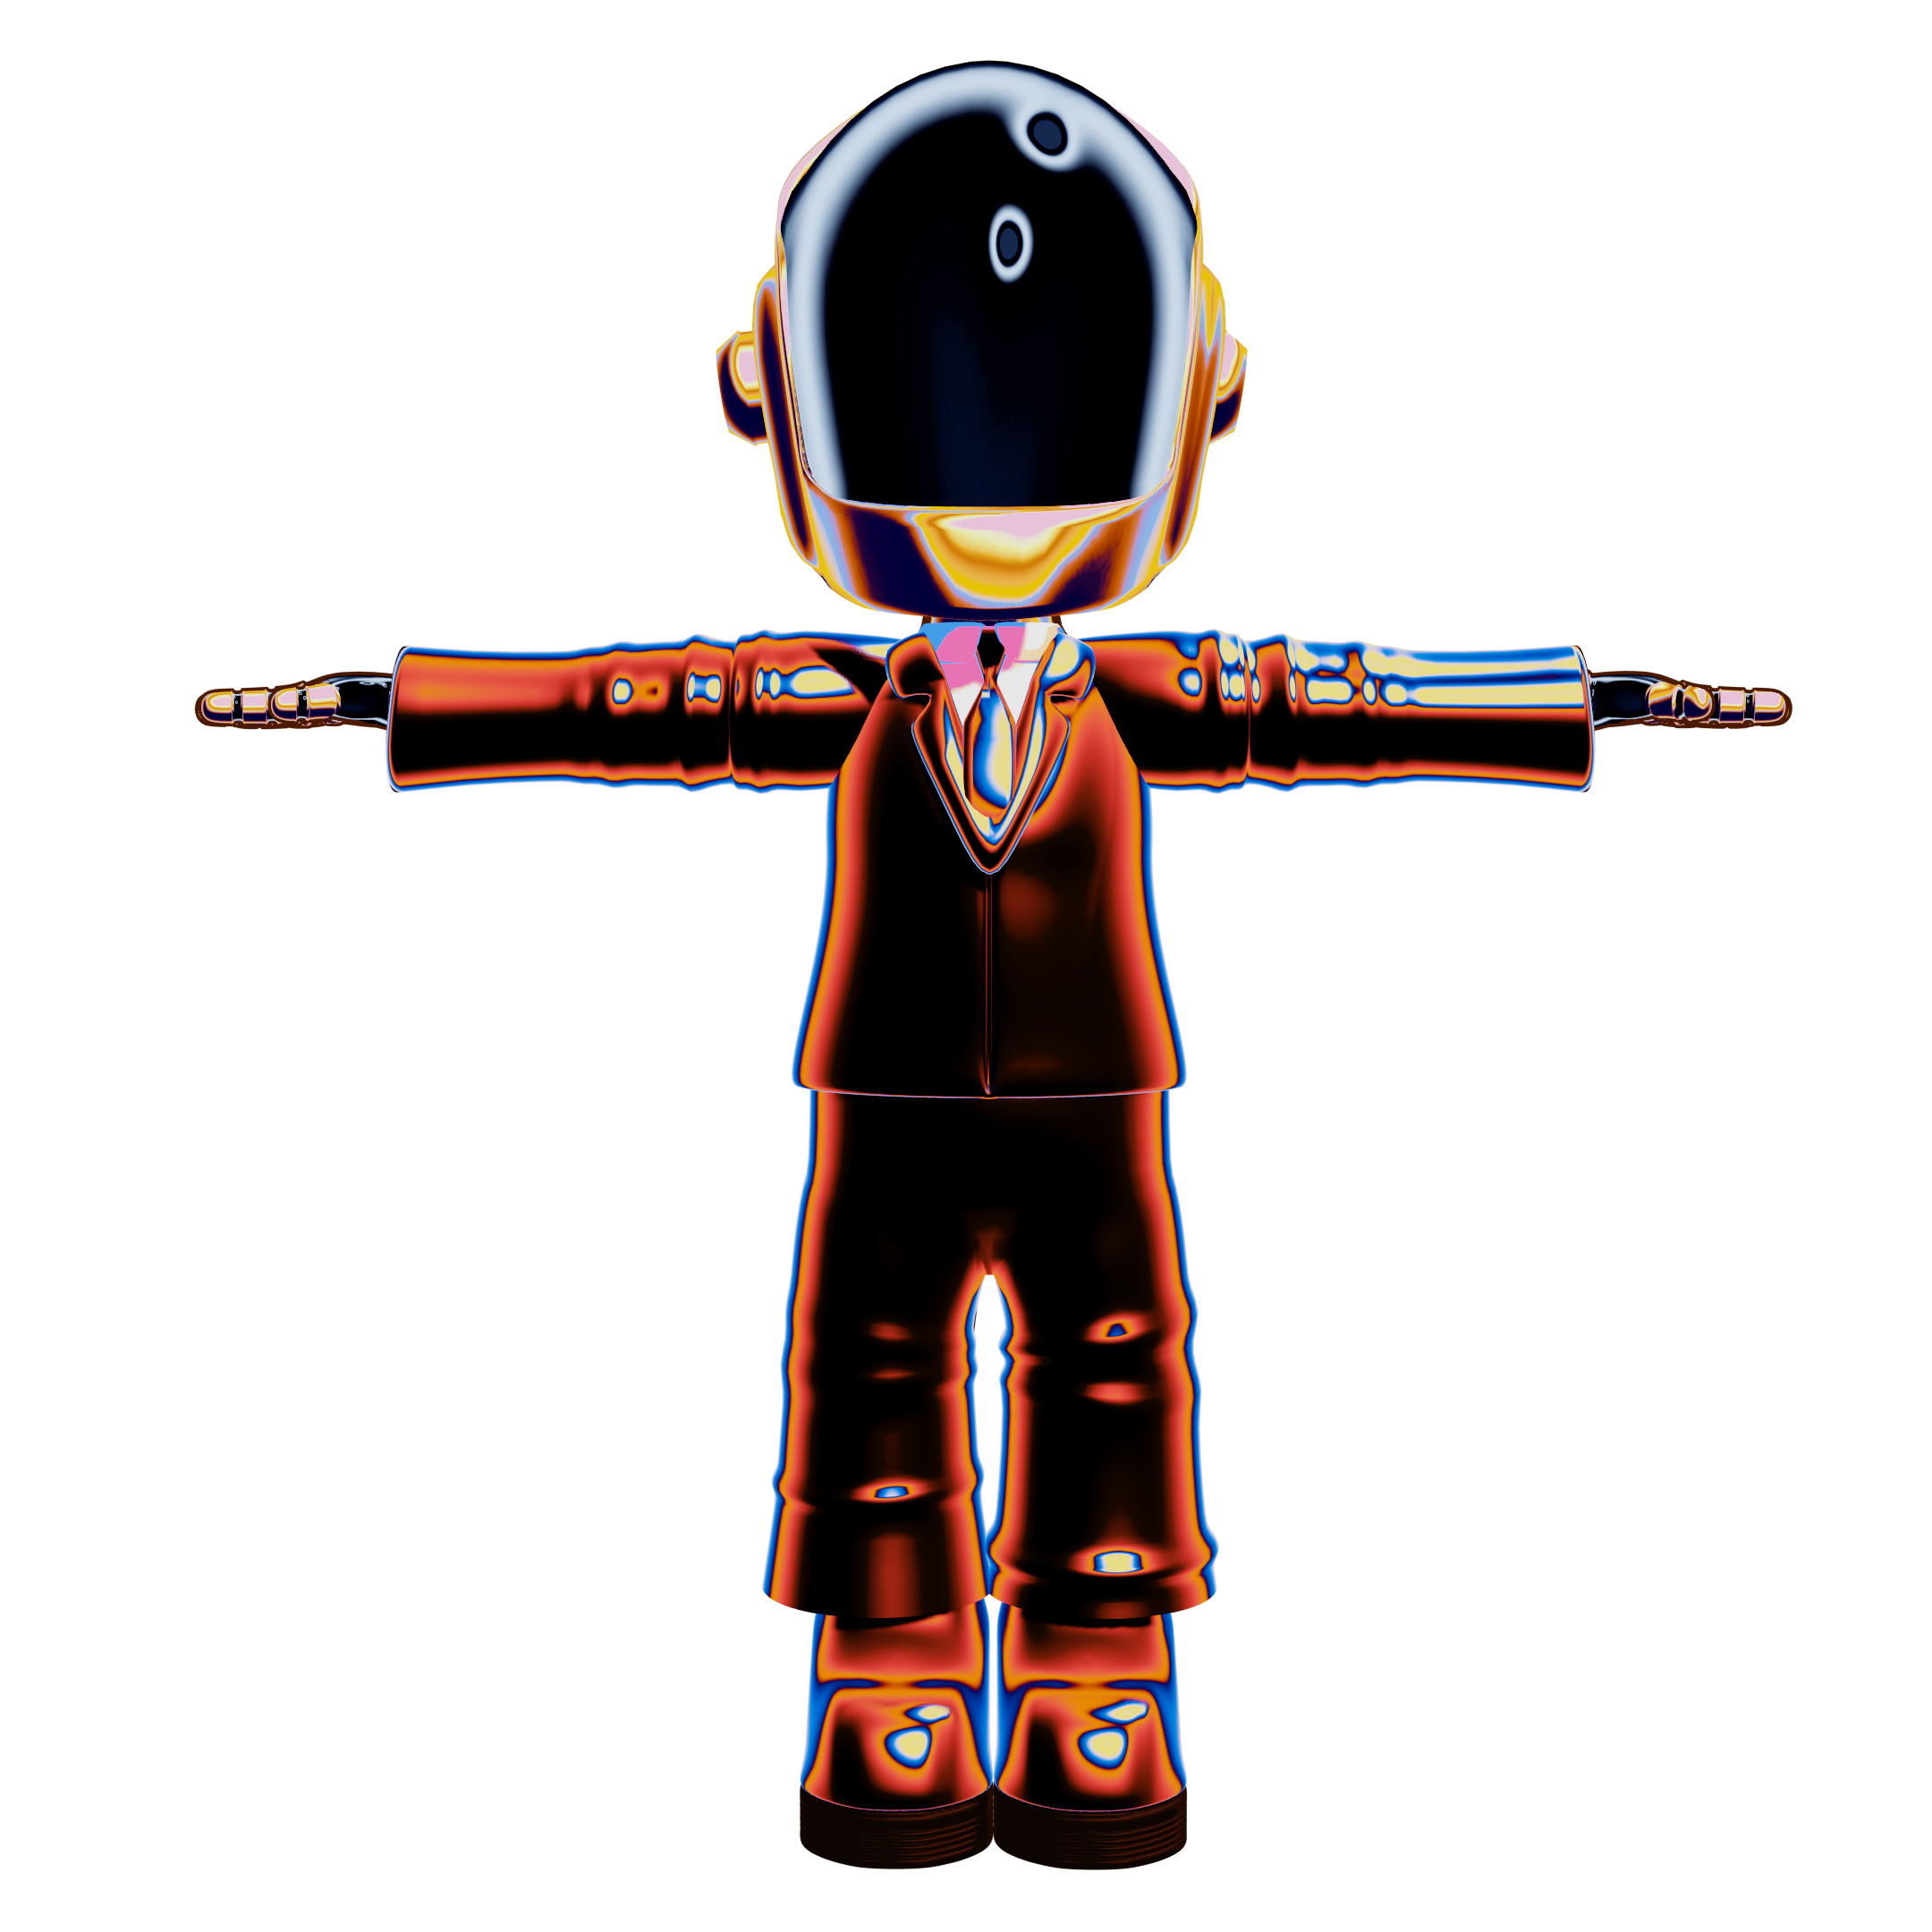
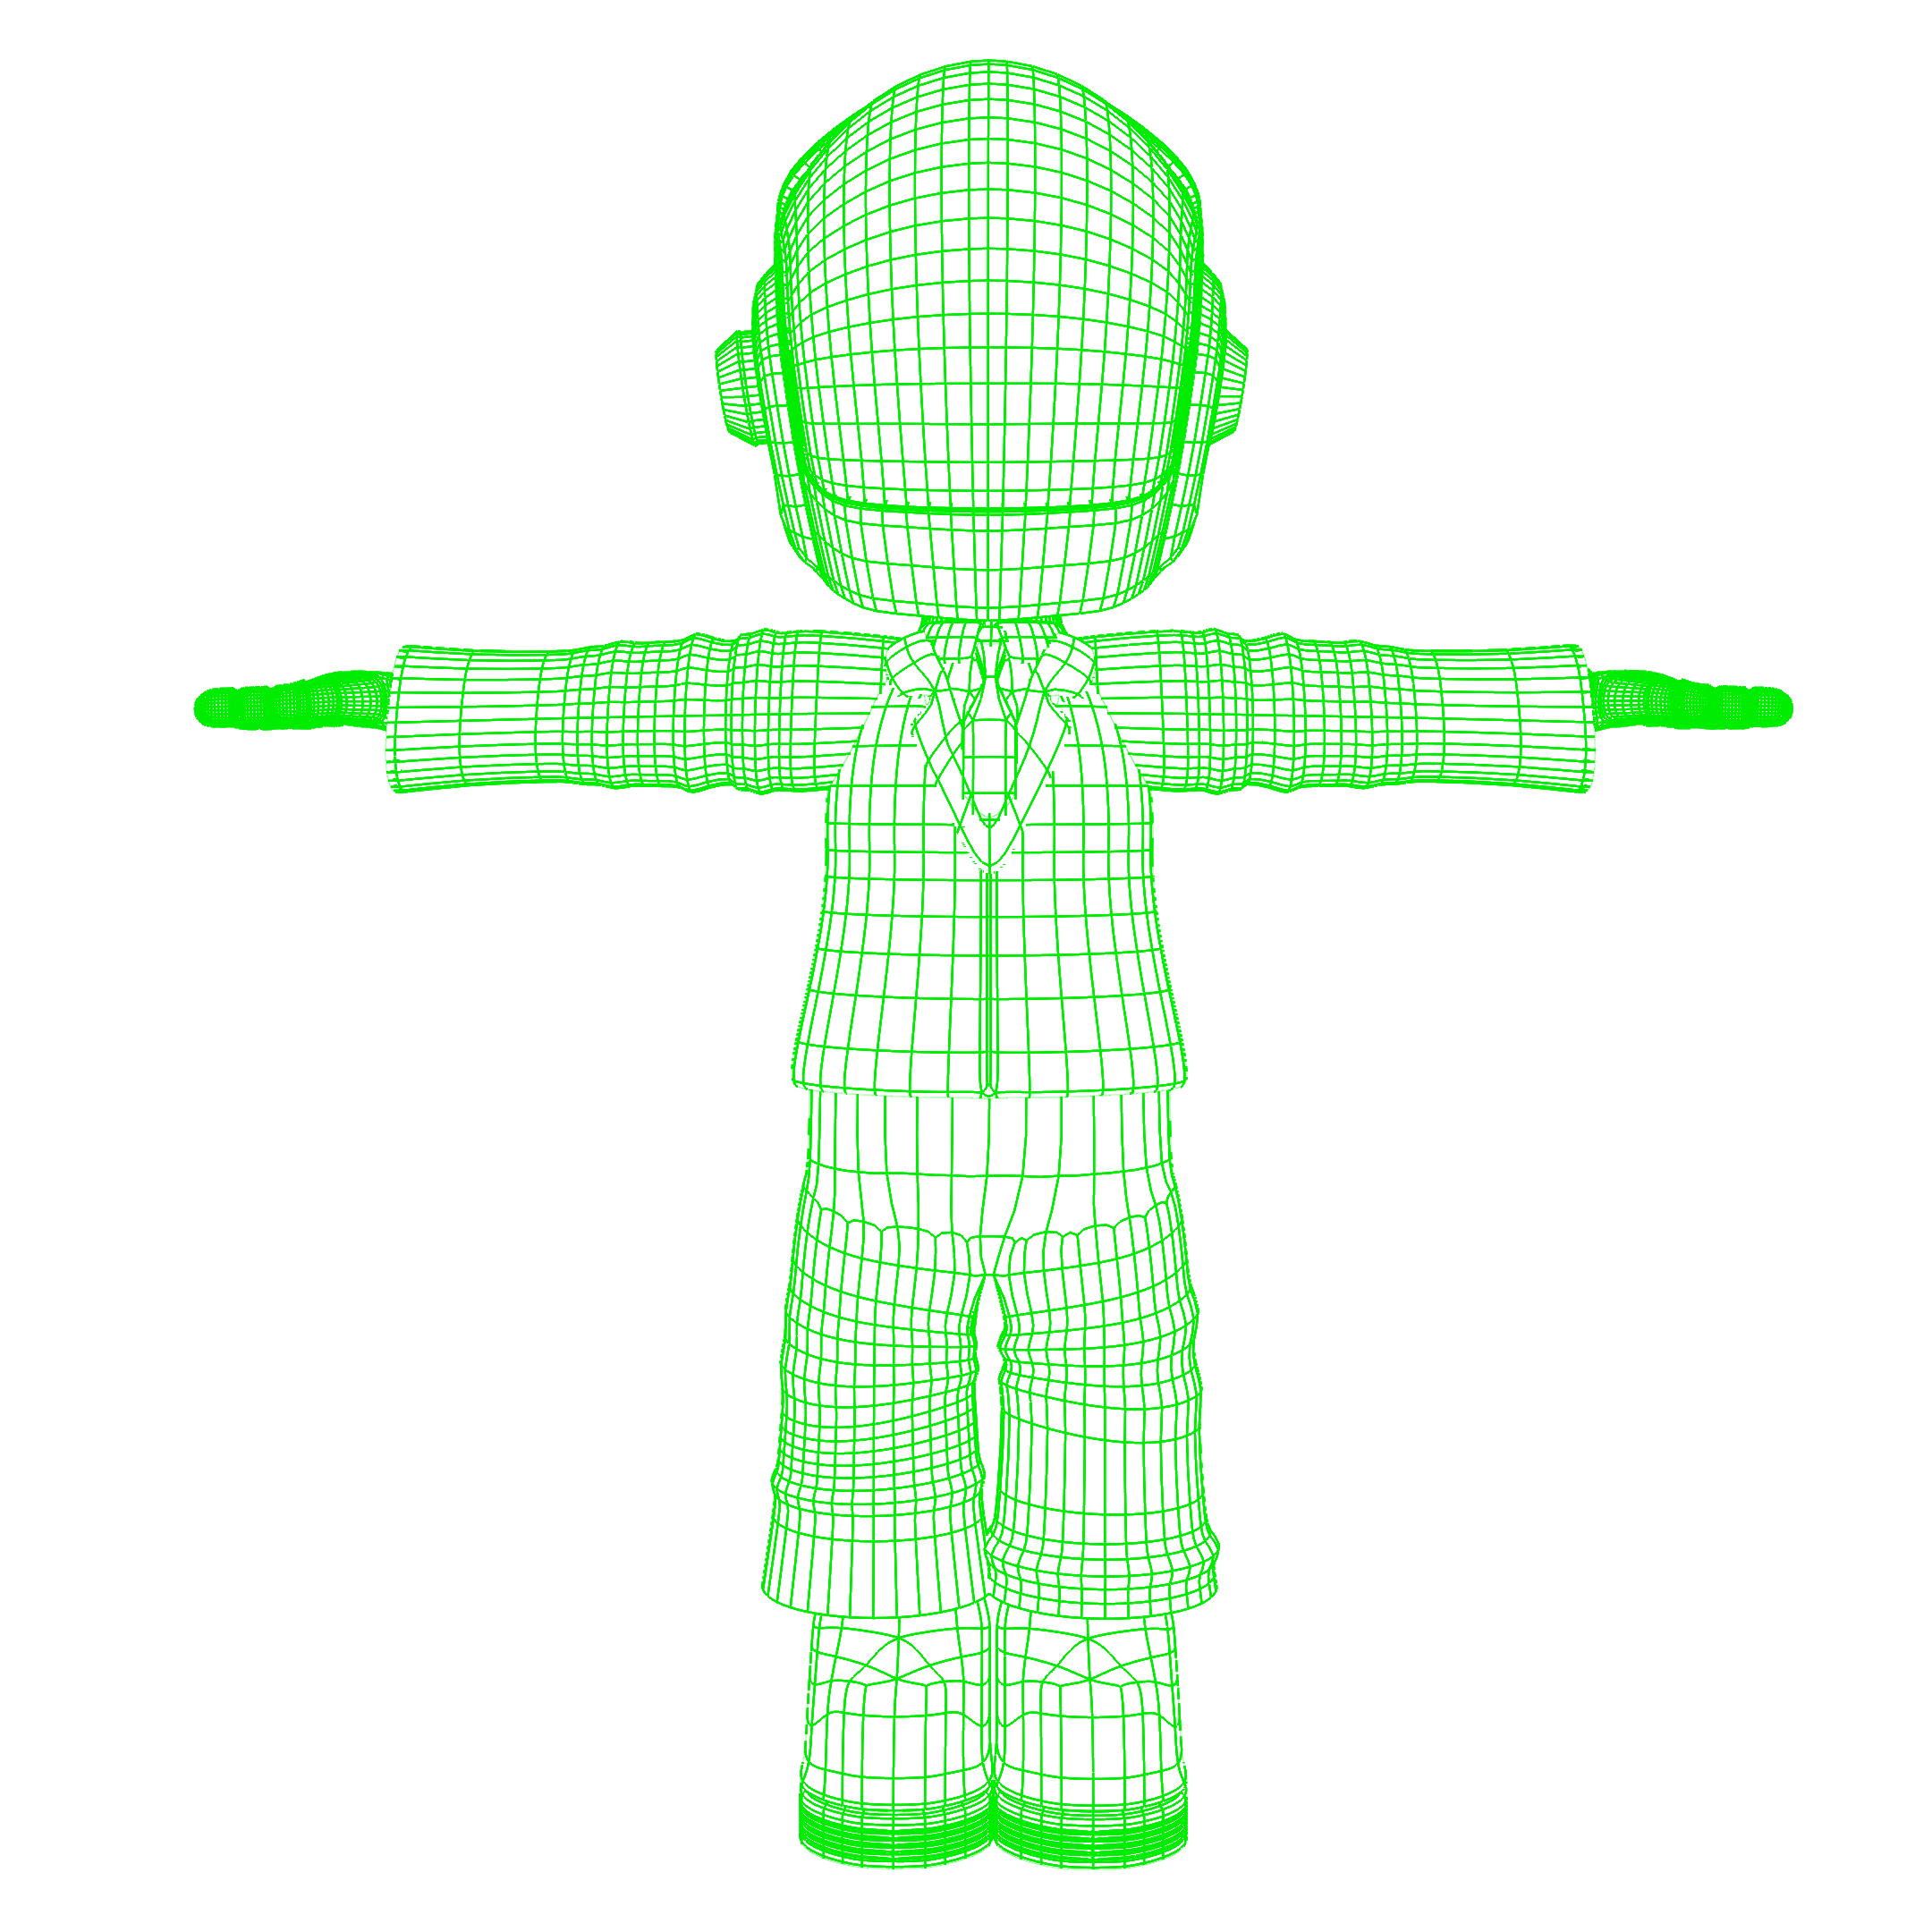
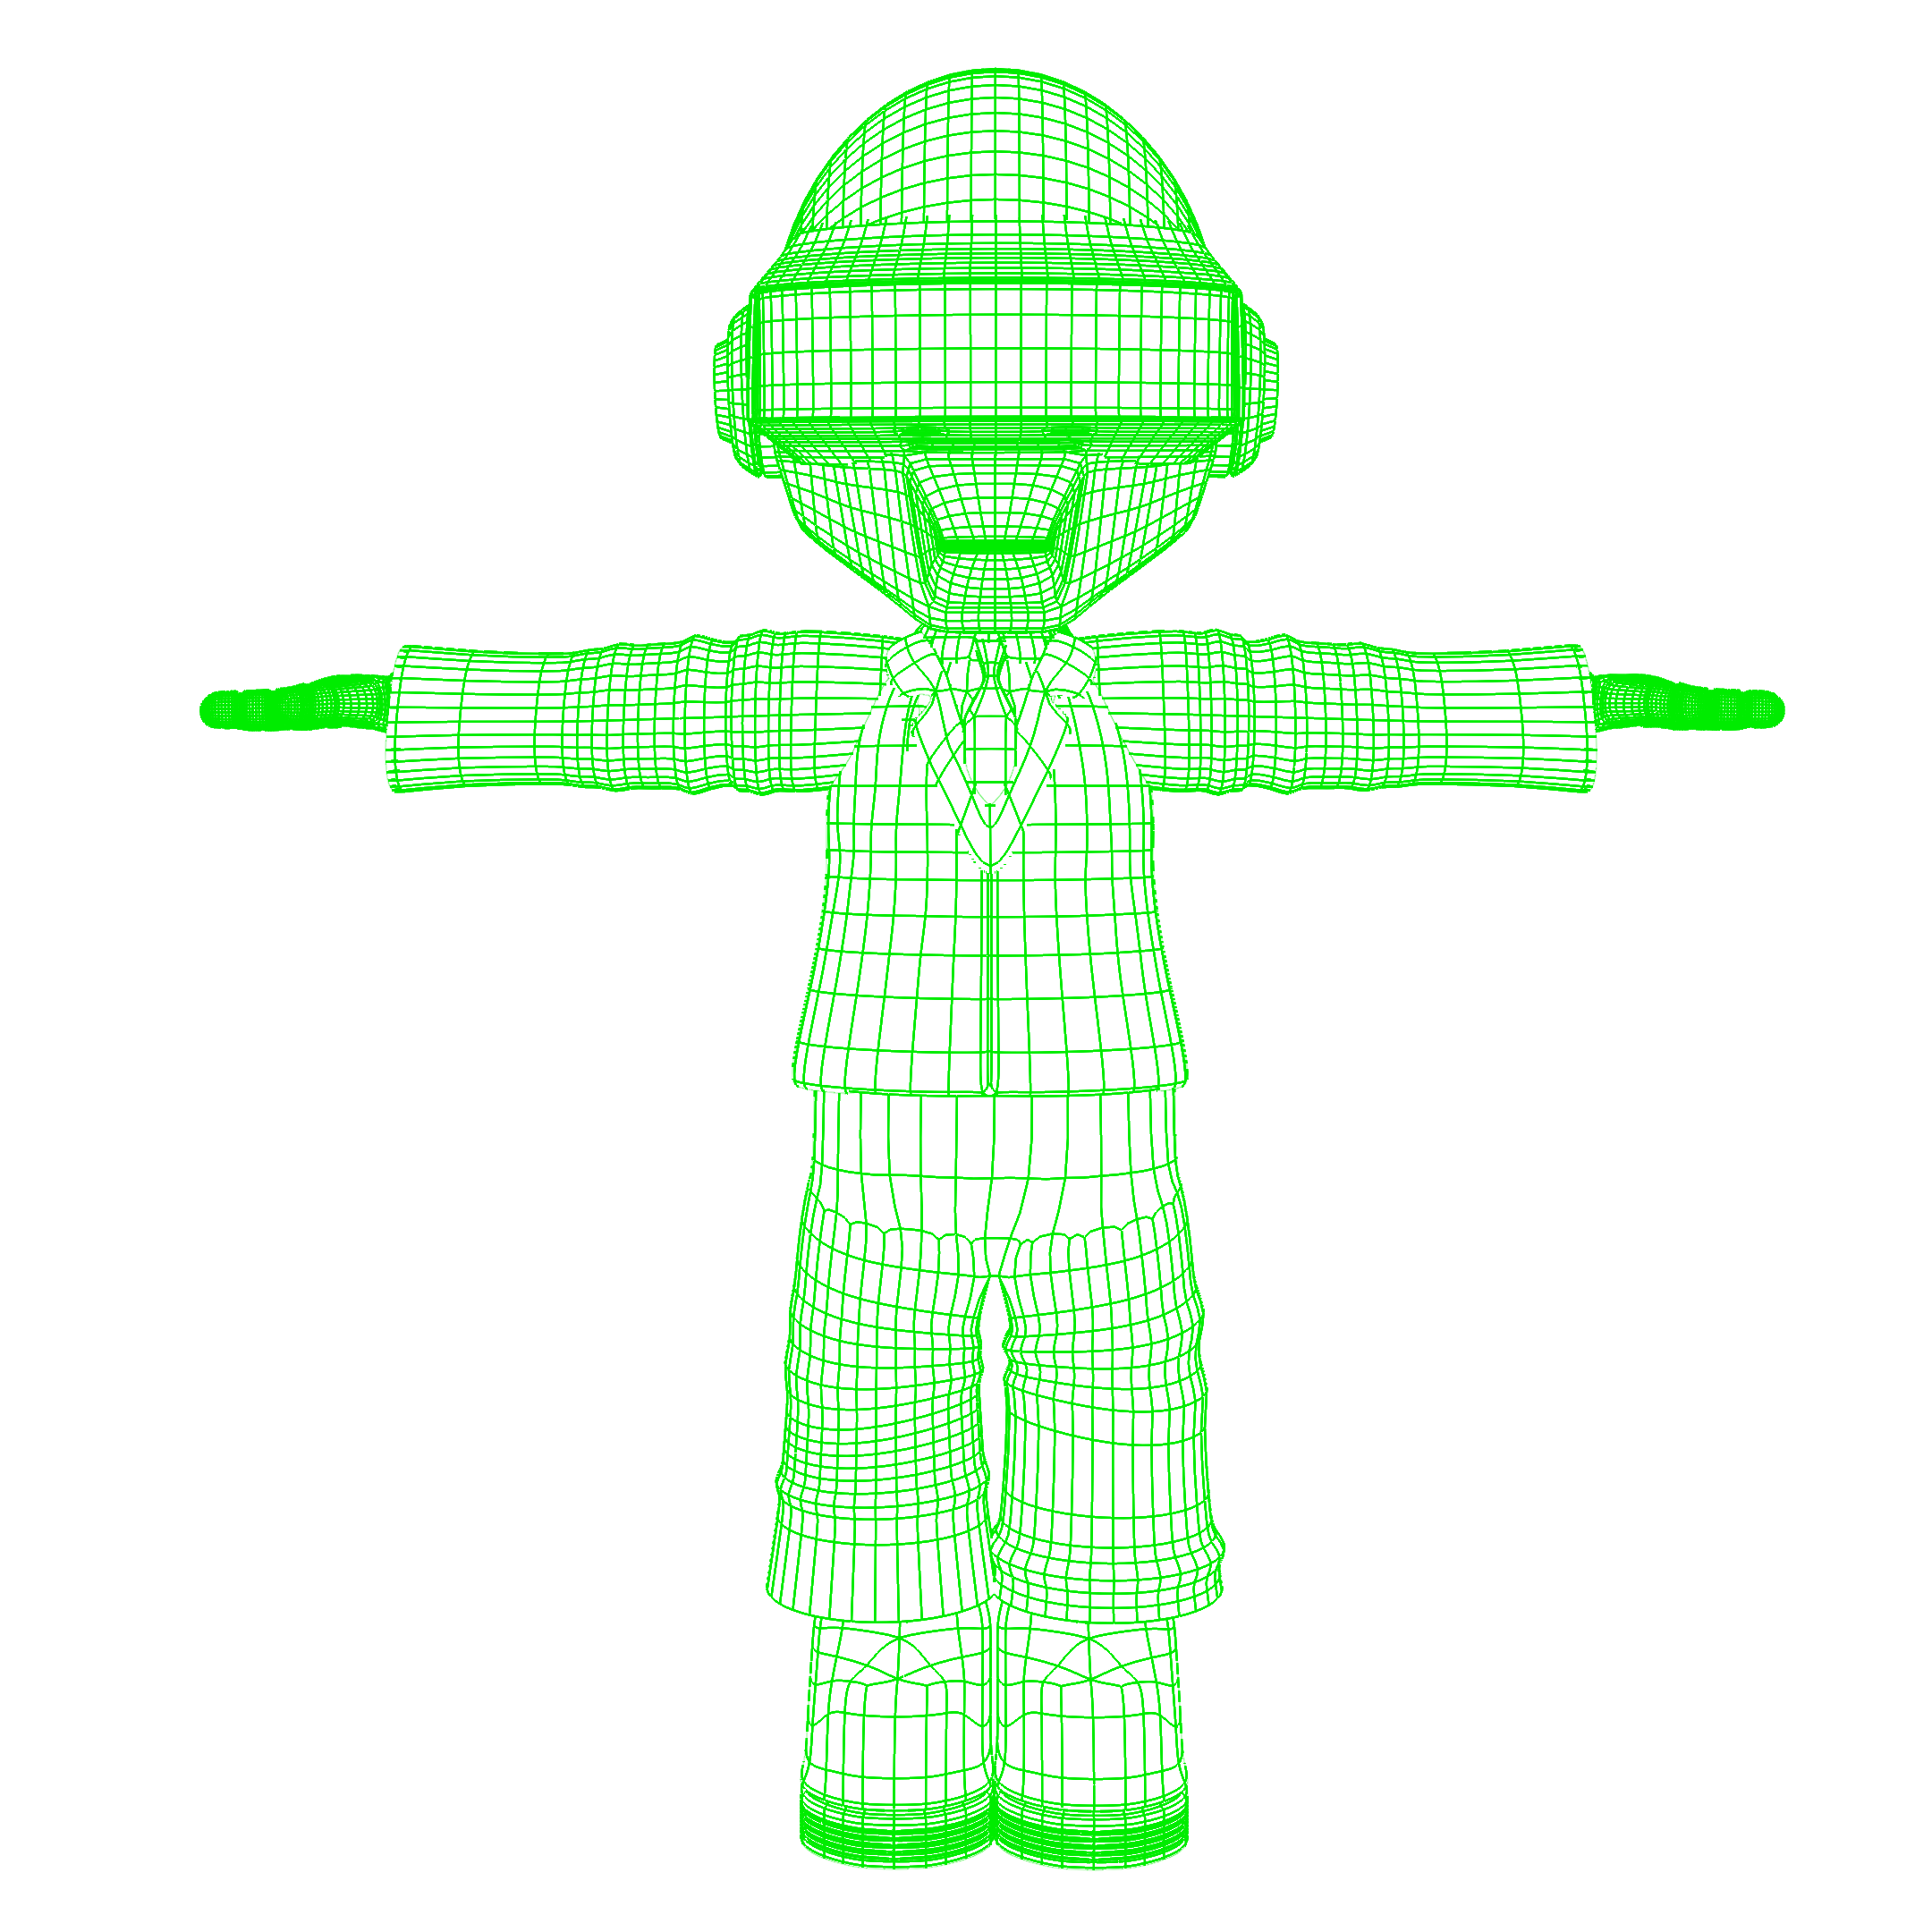
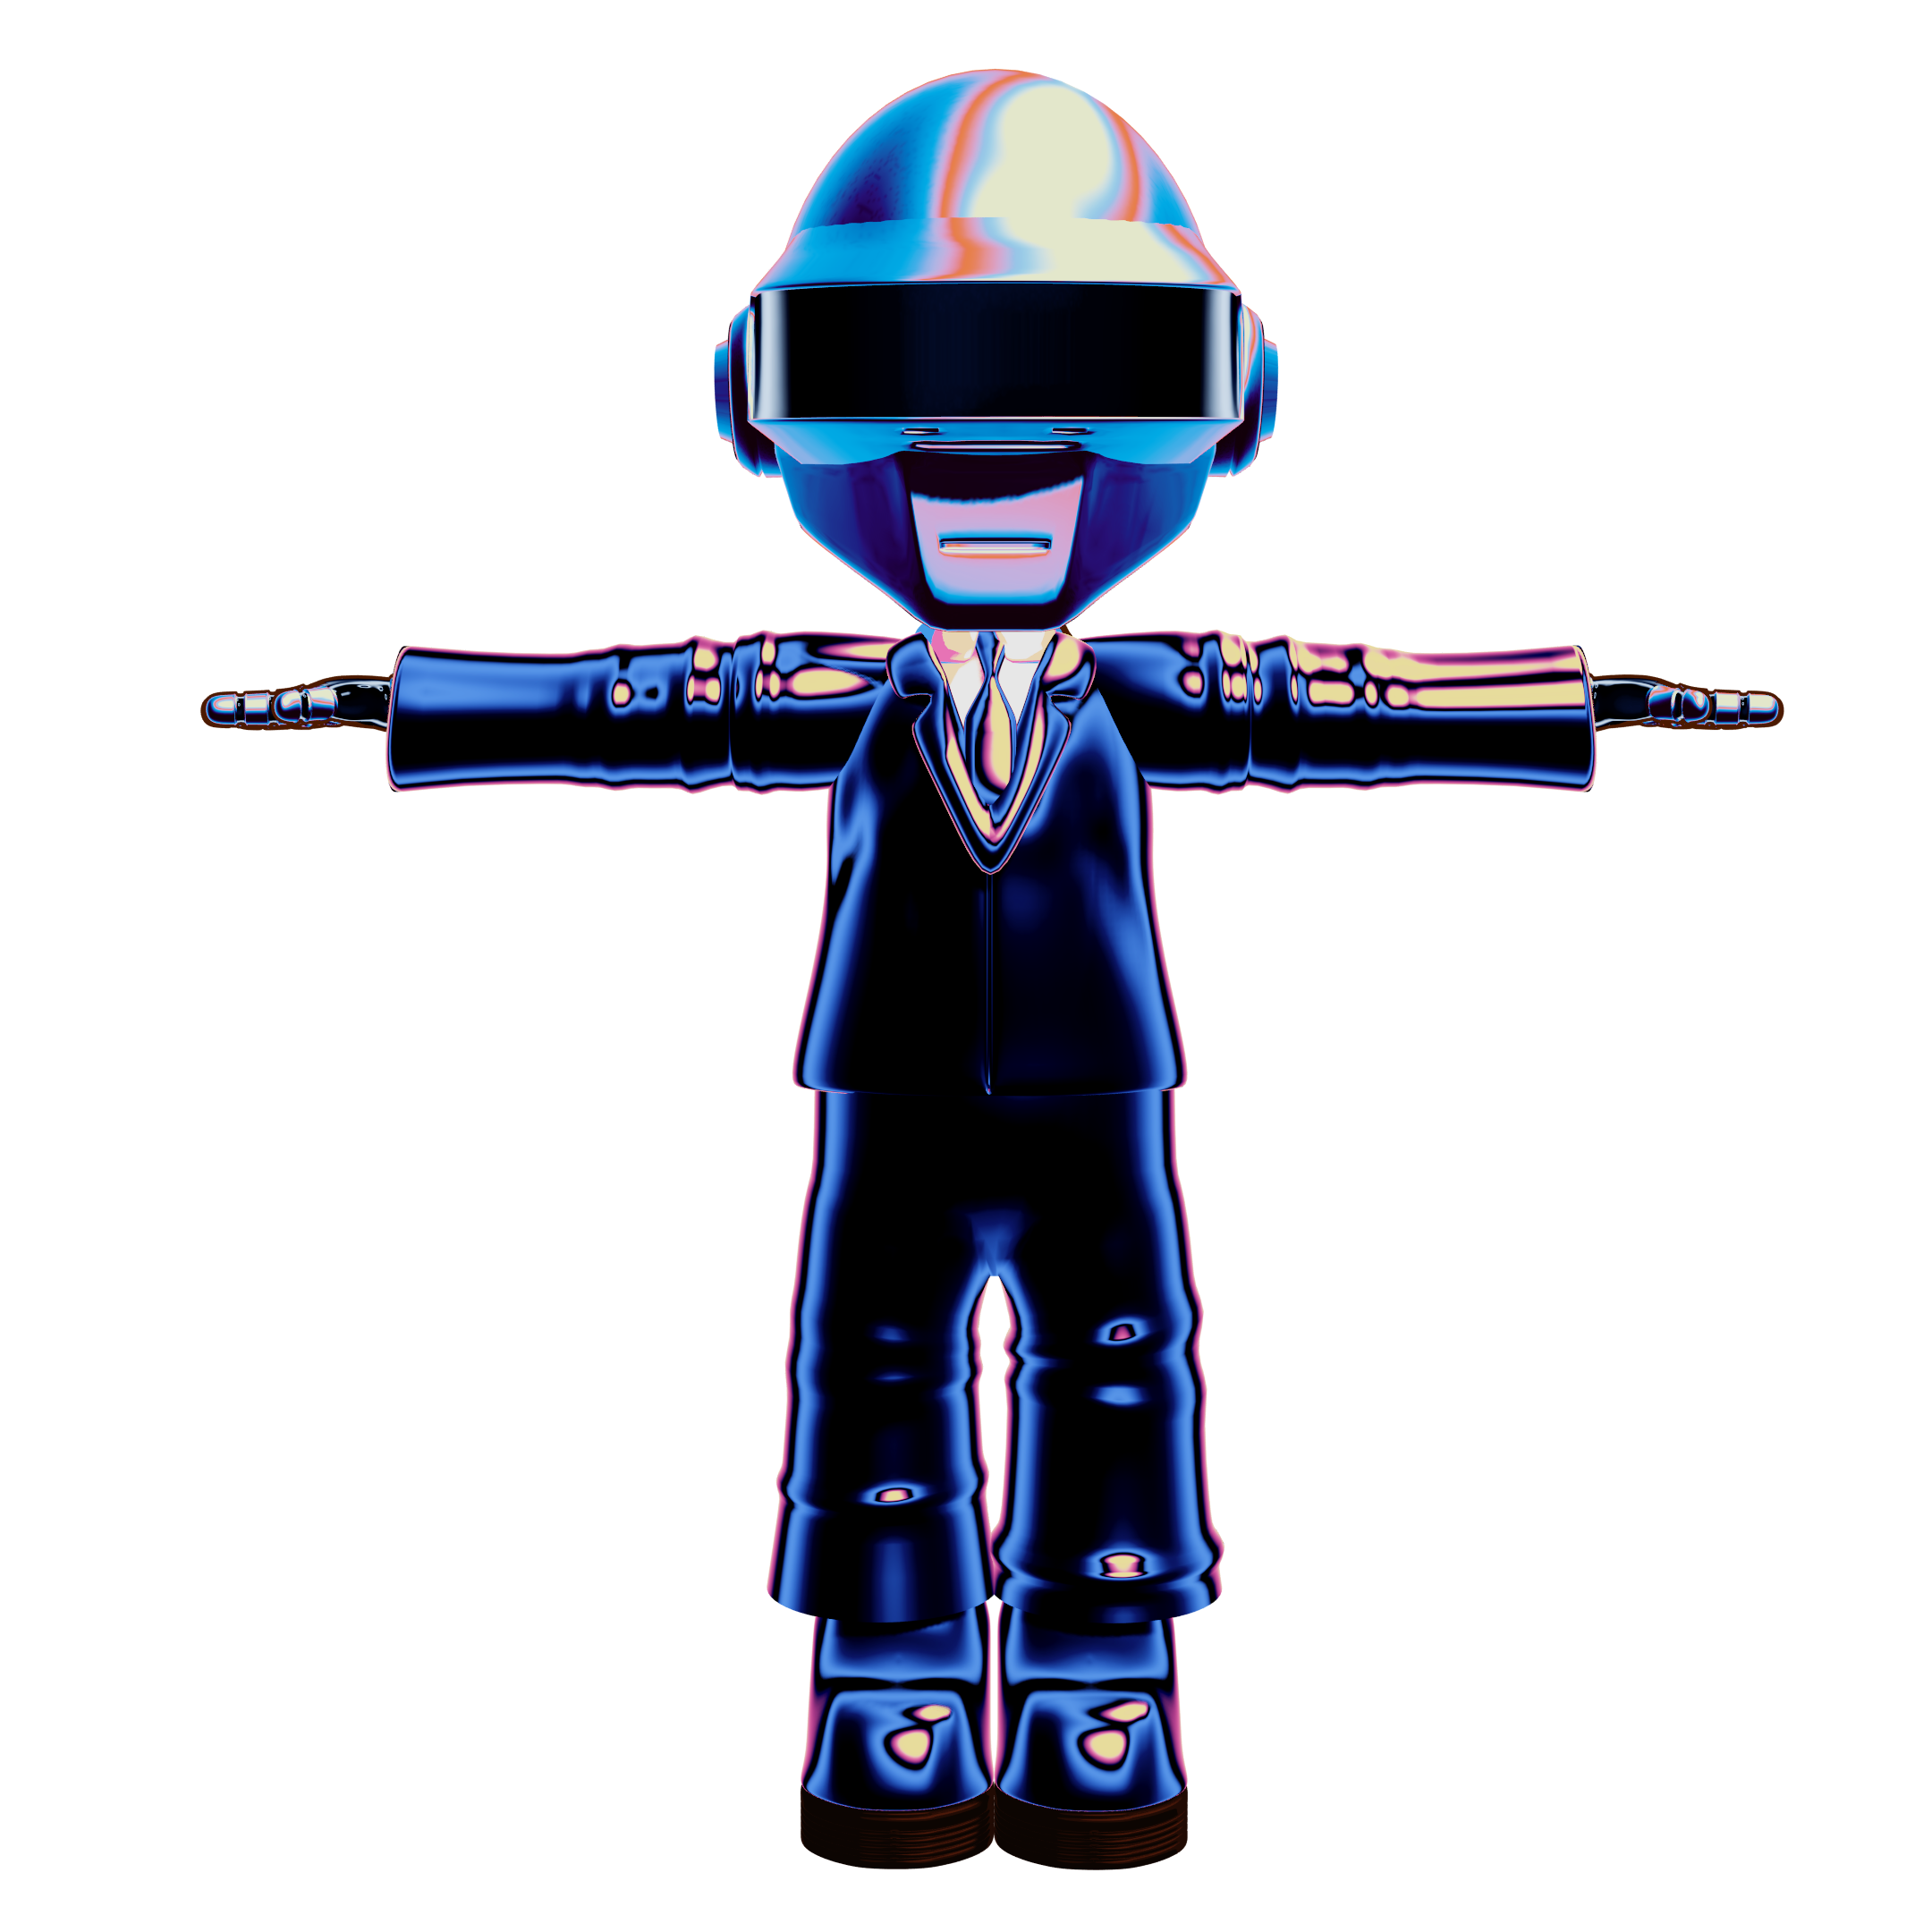
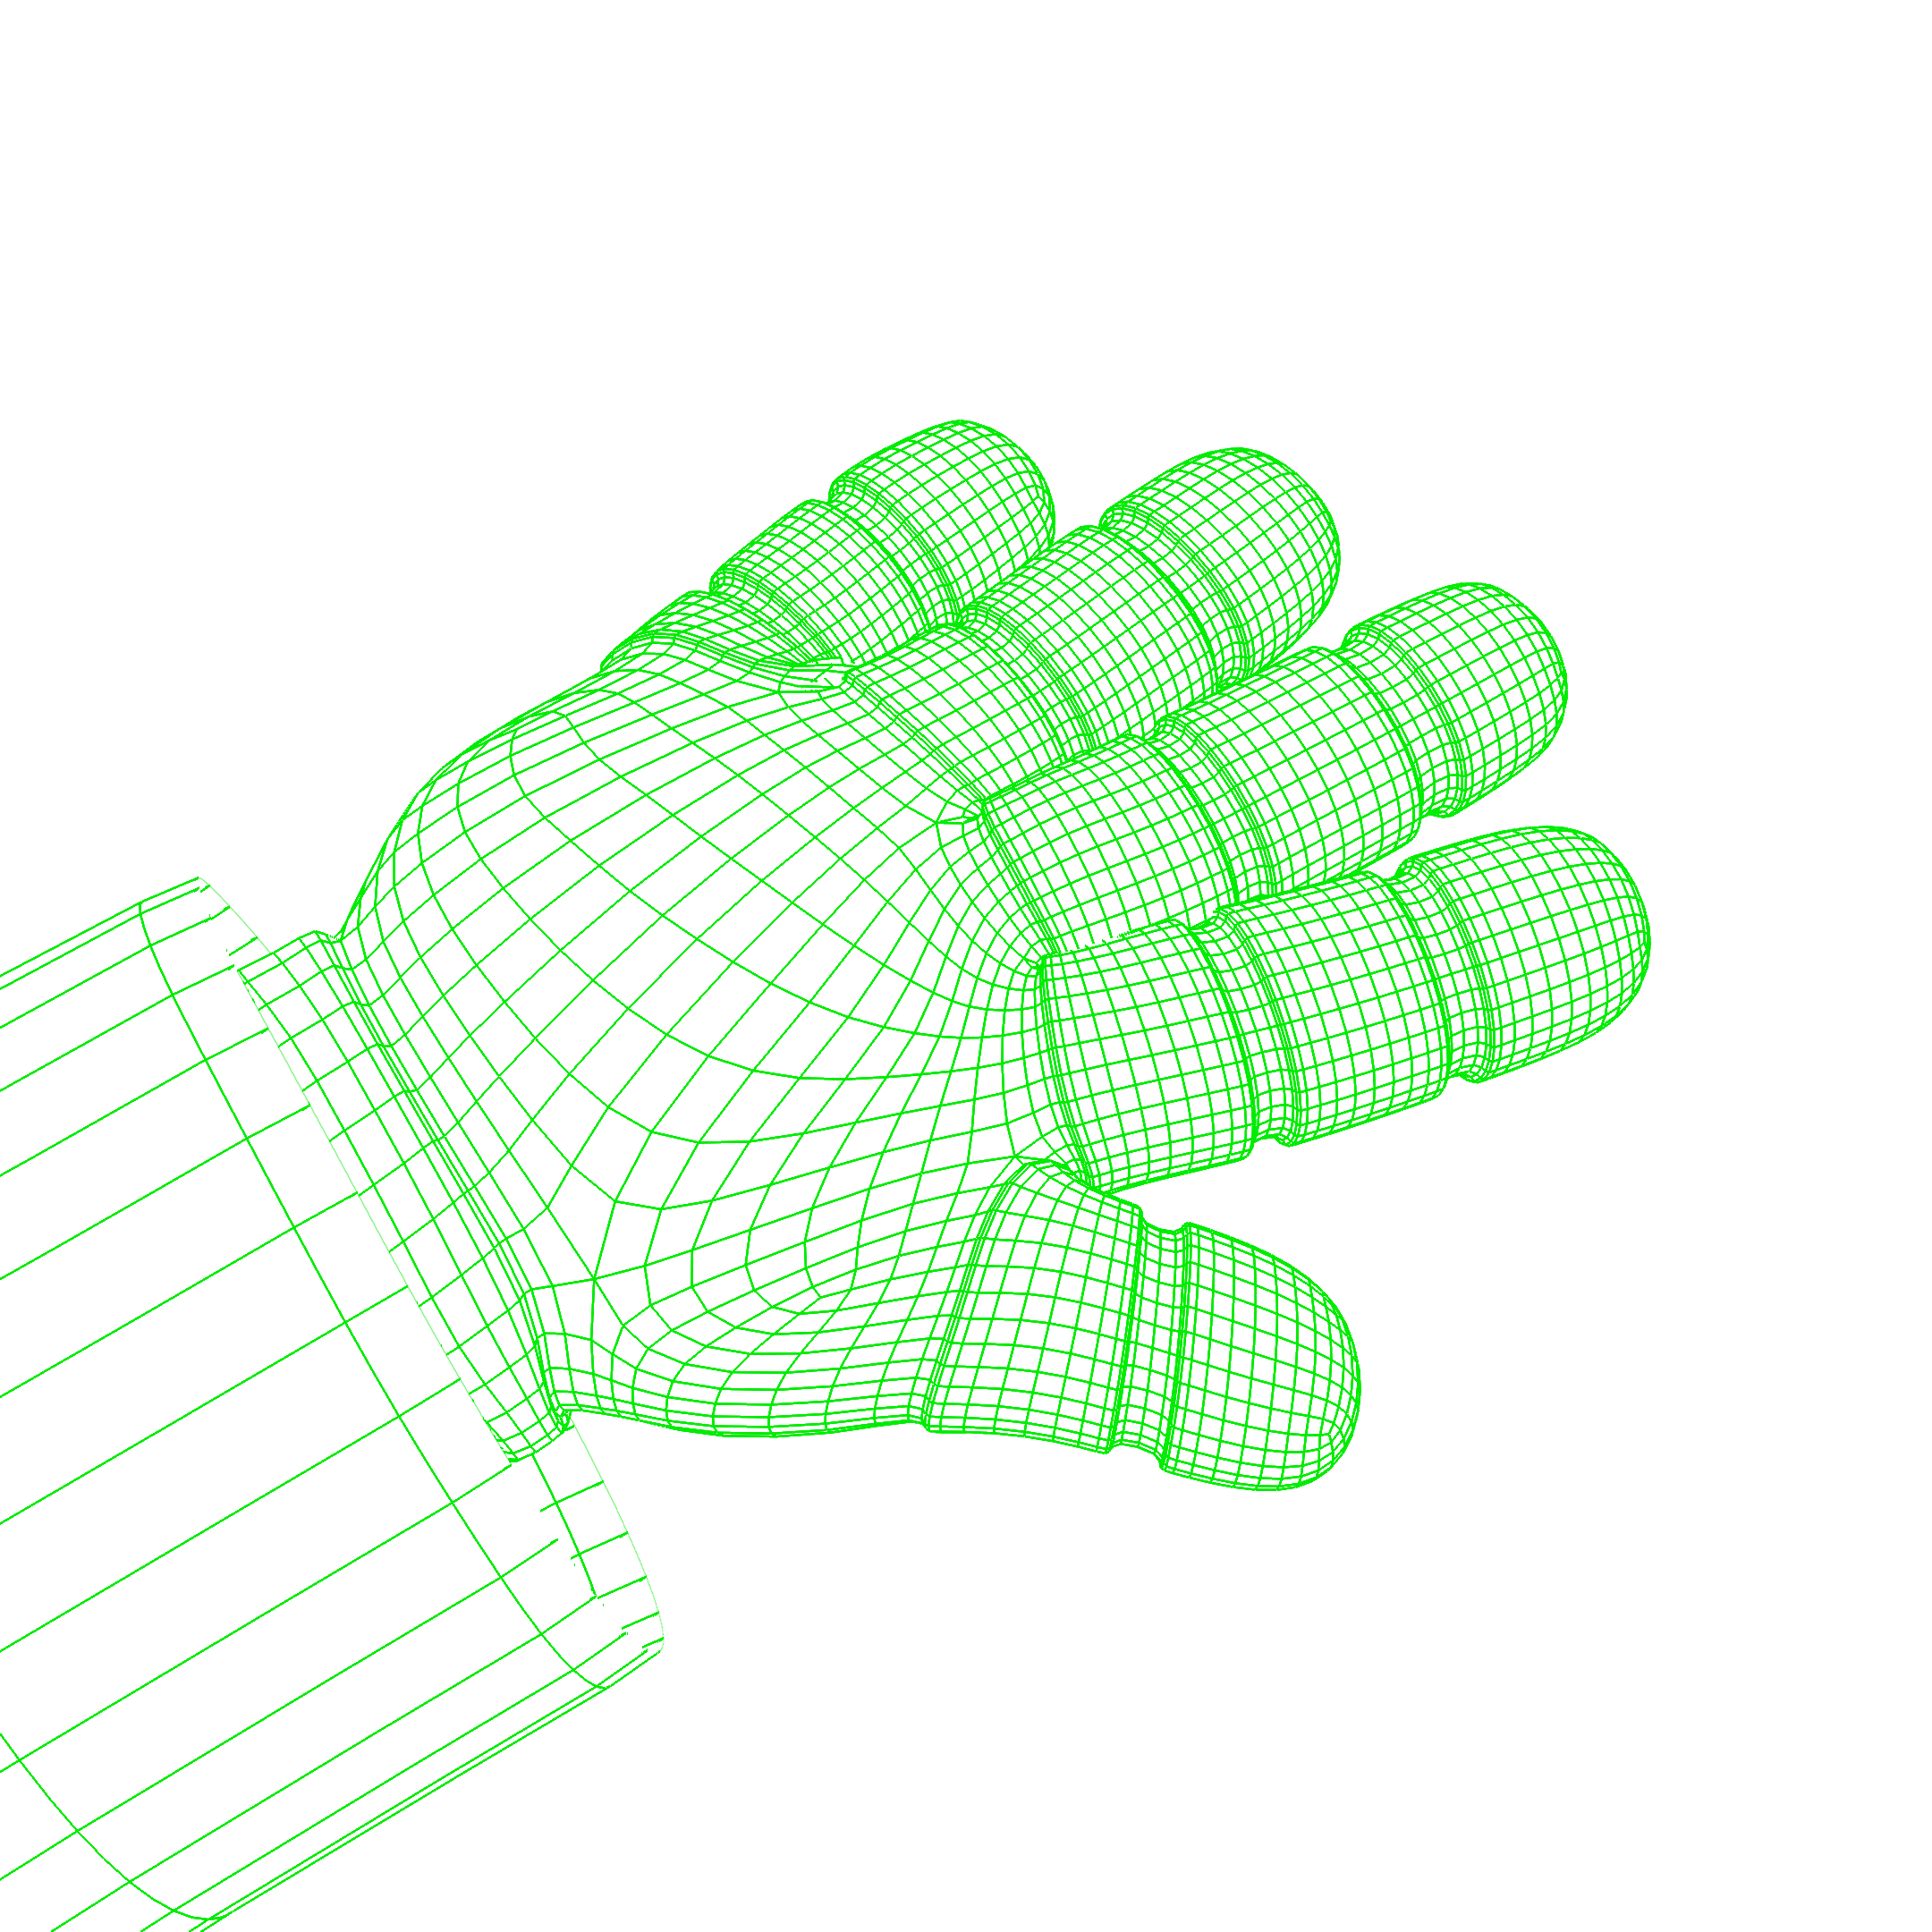
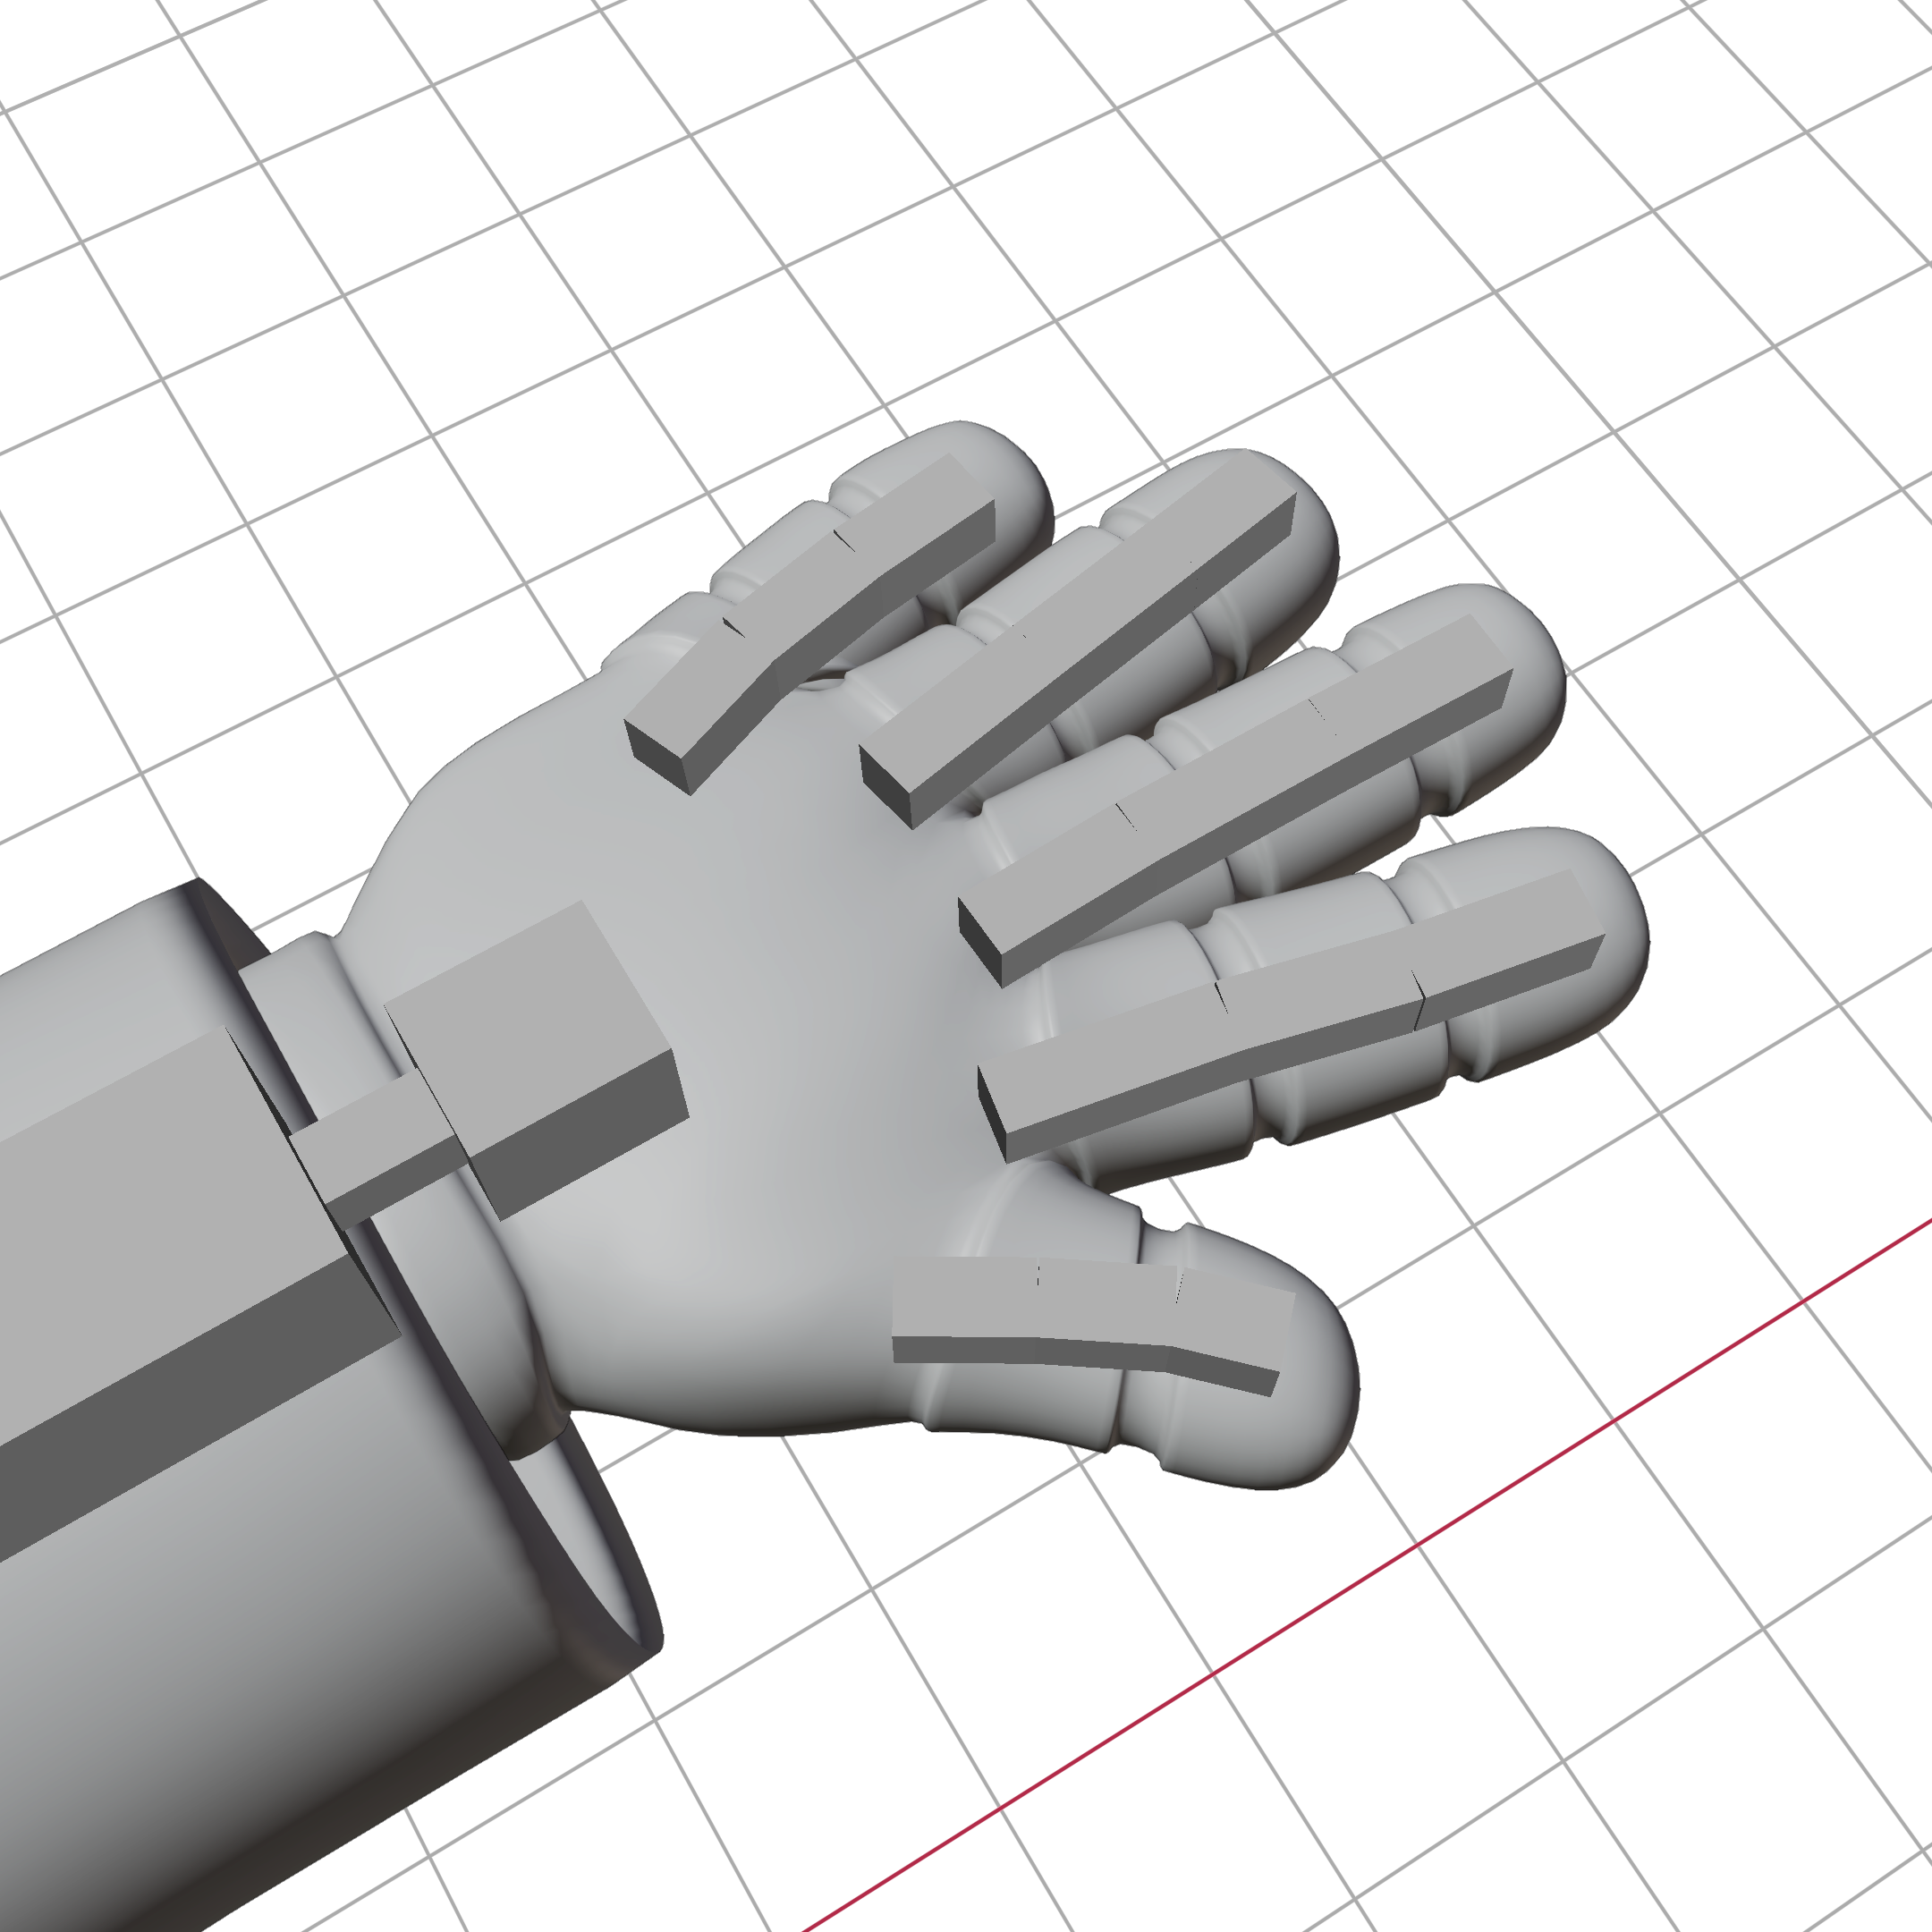
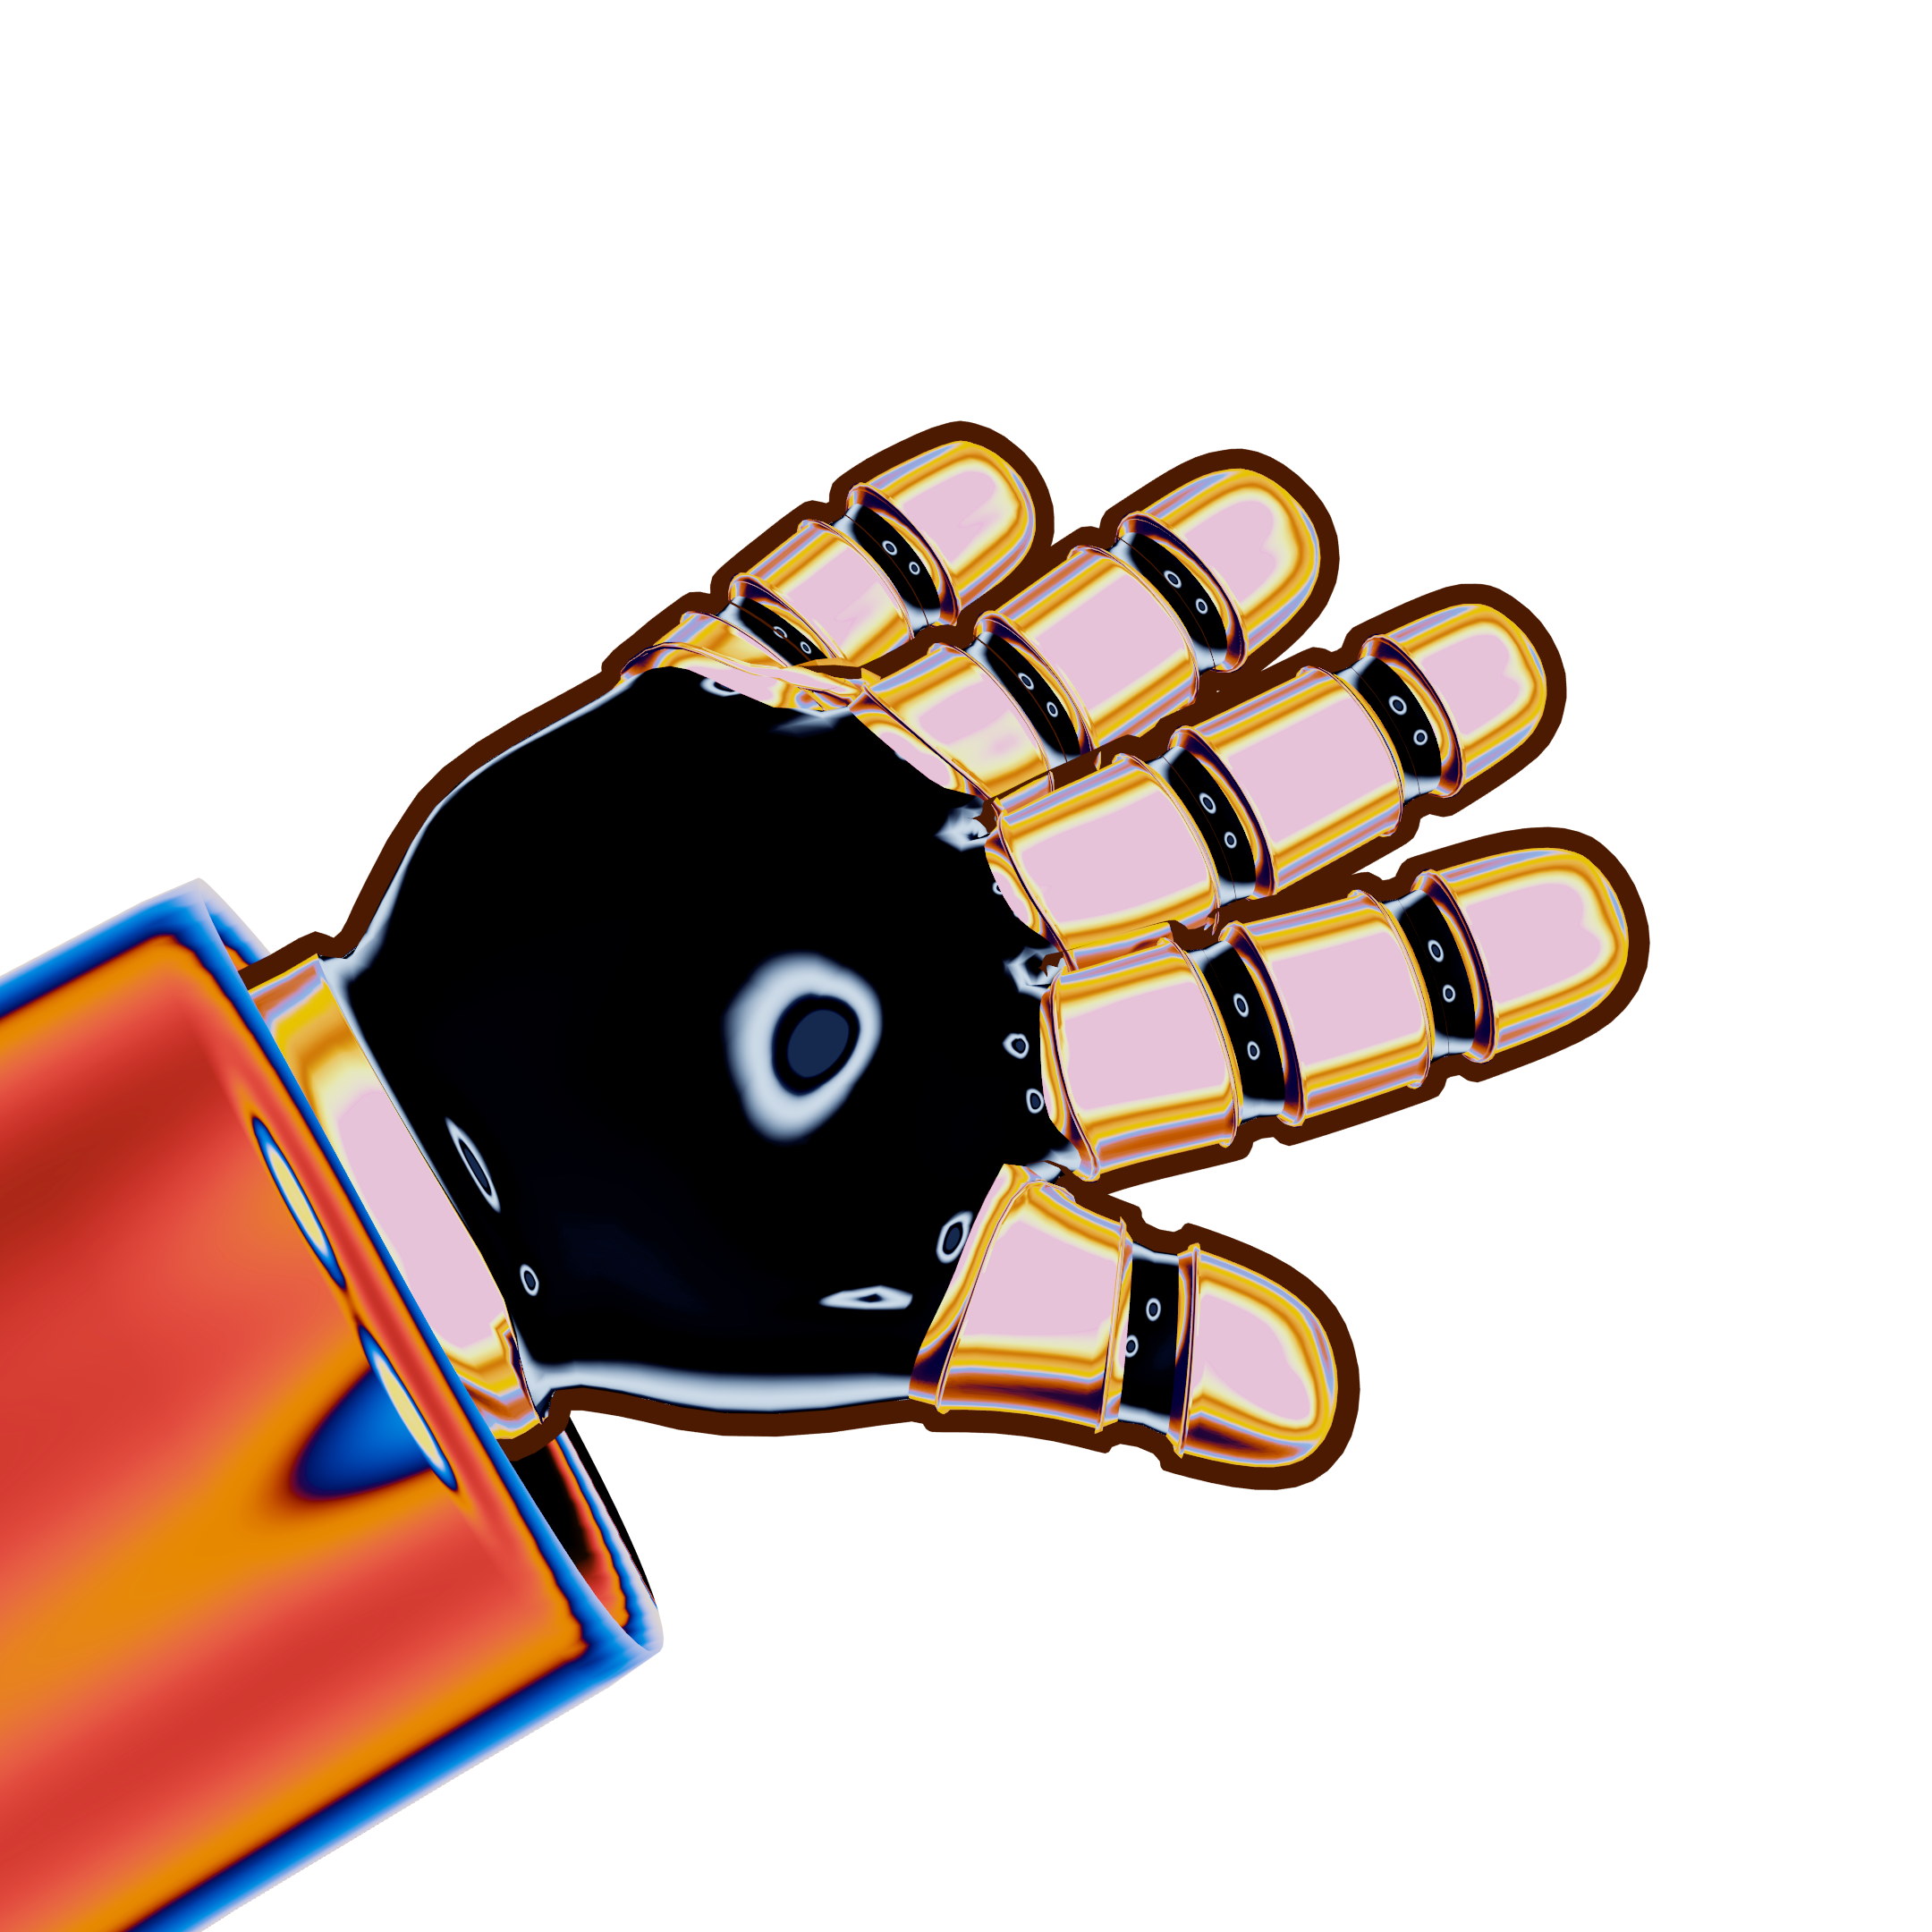
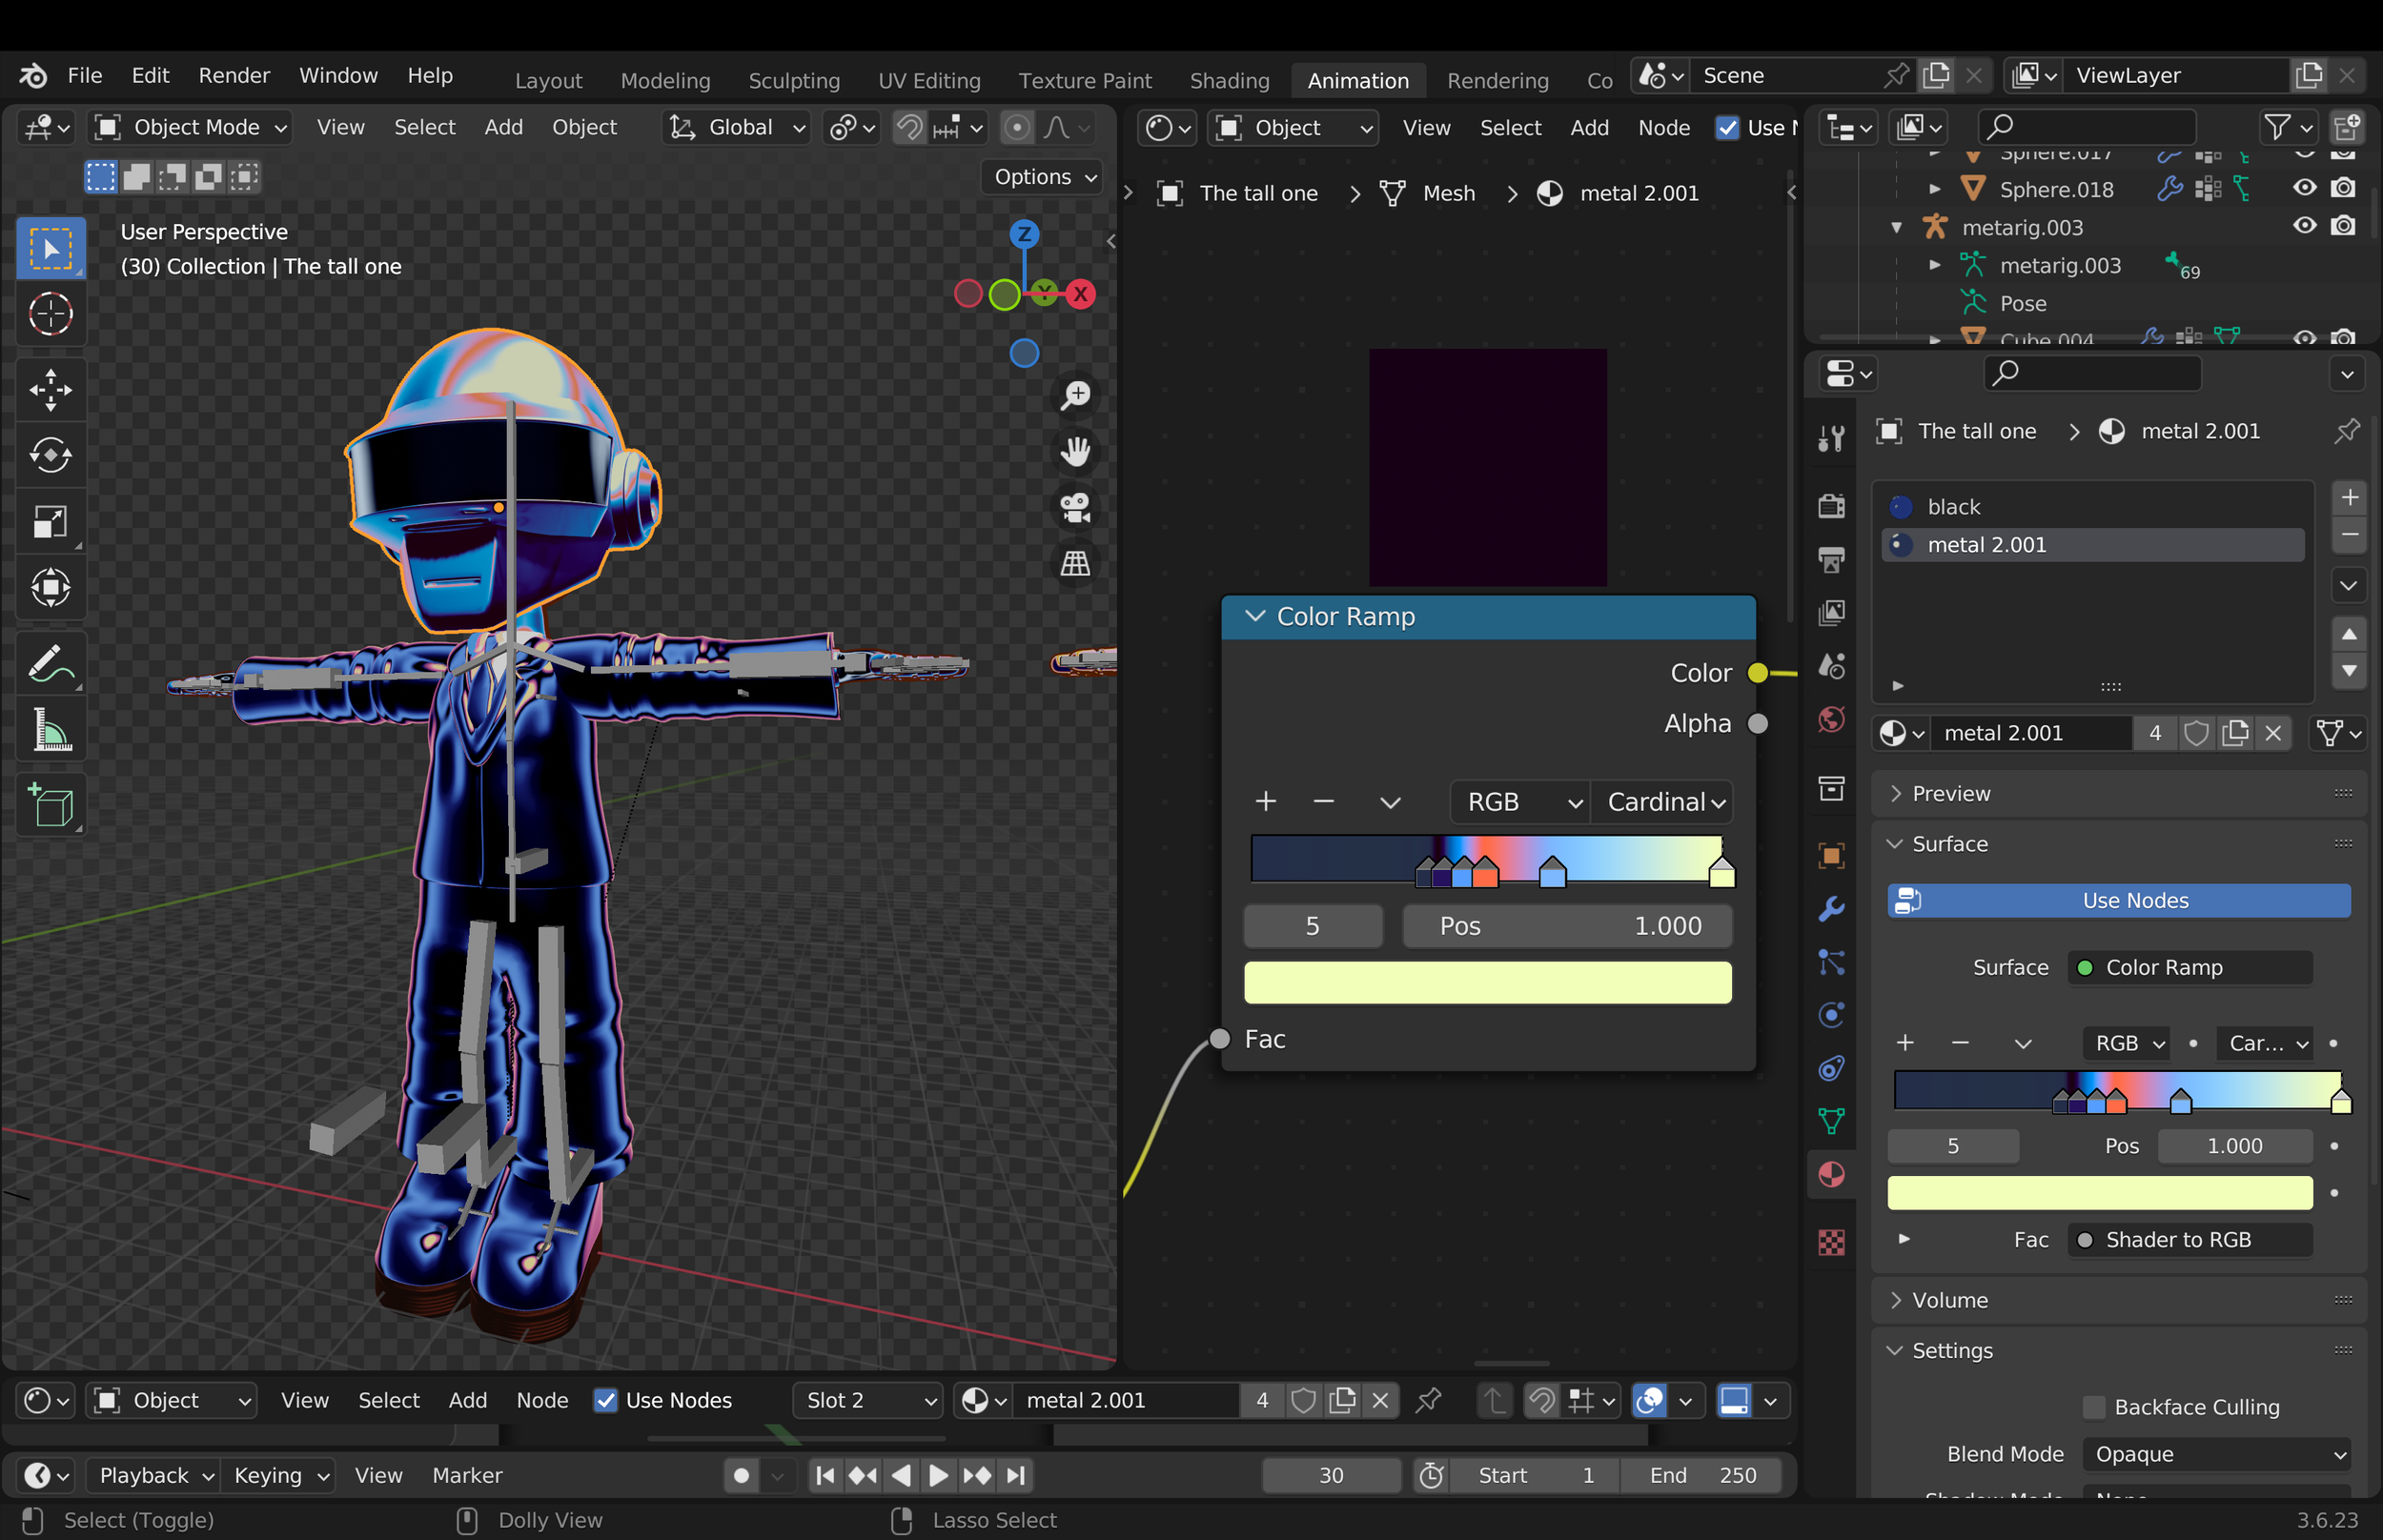
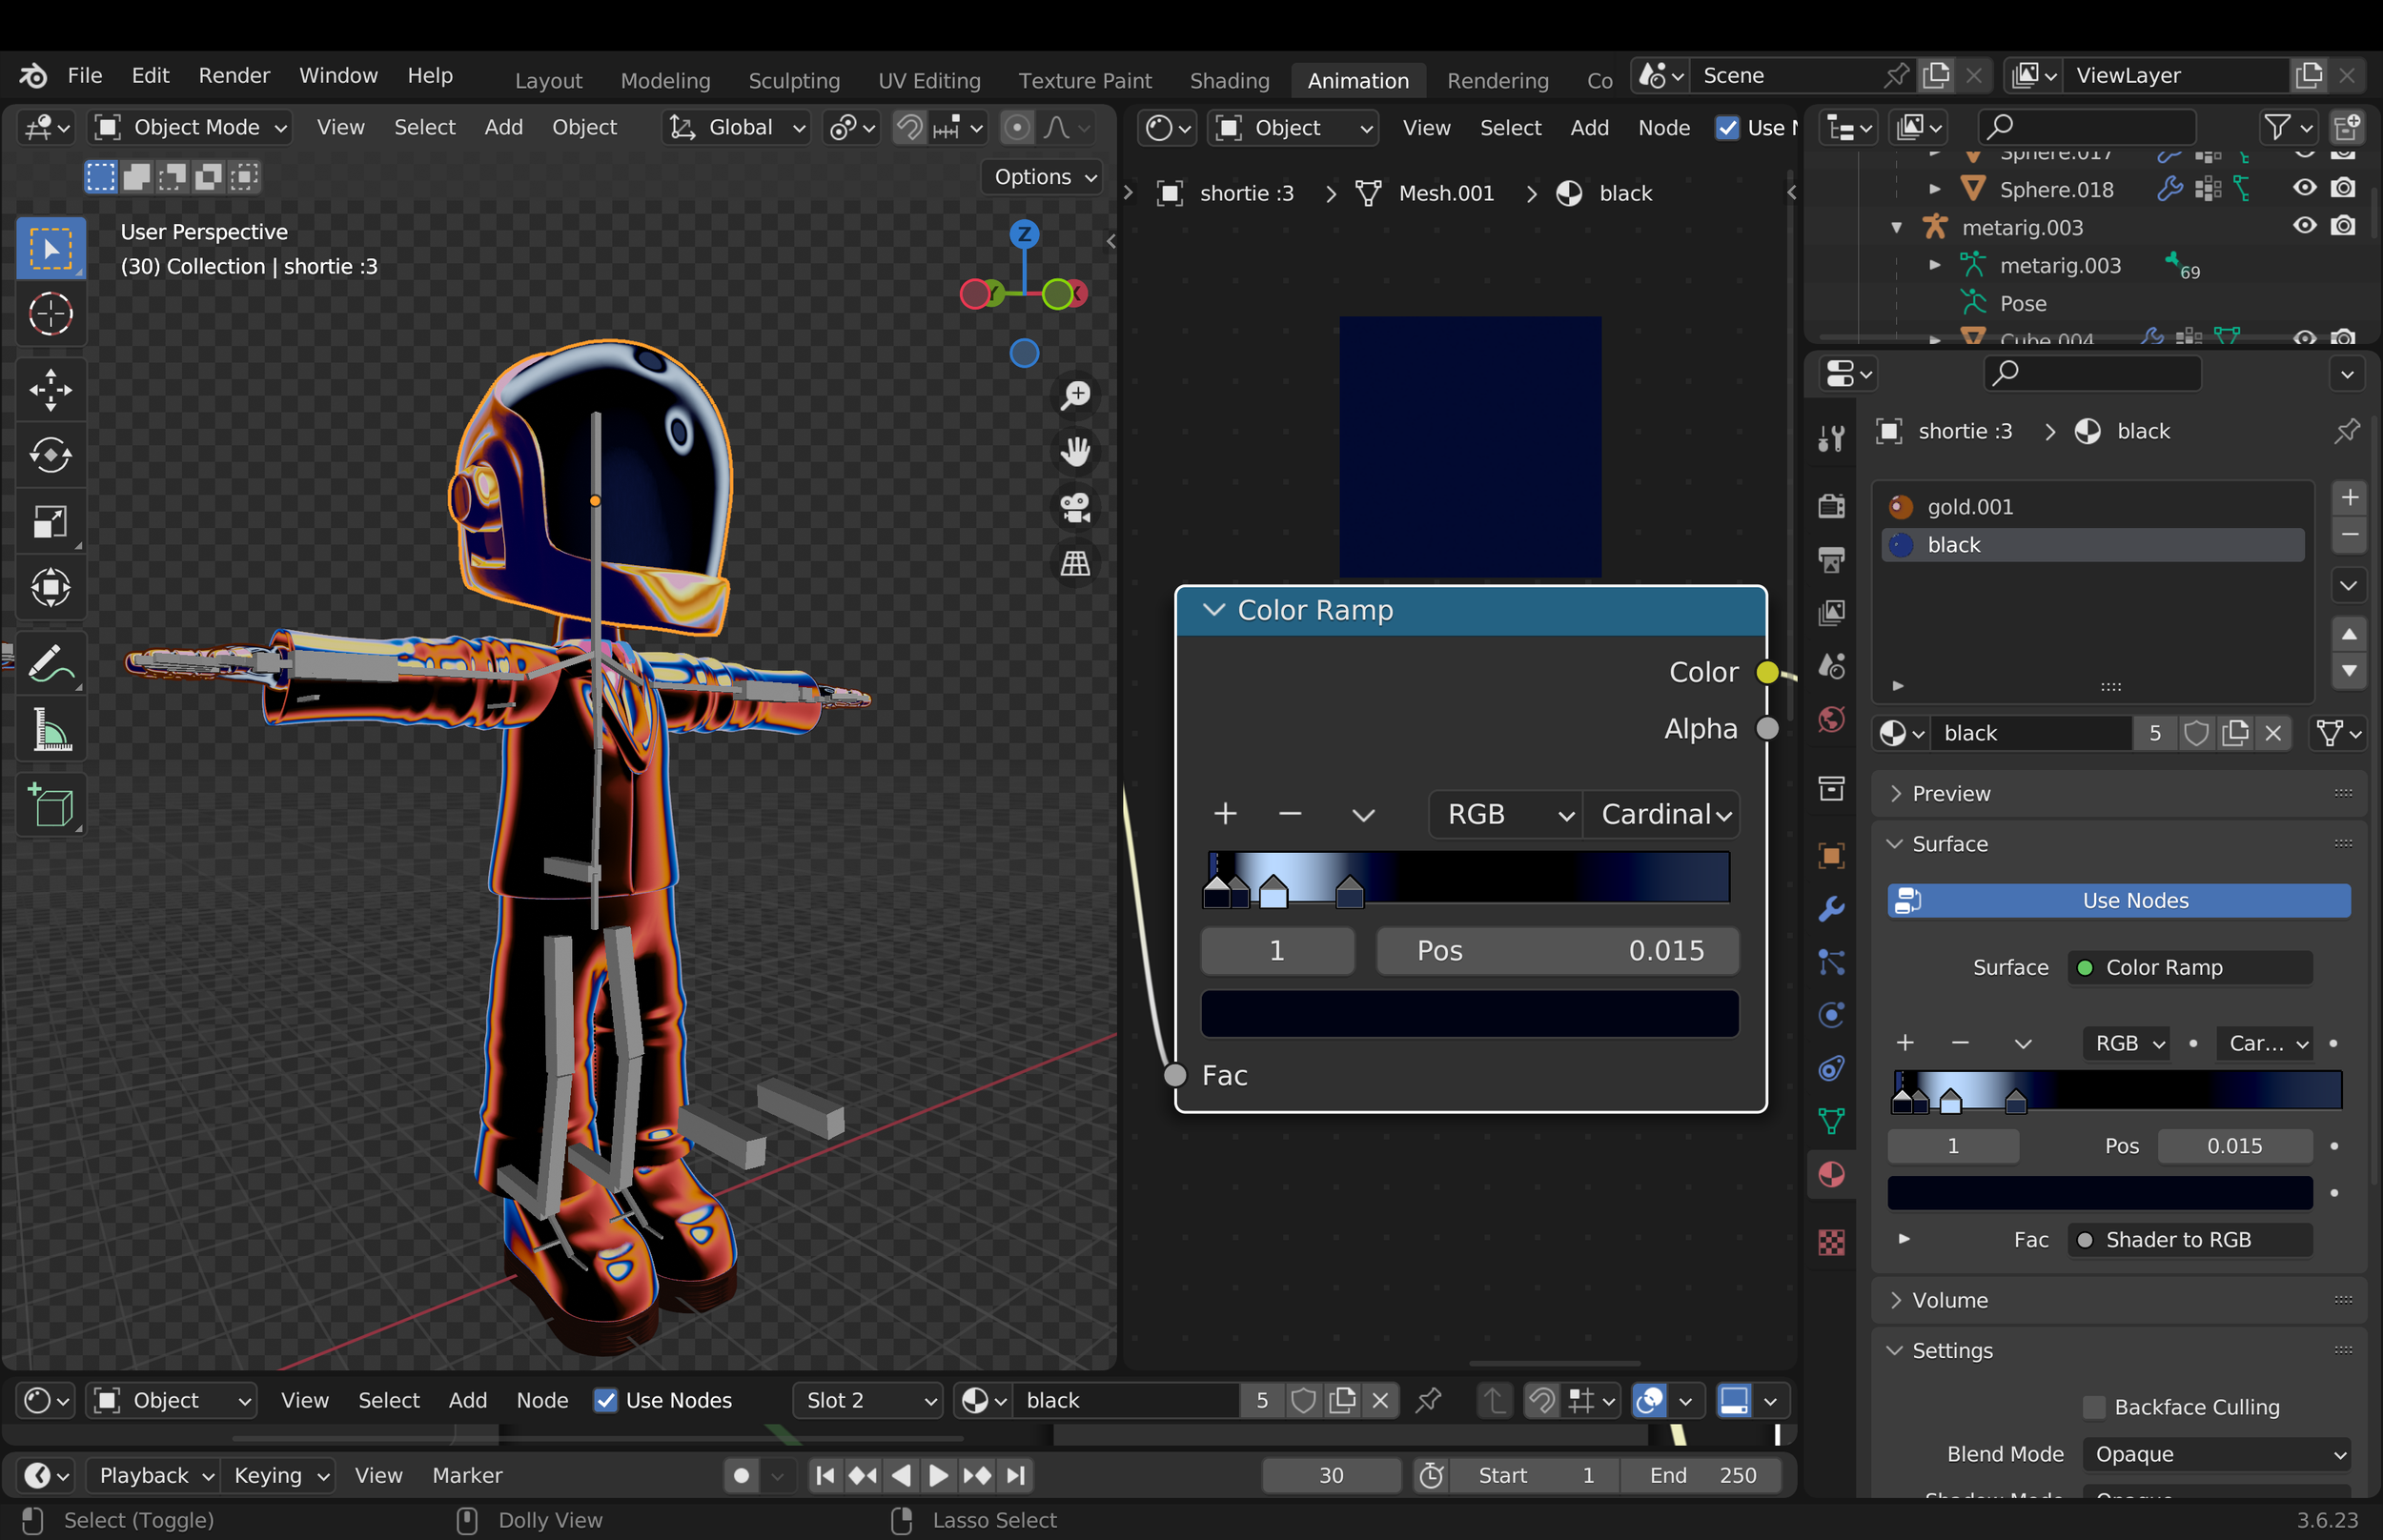
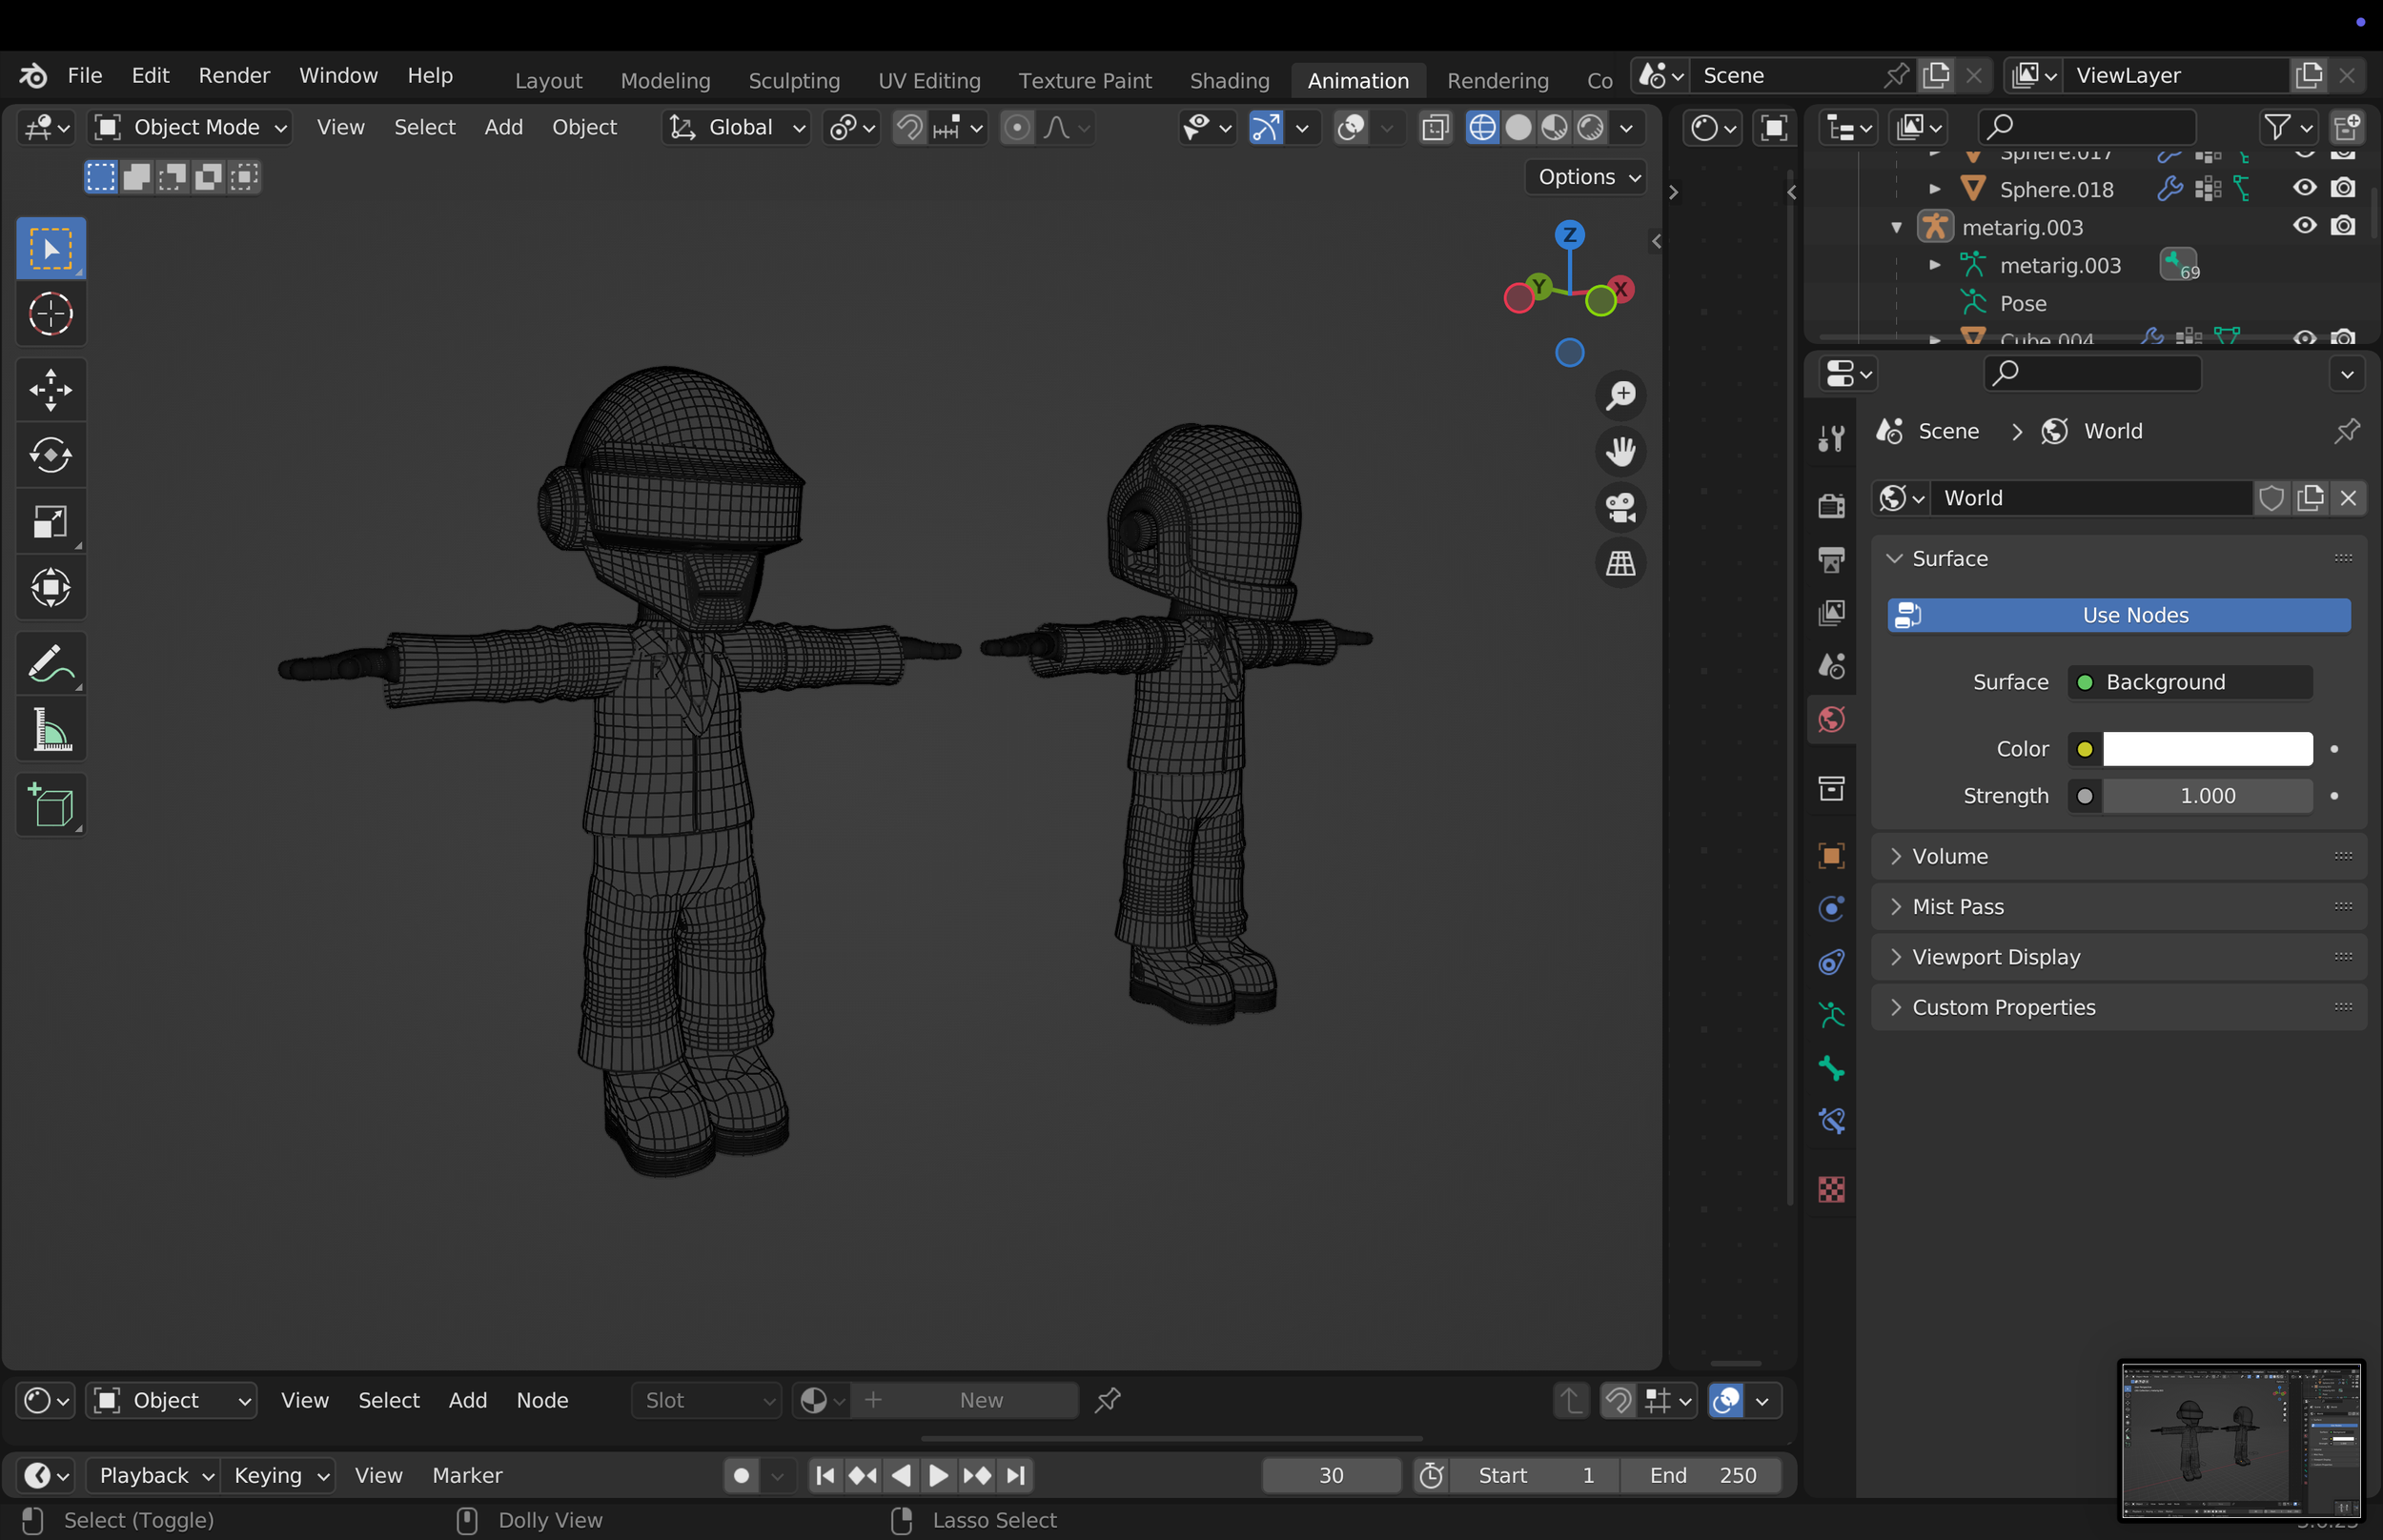
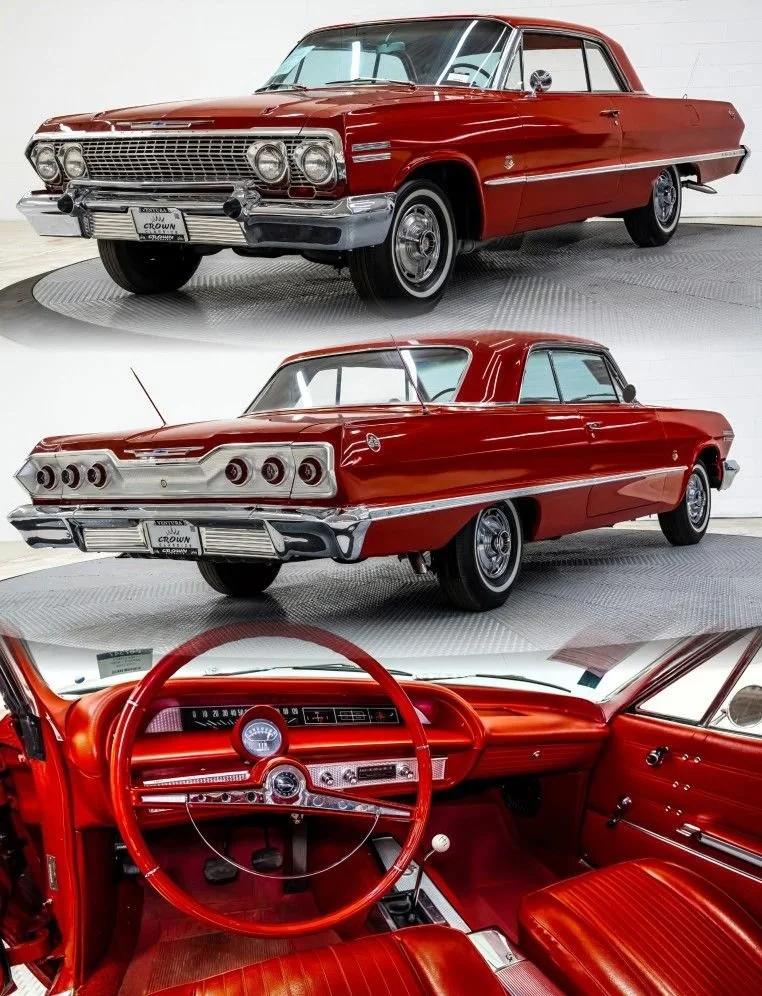
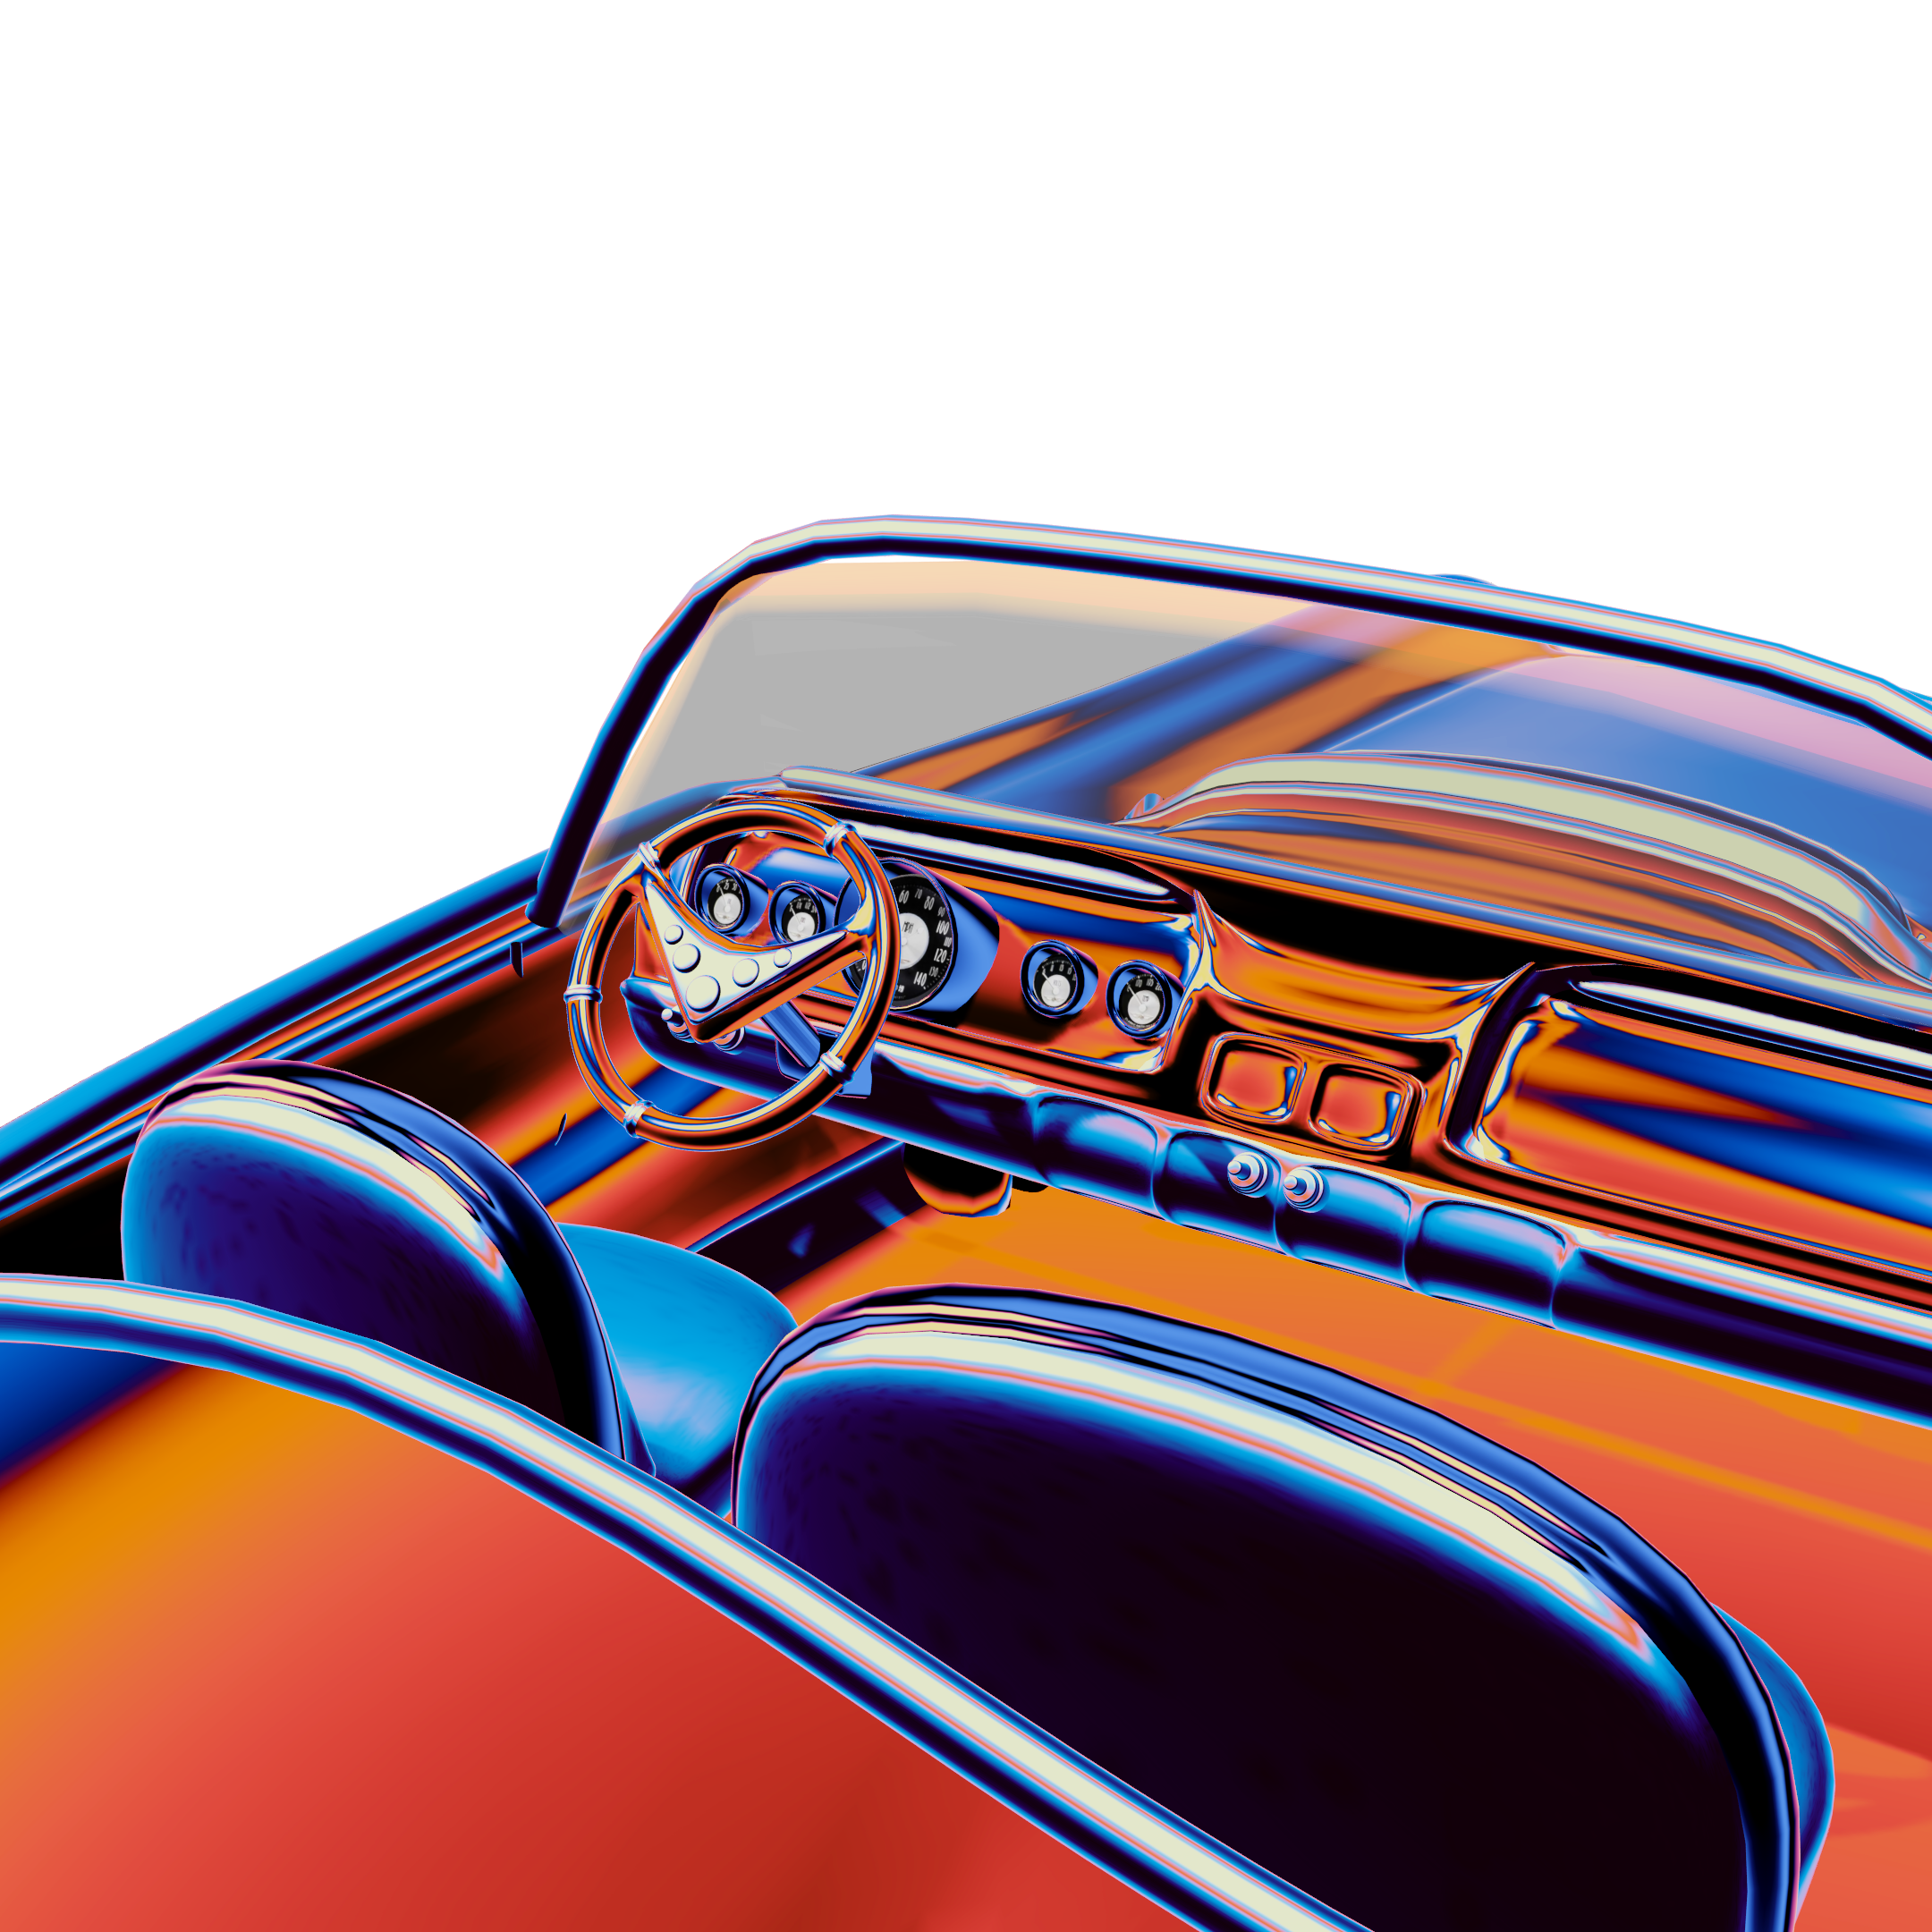
The modeling and shading were pretty delicate, since I wanted to accurately capture their look, especially through the different metallic color schemes that help set the overall mood. I wasn’t aiming for strict anatomical realism, but rather a balance between something believable and something playful, keeping the forms expressive without feeling overly realistic.
BEHIND THE SCENES
BEHIND THE SCENES
MODELING
THE OBJECTS
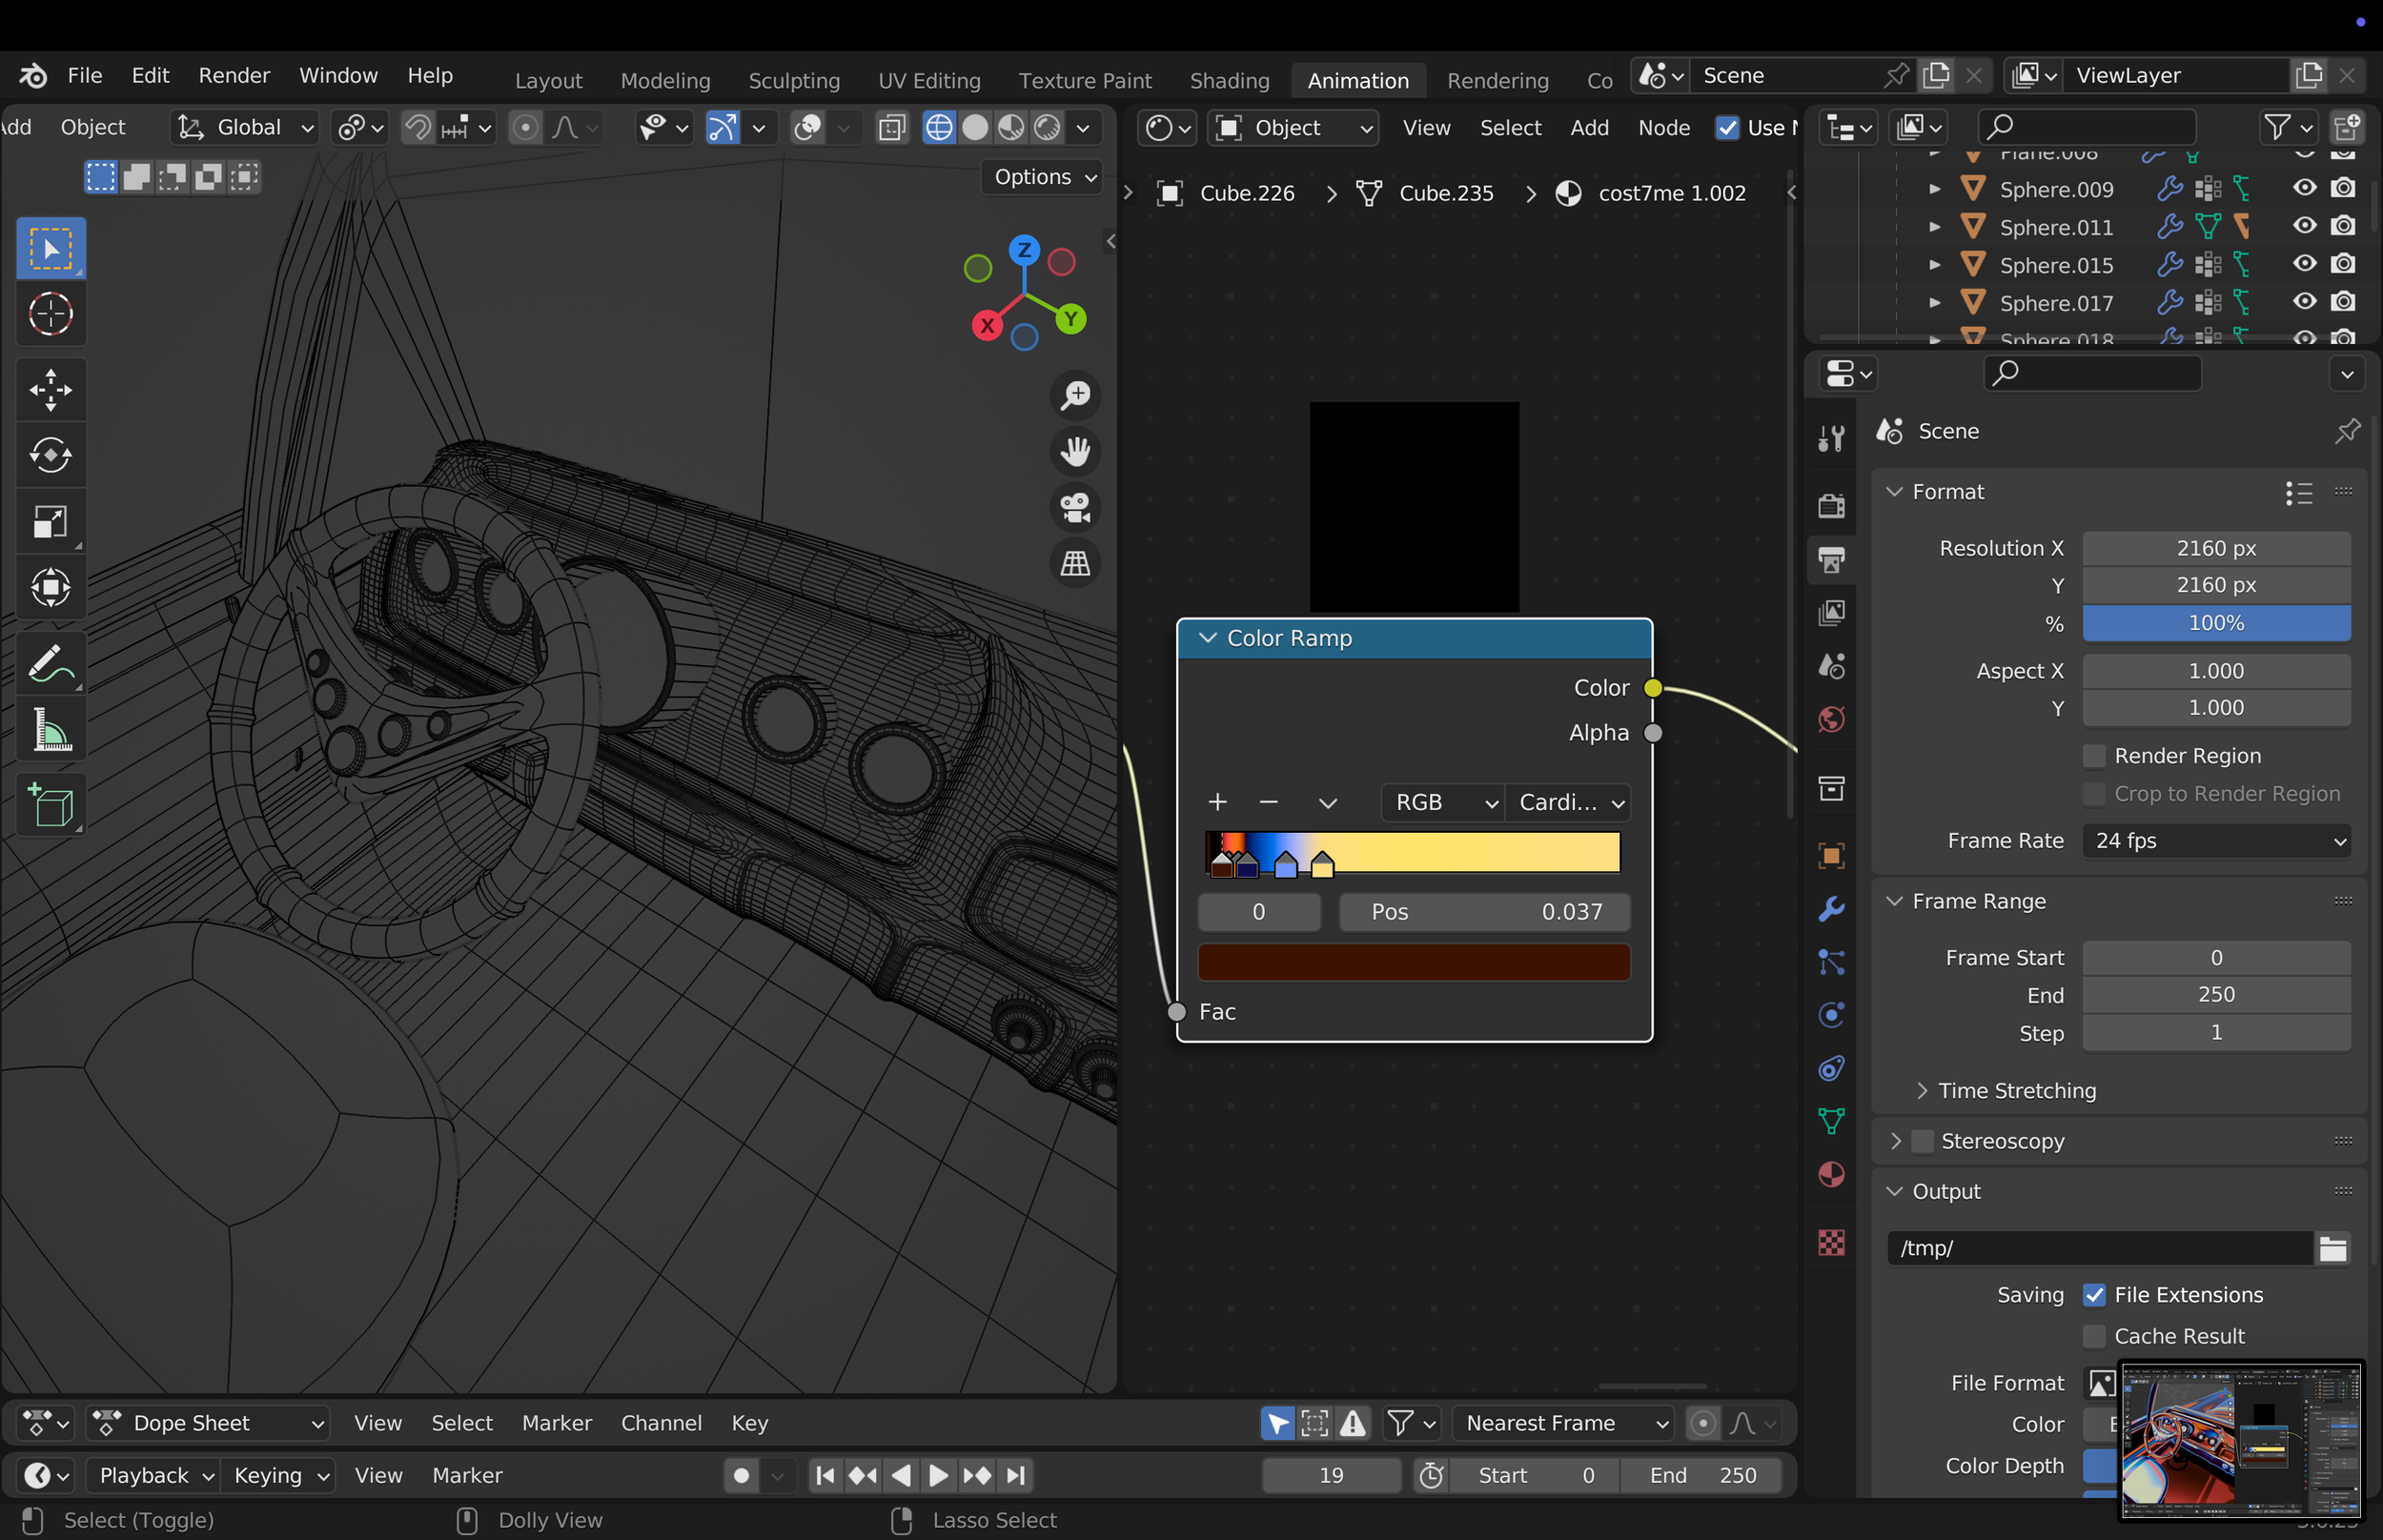
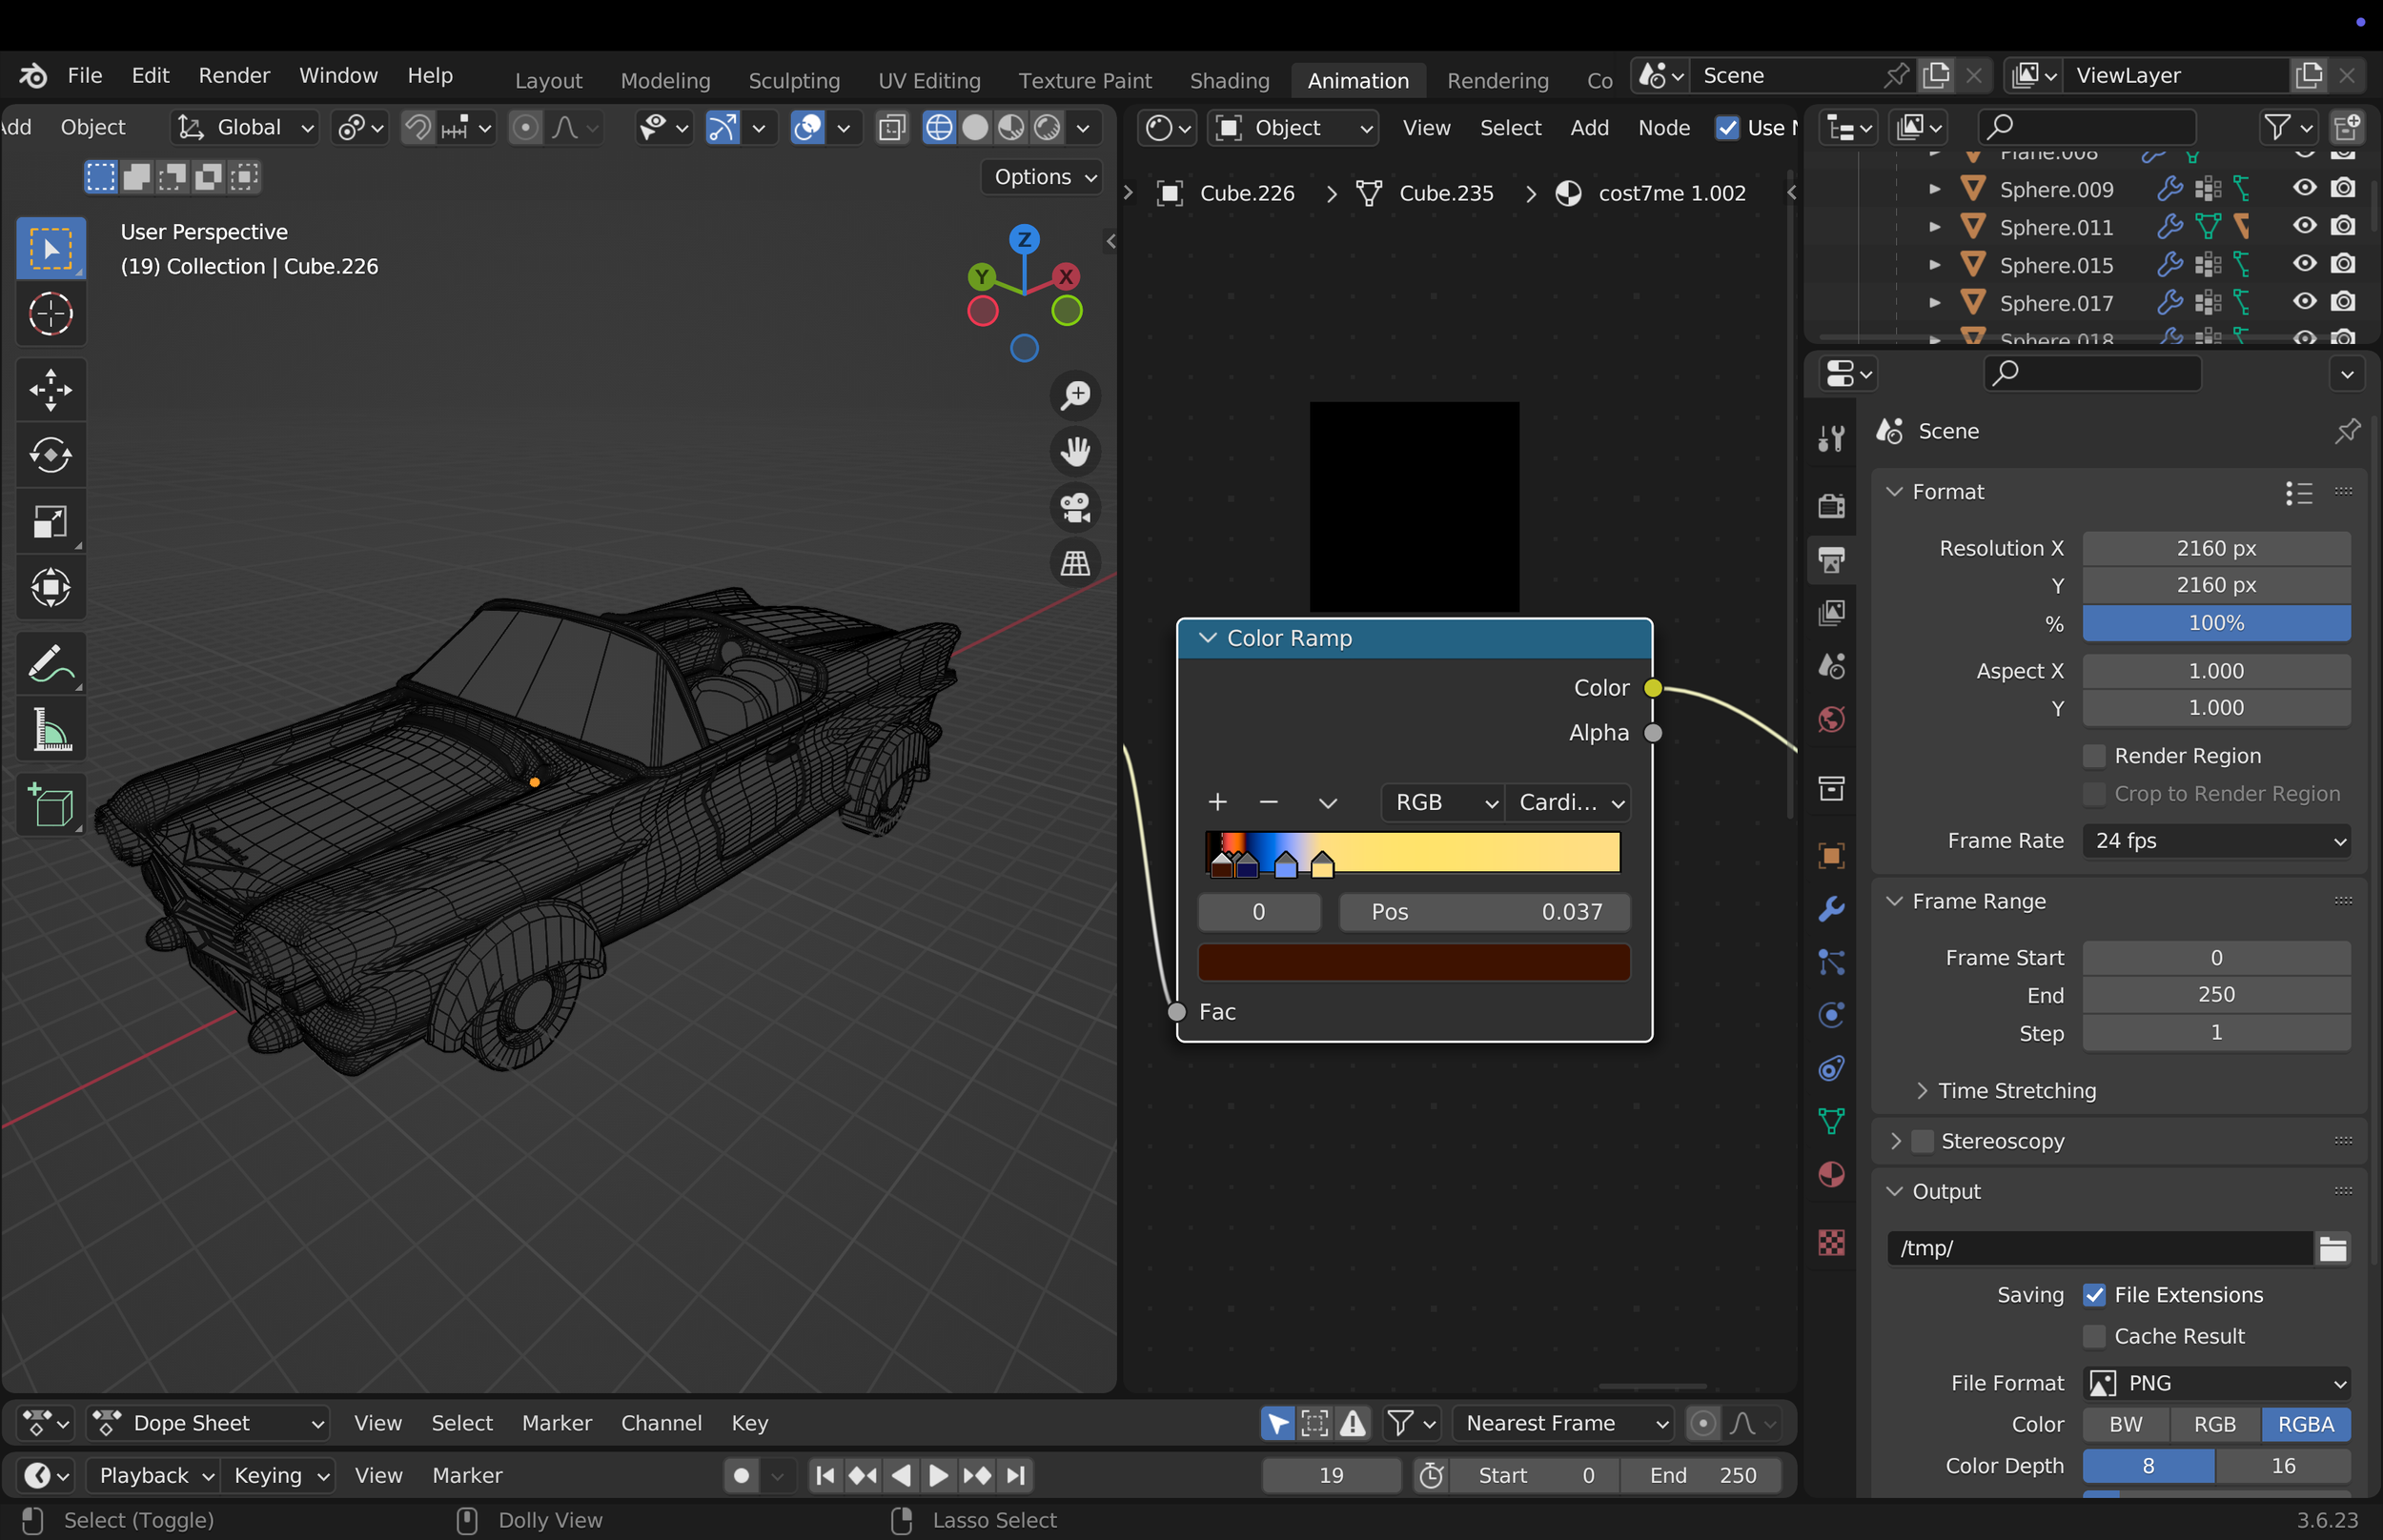
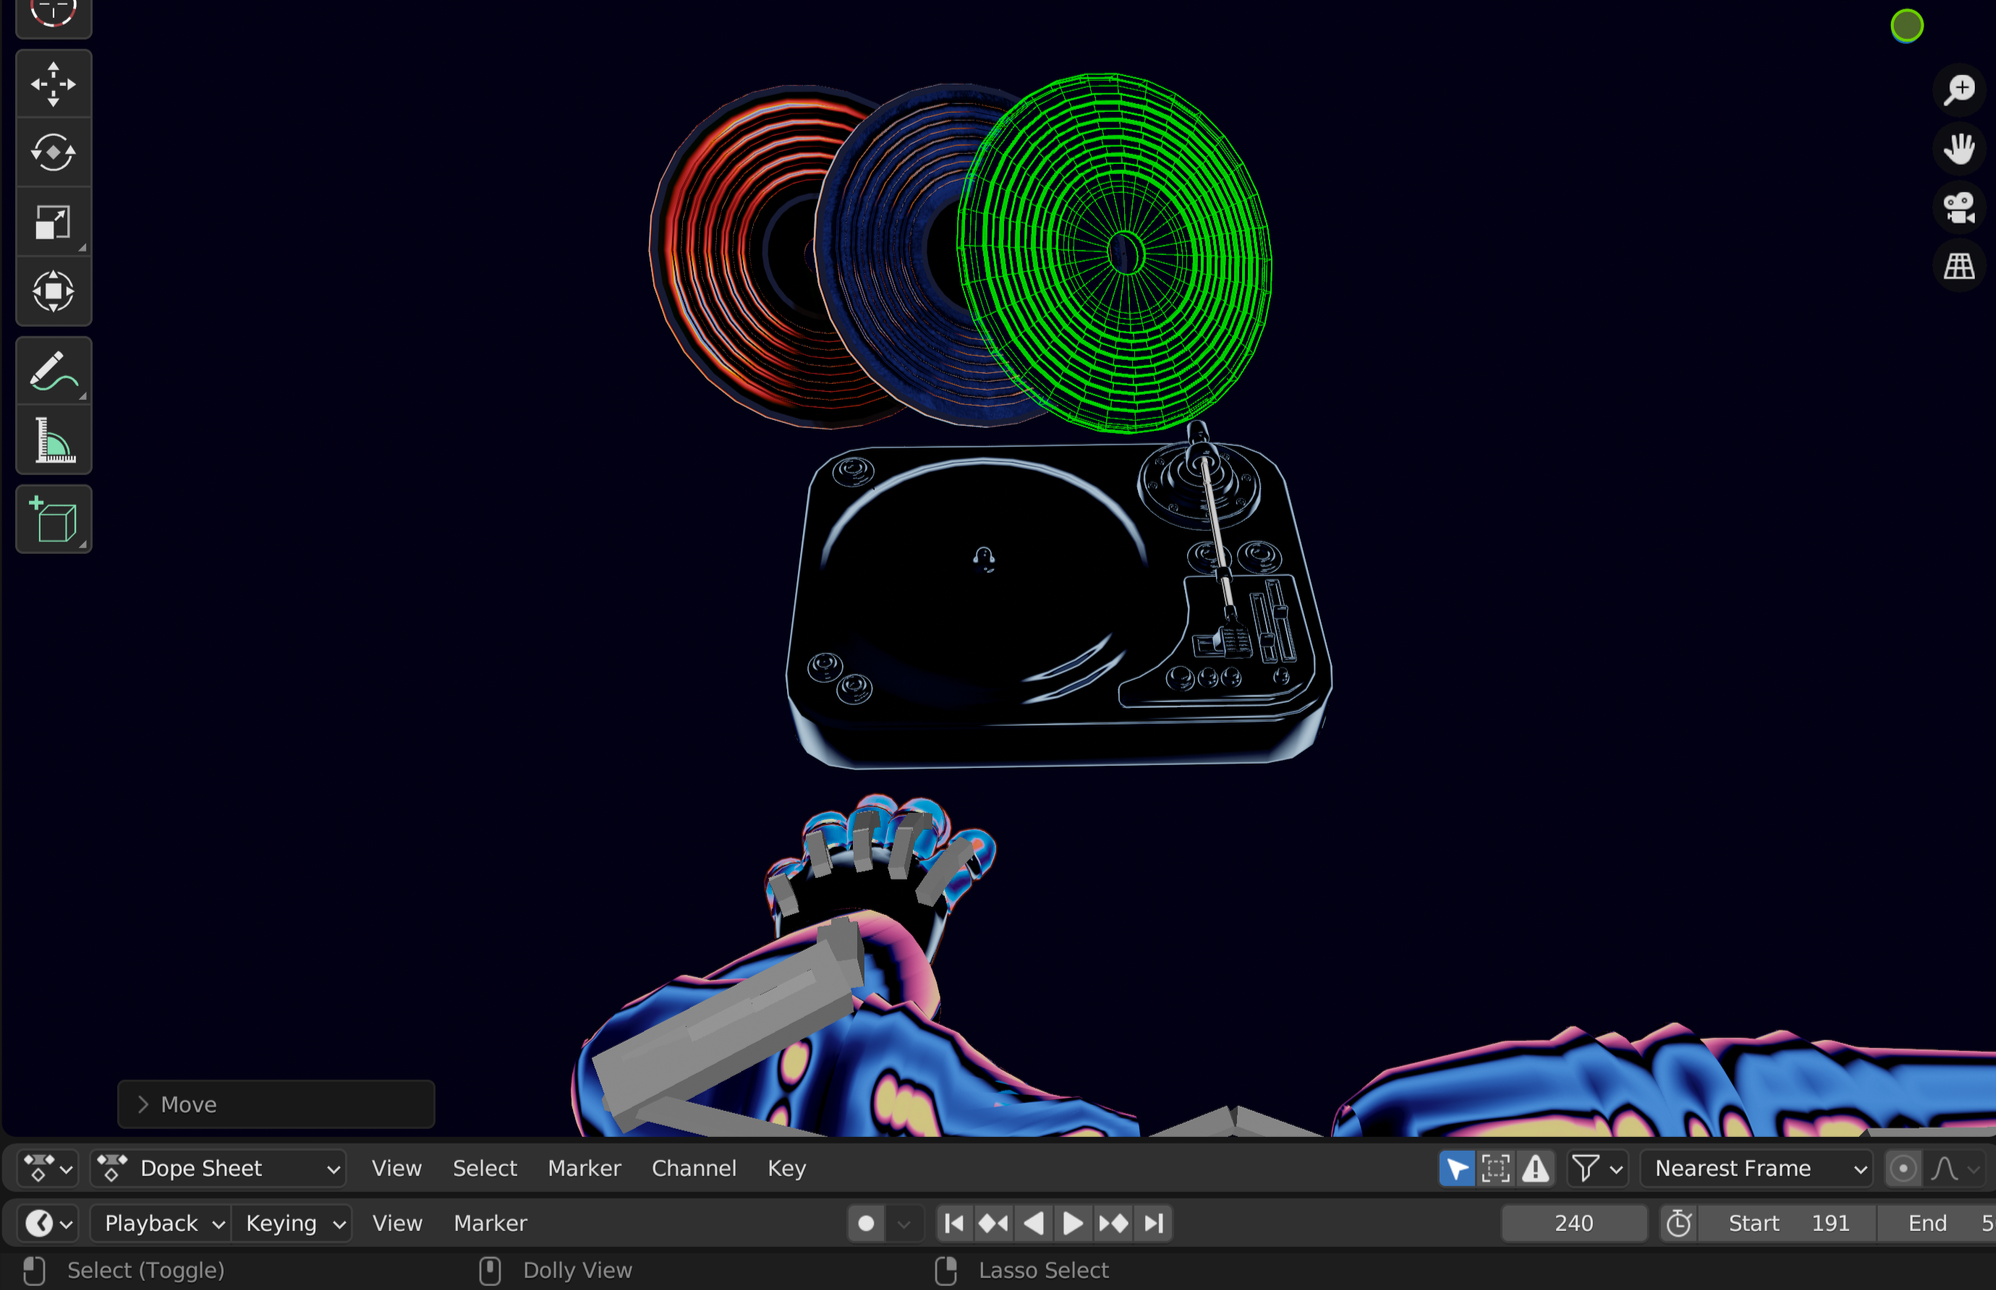
Before cutting the clips in After Effects, I make sure that every object I need is fully modeled. Here, for example, you can see the keyboard and the mixing console first in their modeling stage, and then in their final rendered version.

There is, however, one object that took significantly more time to model and required much more detail, and that’s something I’ll dive into in the next section.


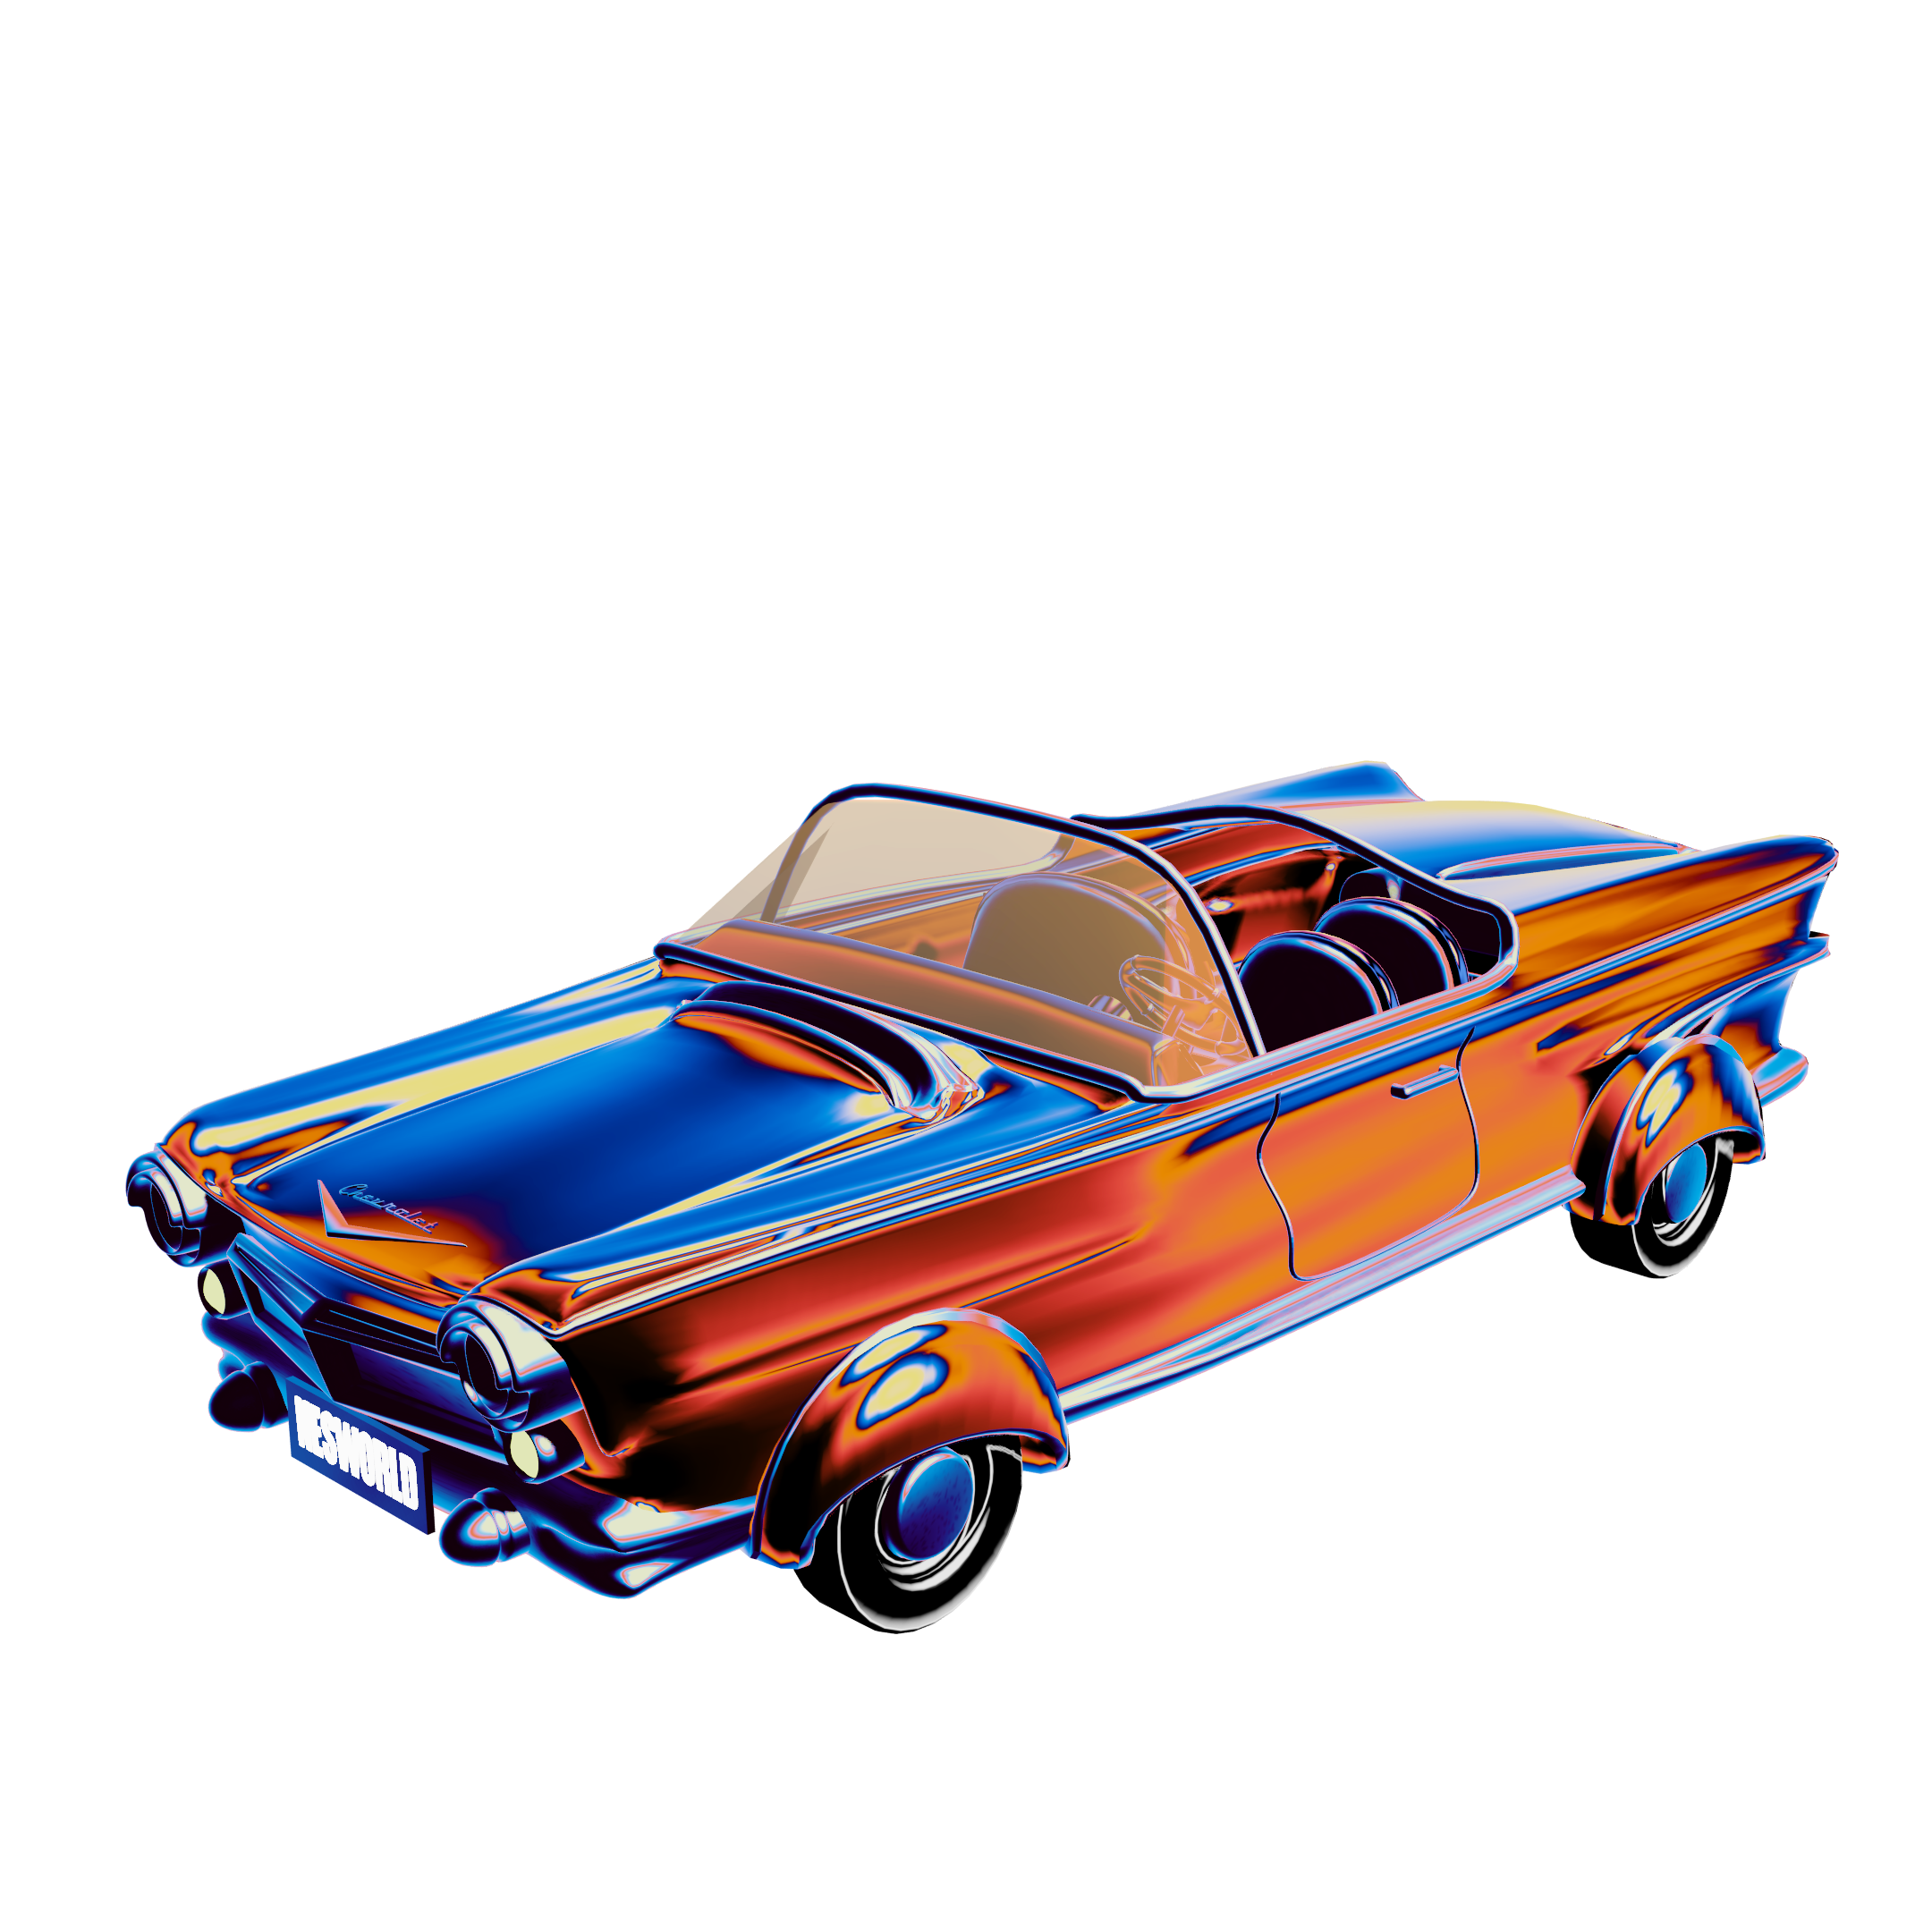
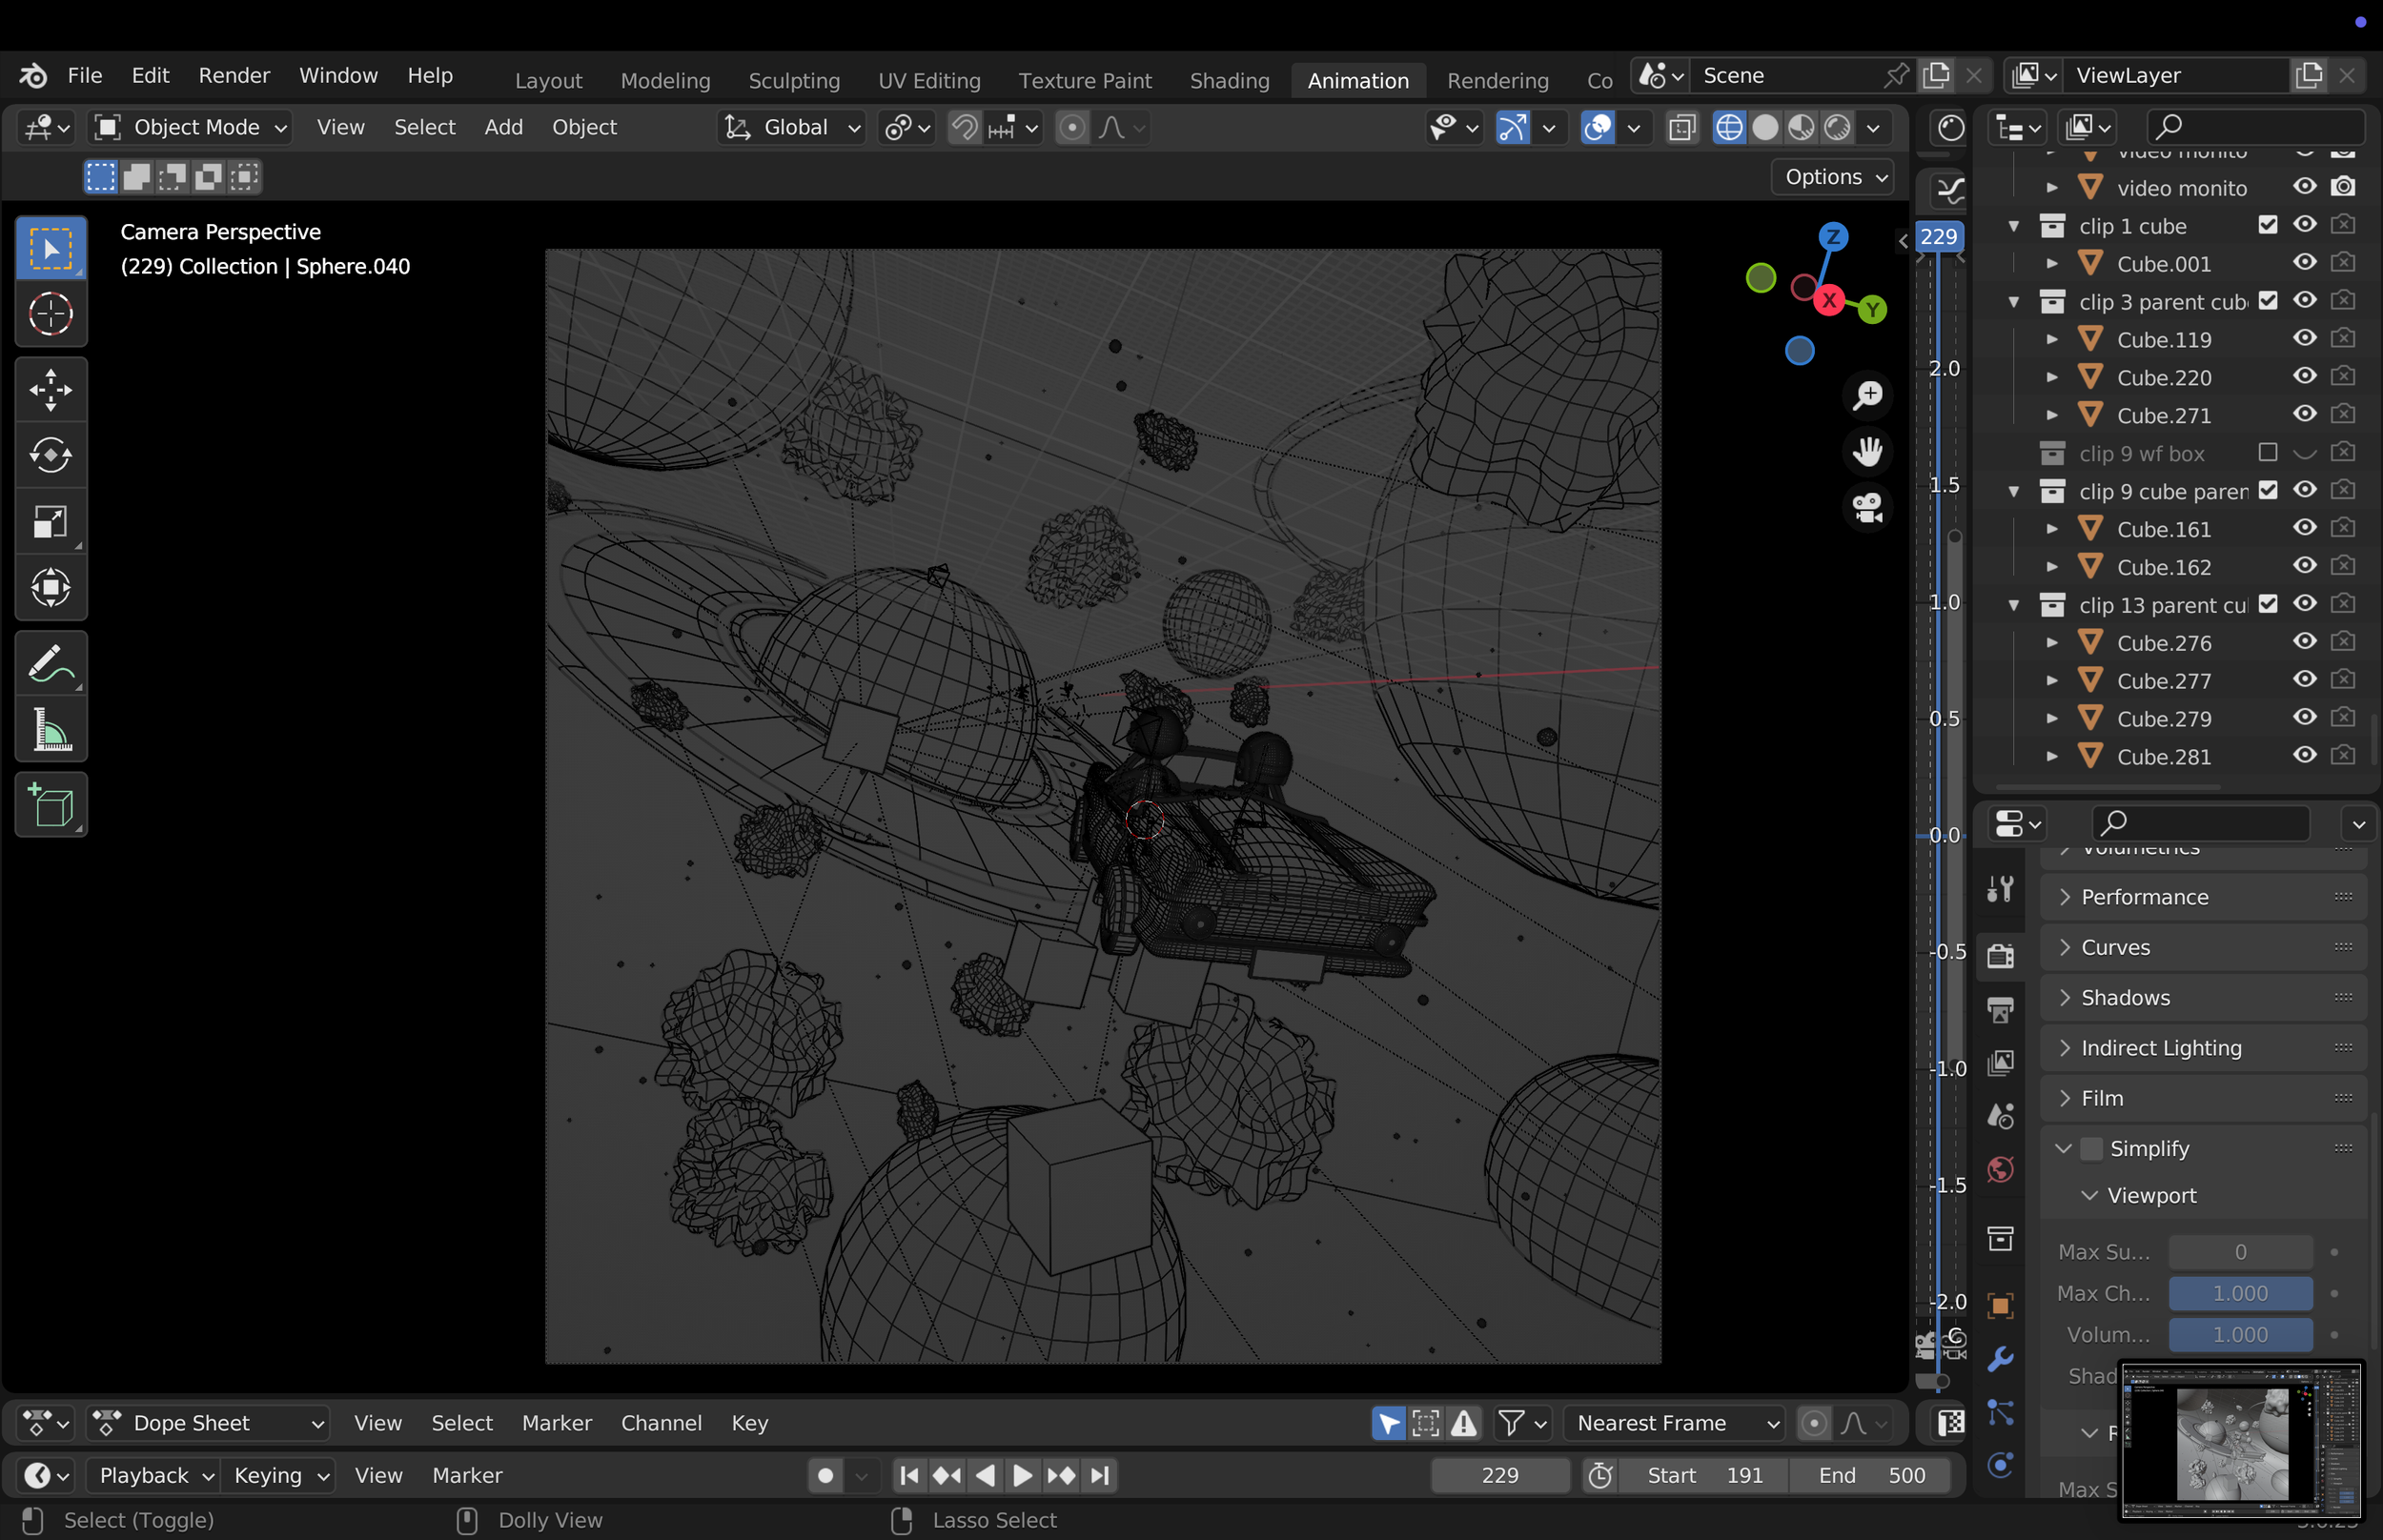
Even though the car only appears at the very end, it was a pivotal element for me. It represents both space travel and modernity, while remaining grounded in the same universe as Daft Punk a world shaped and ruled by technology and contemporary aesthetics.
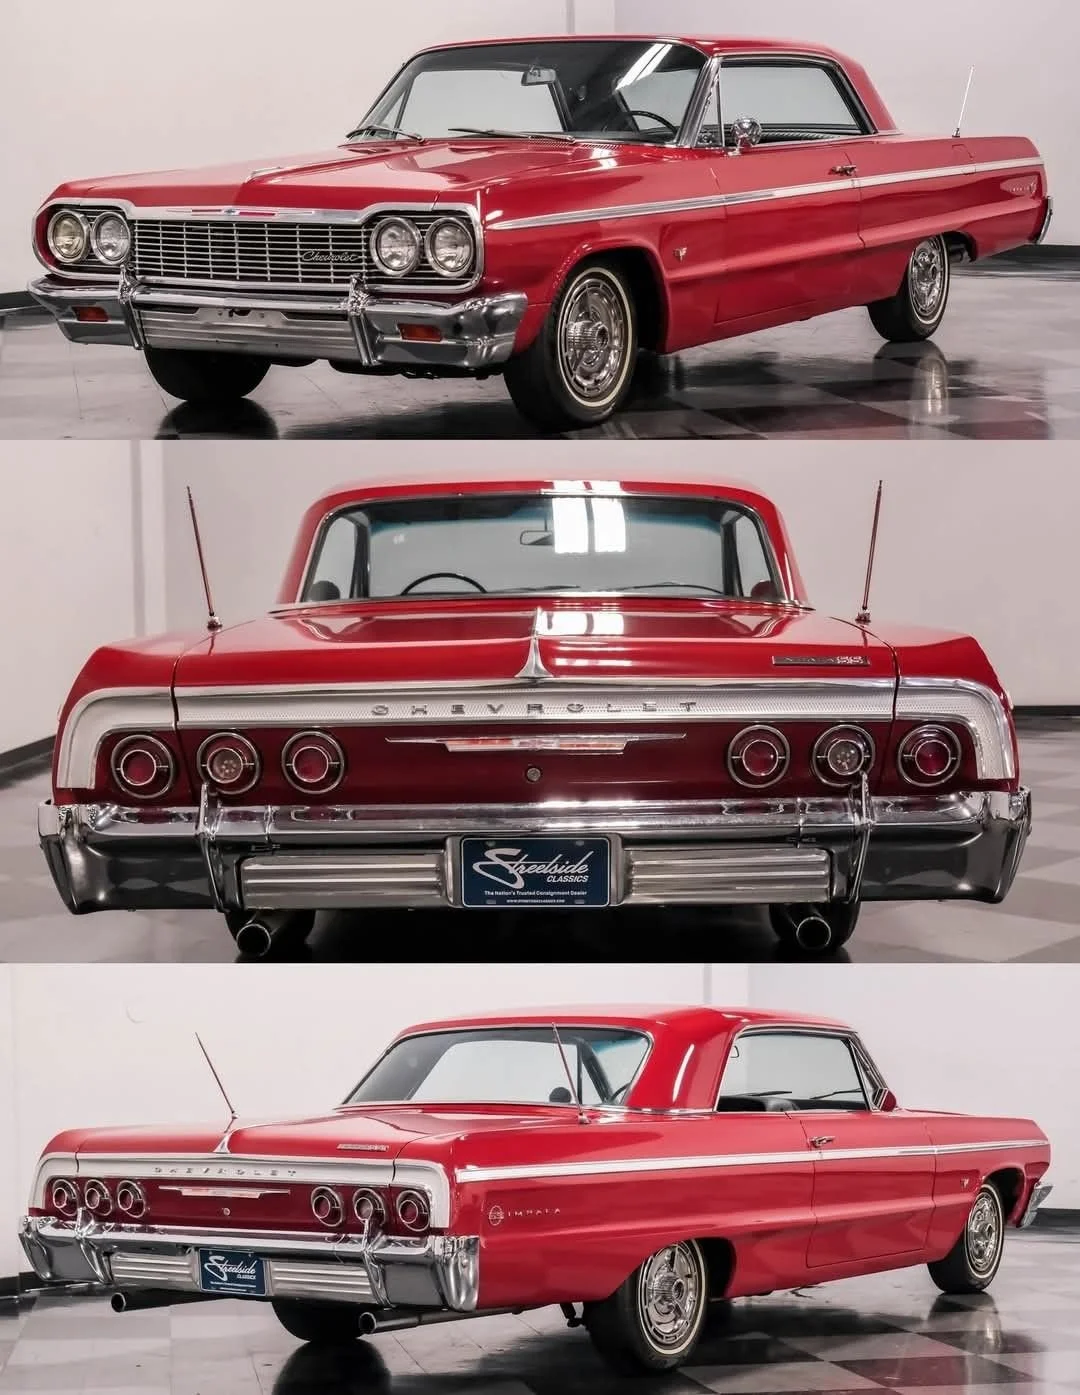
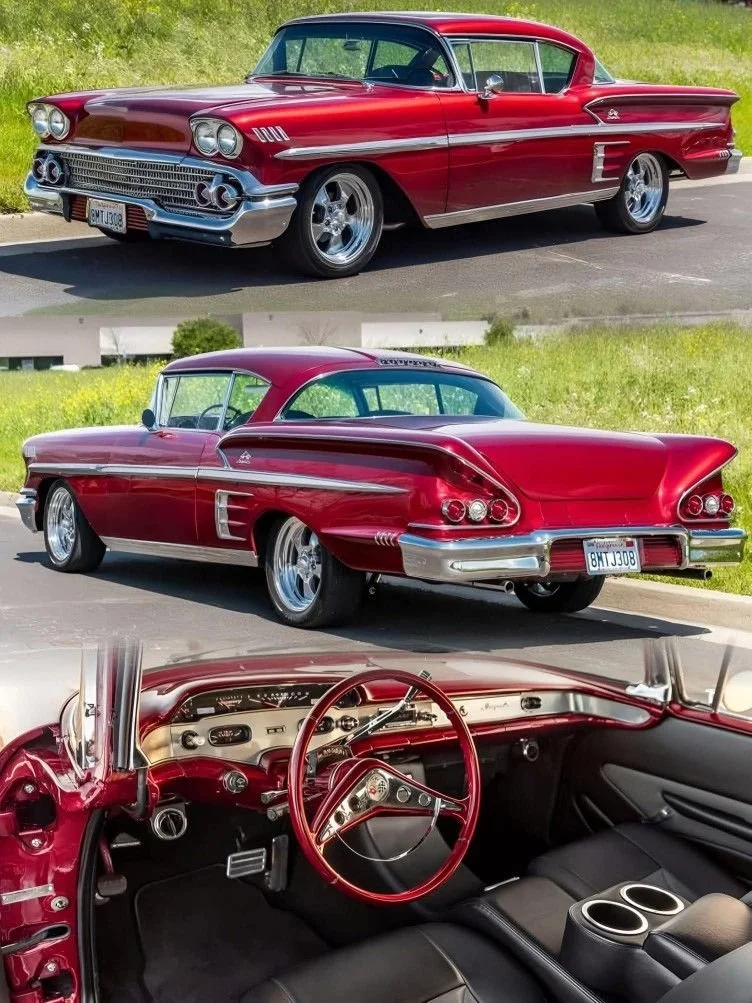
FROM MOODBOARD
TO REALITY
BREAKING DOWN THE MUSIC
BREAKING DOWN THE MUSIC
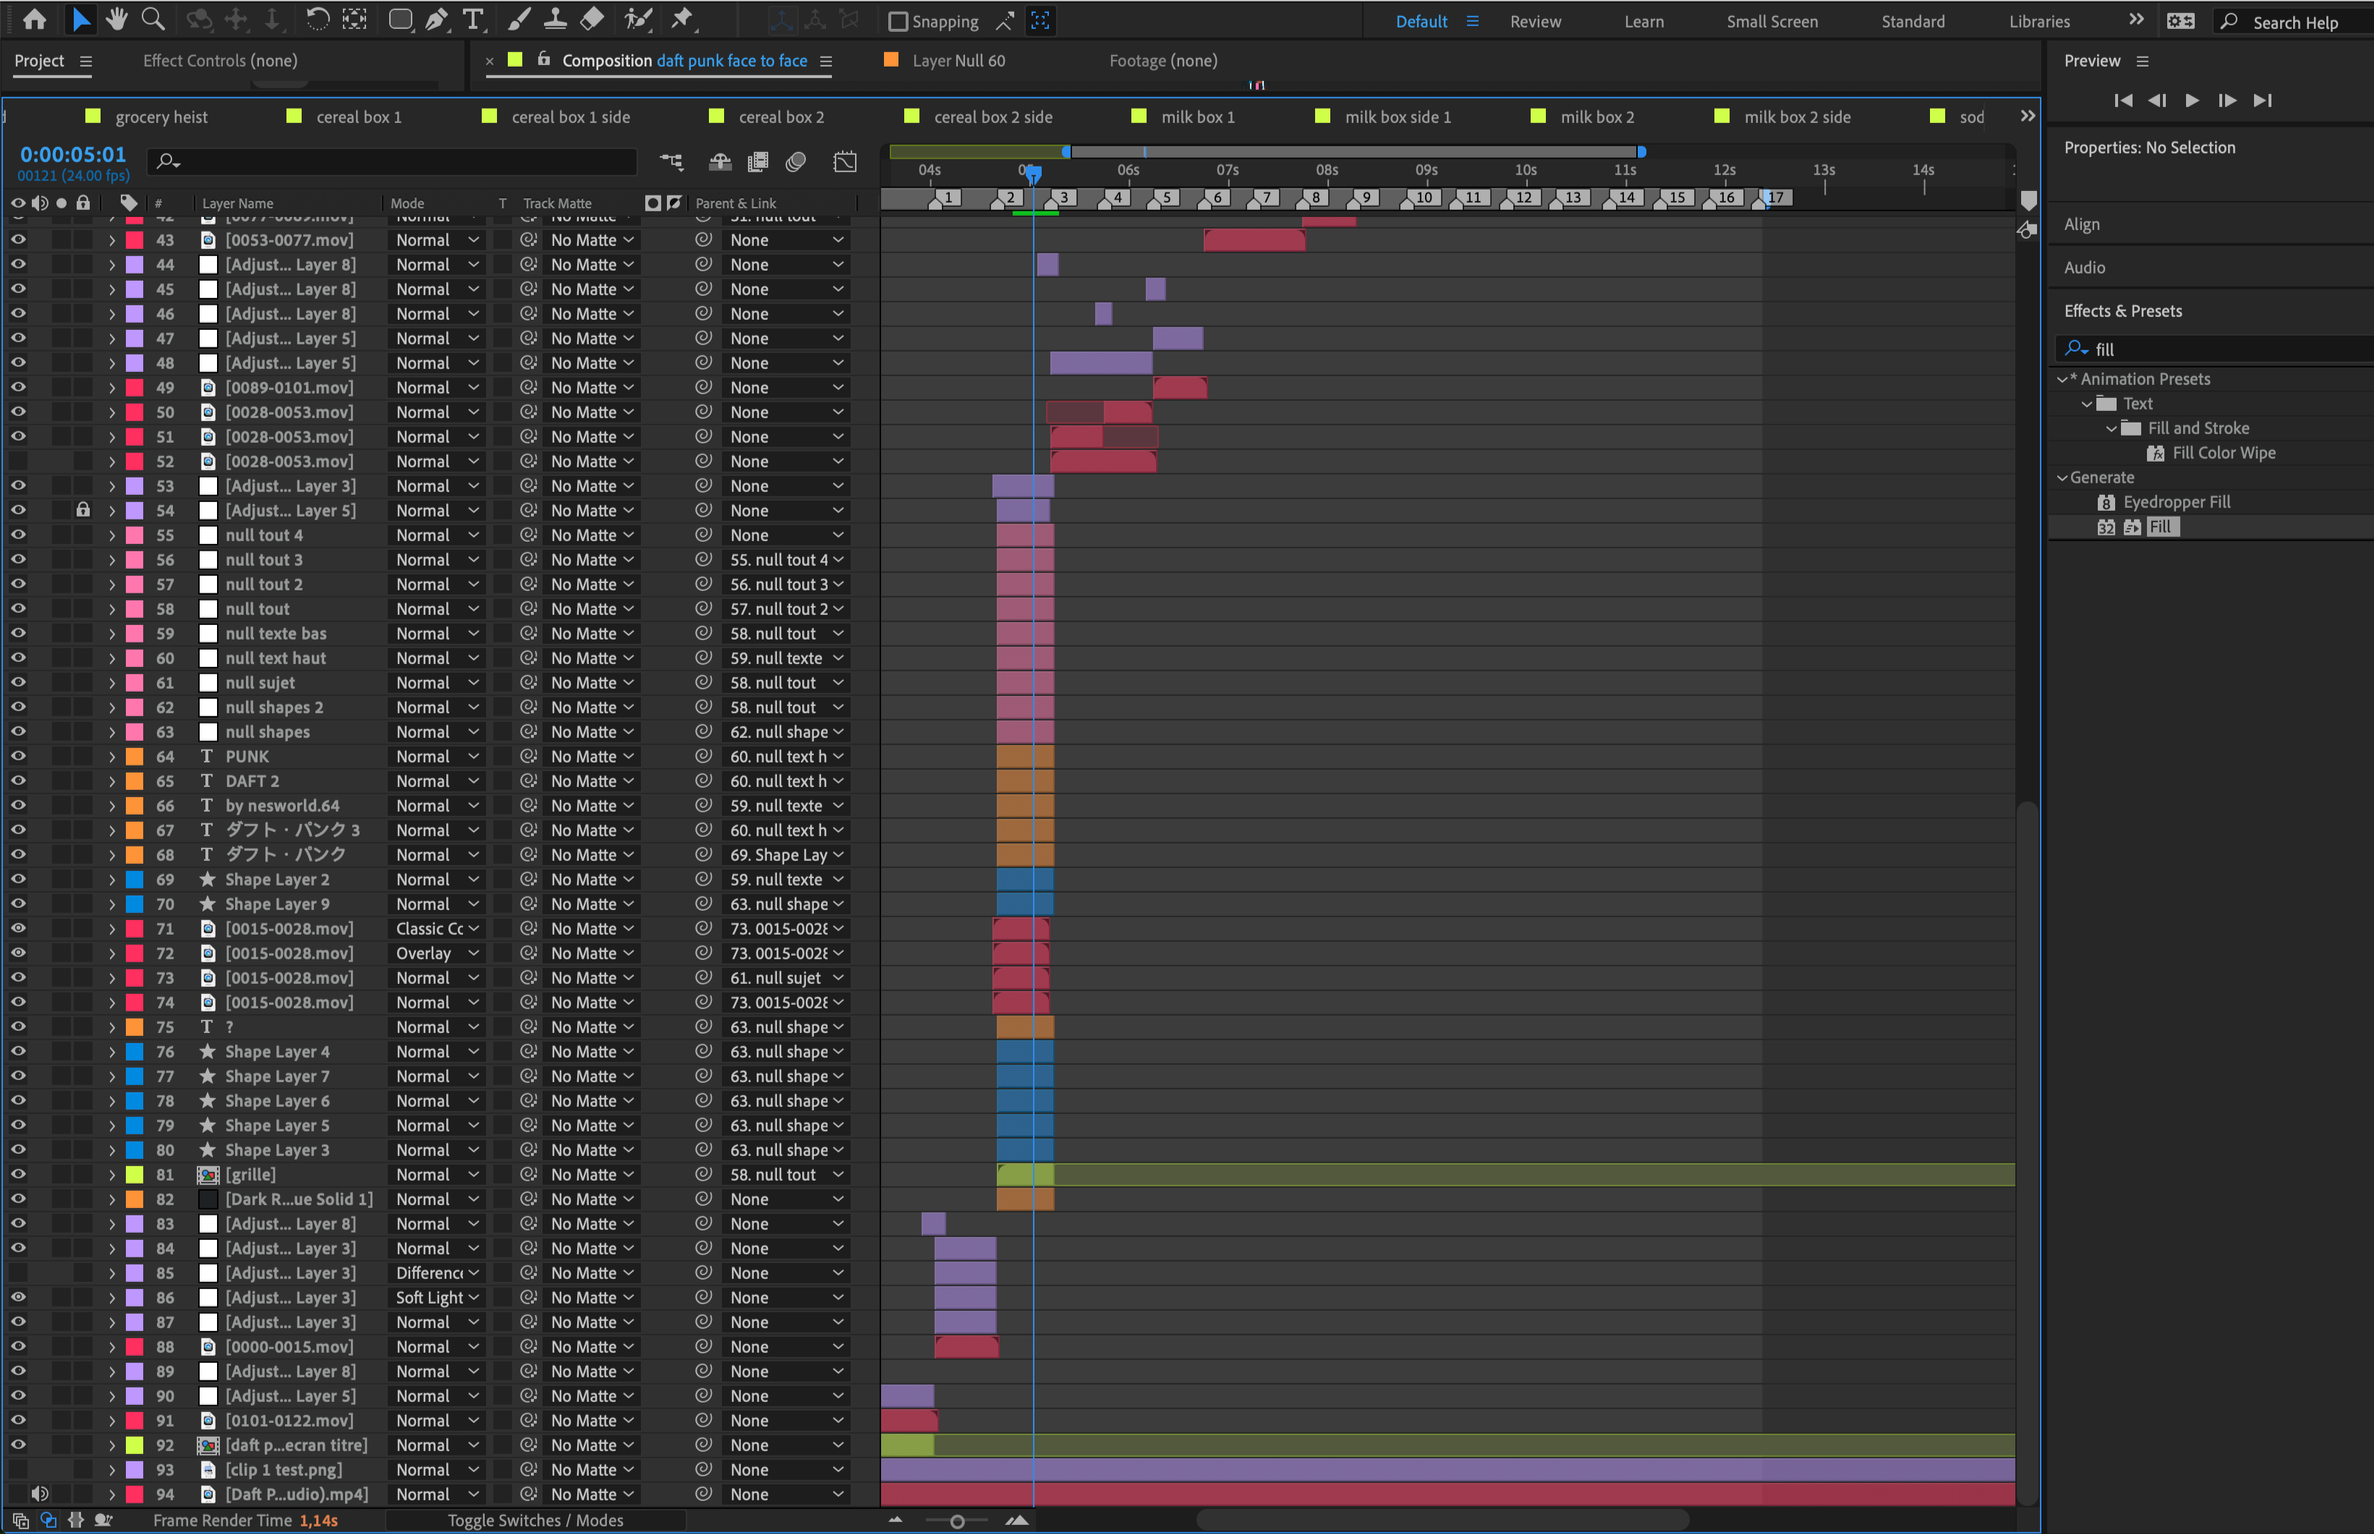
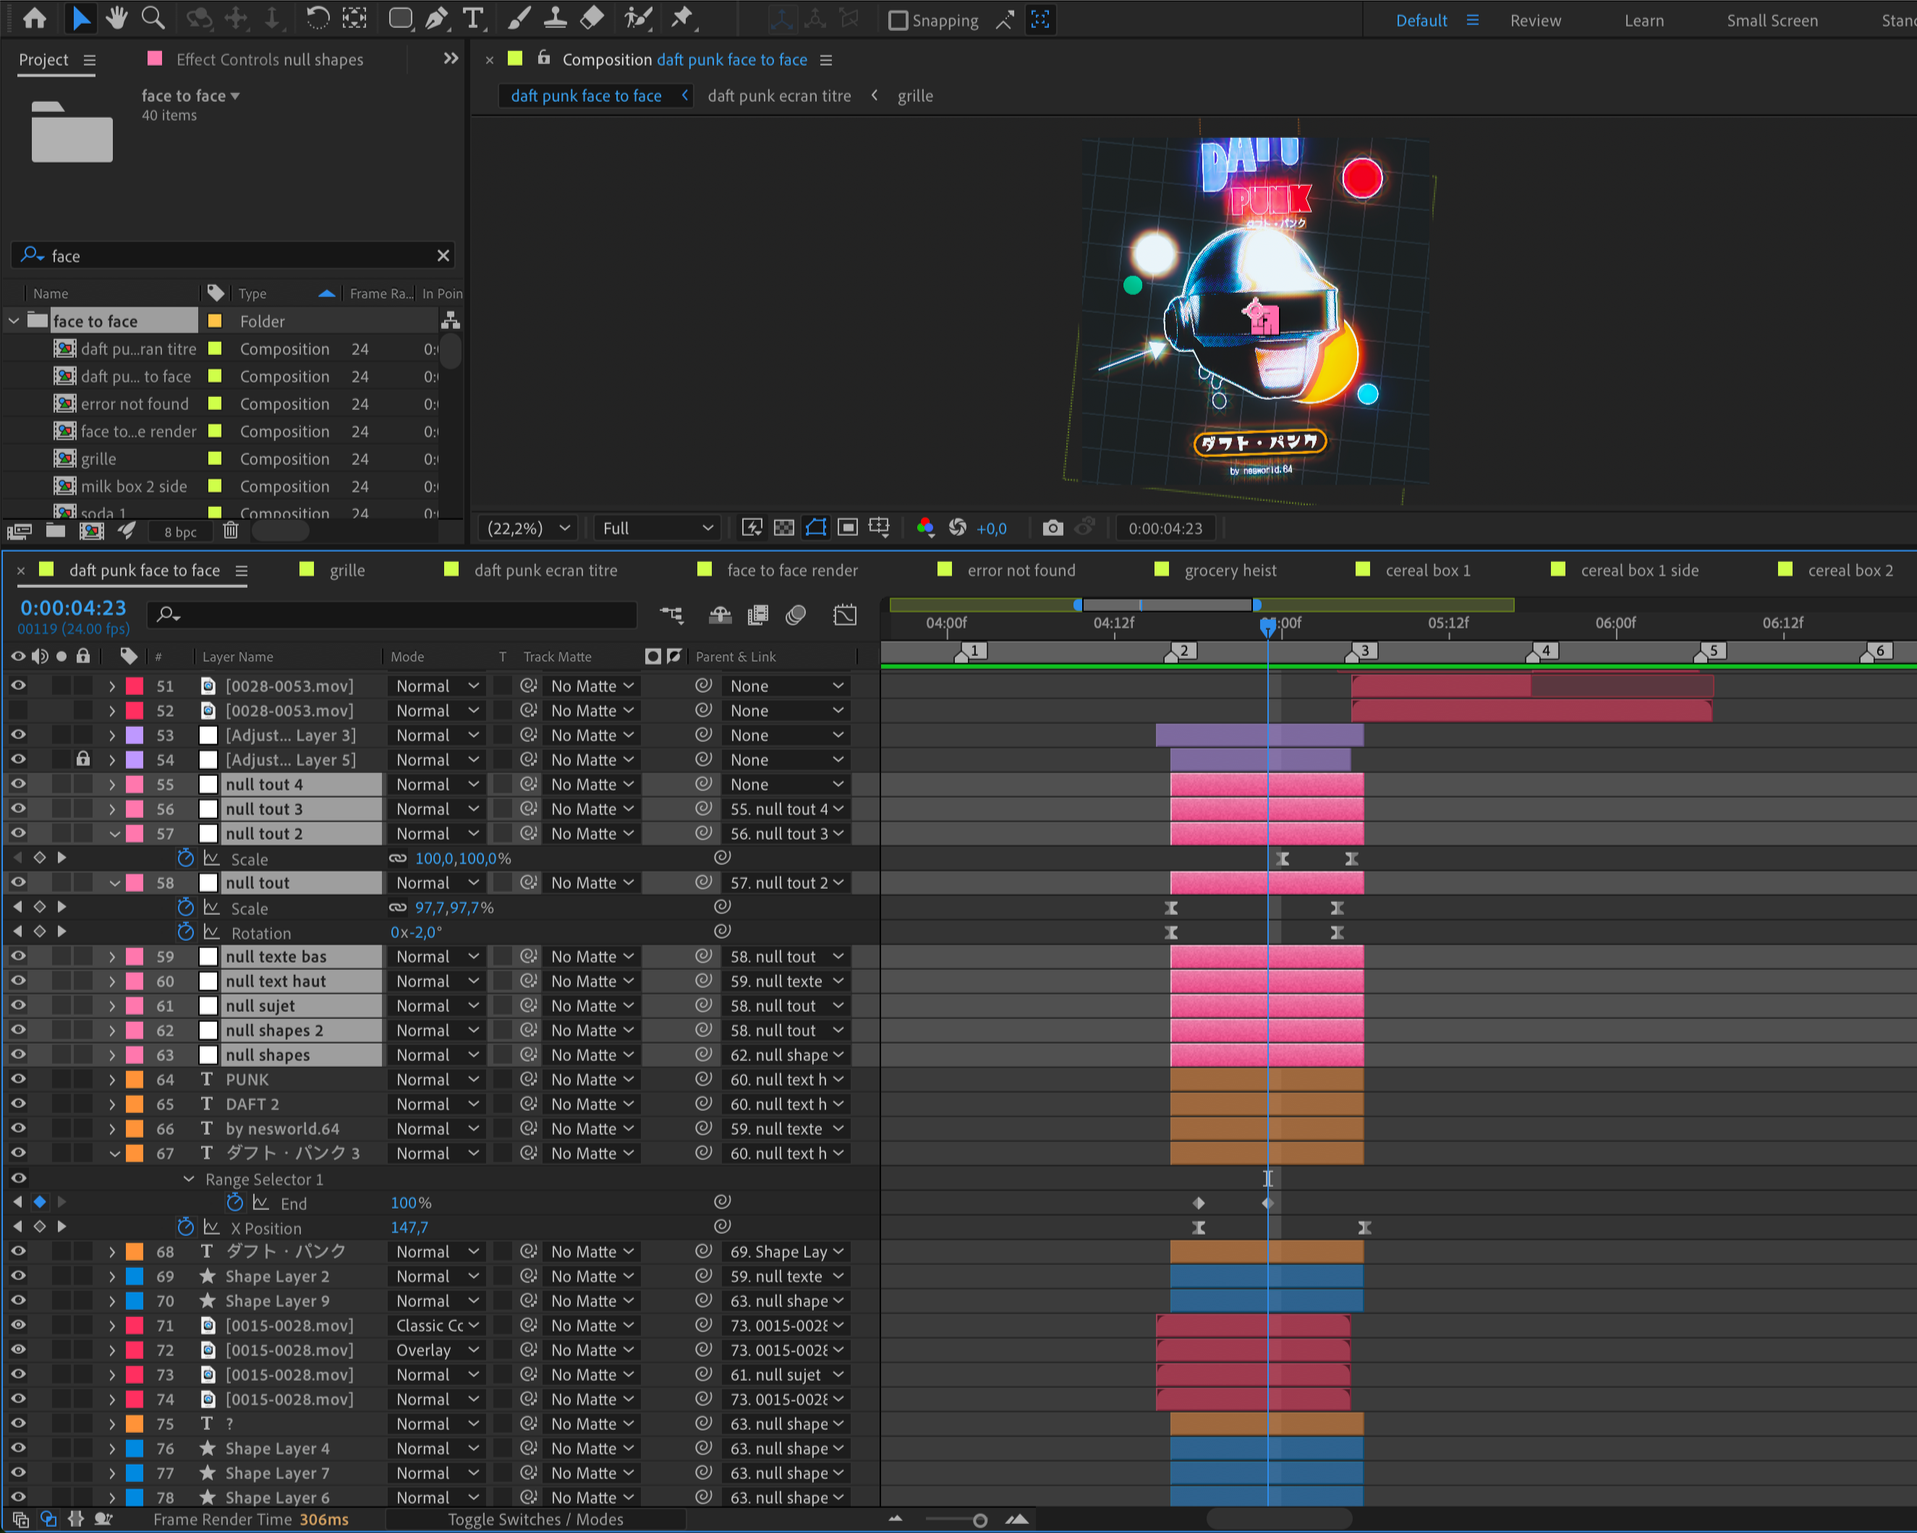
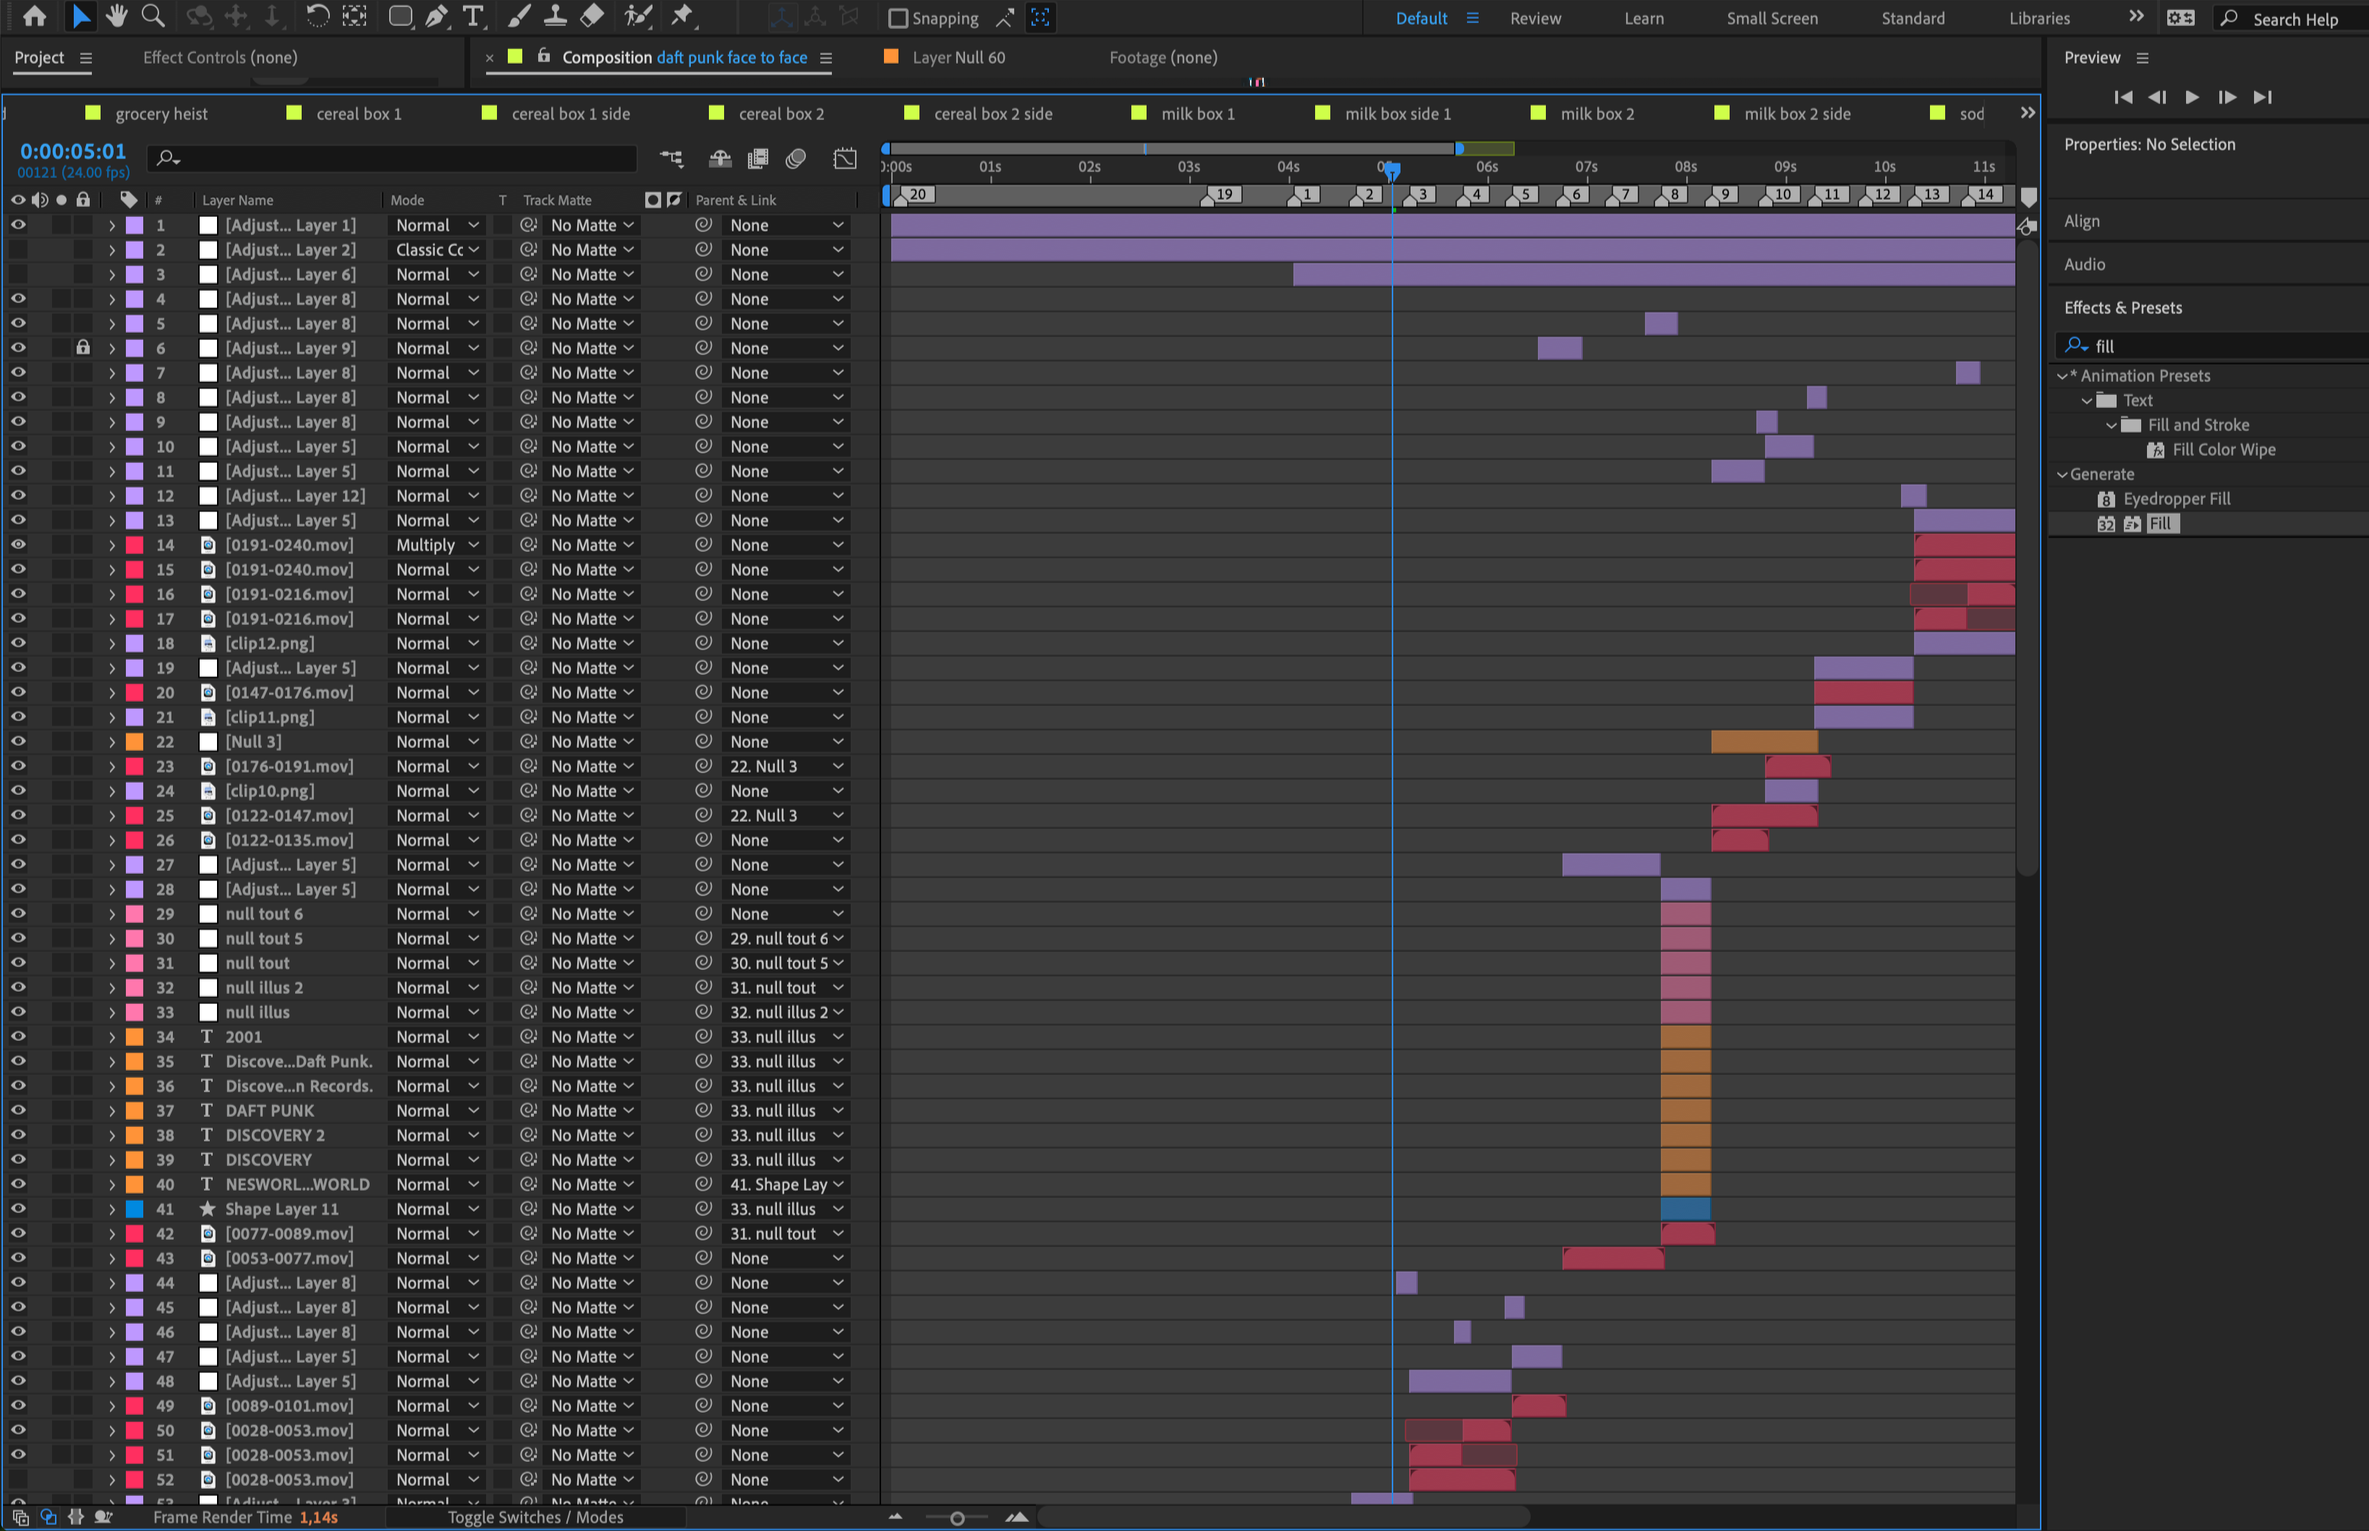
I then move on to a crucial step: cutting and breaking down the music in After Effects. This allows me to lay out the storyboard shot by shot, clearly define the timing, and know the exact duration of each scene before moving forward.

PROJECT BREAKDOWN
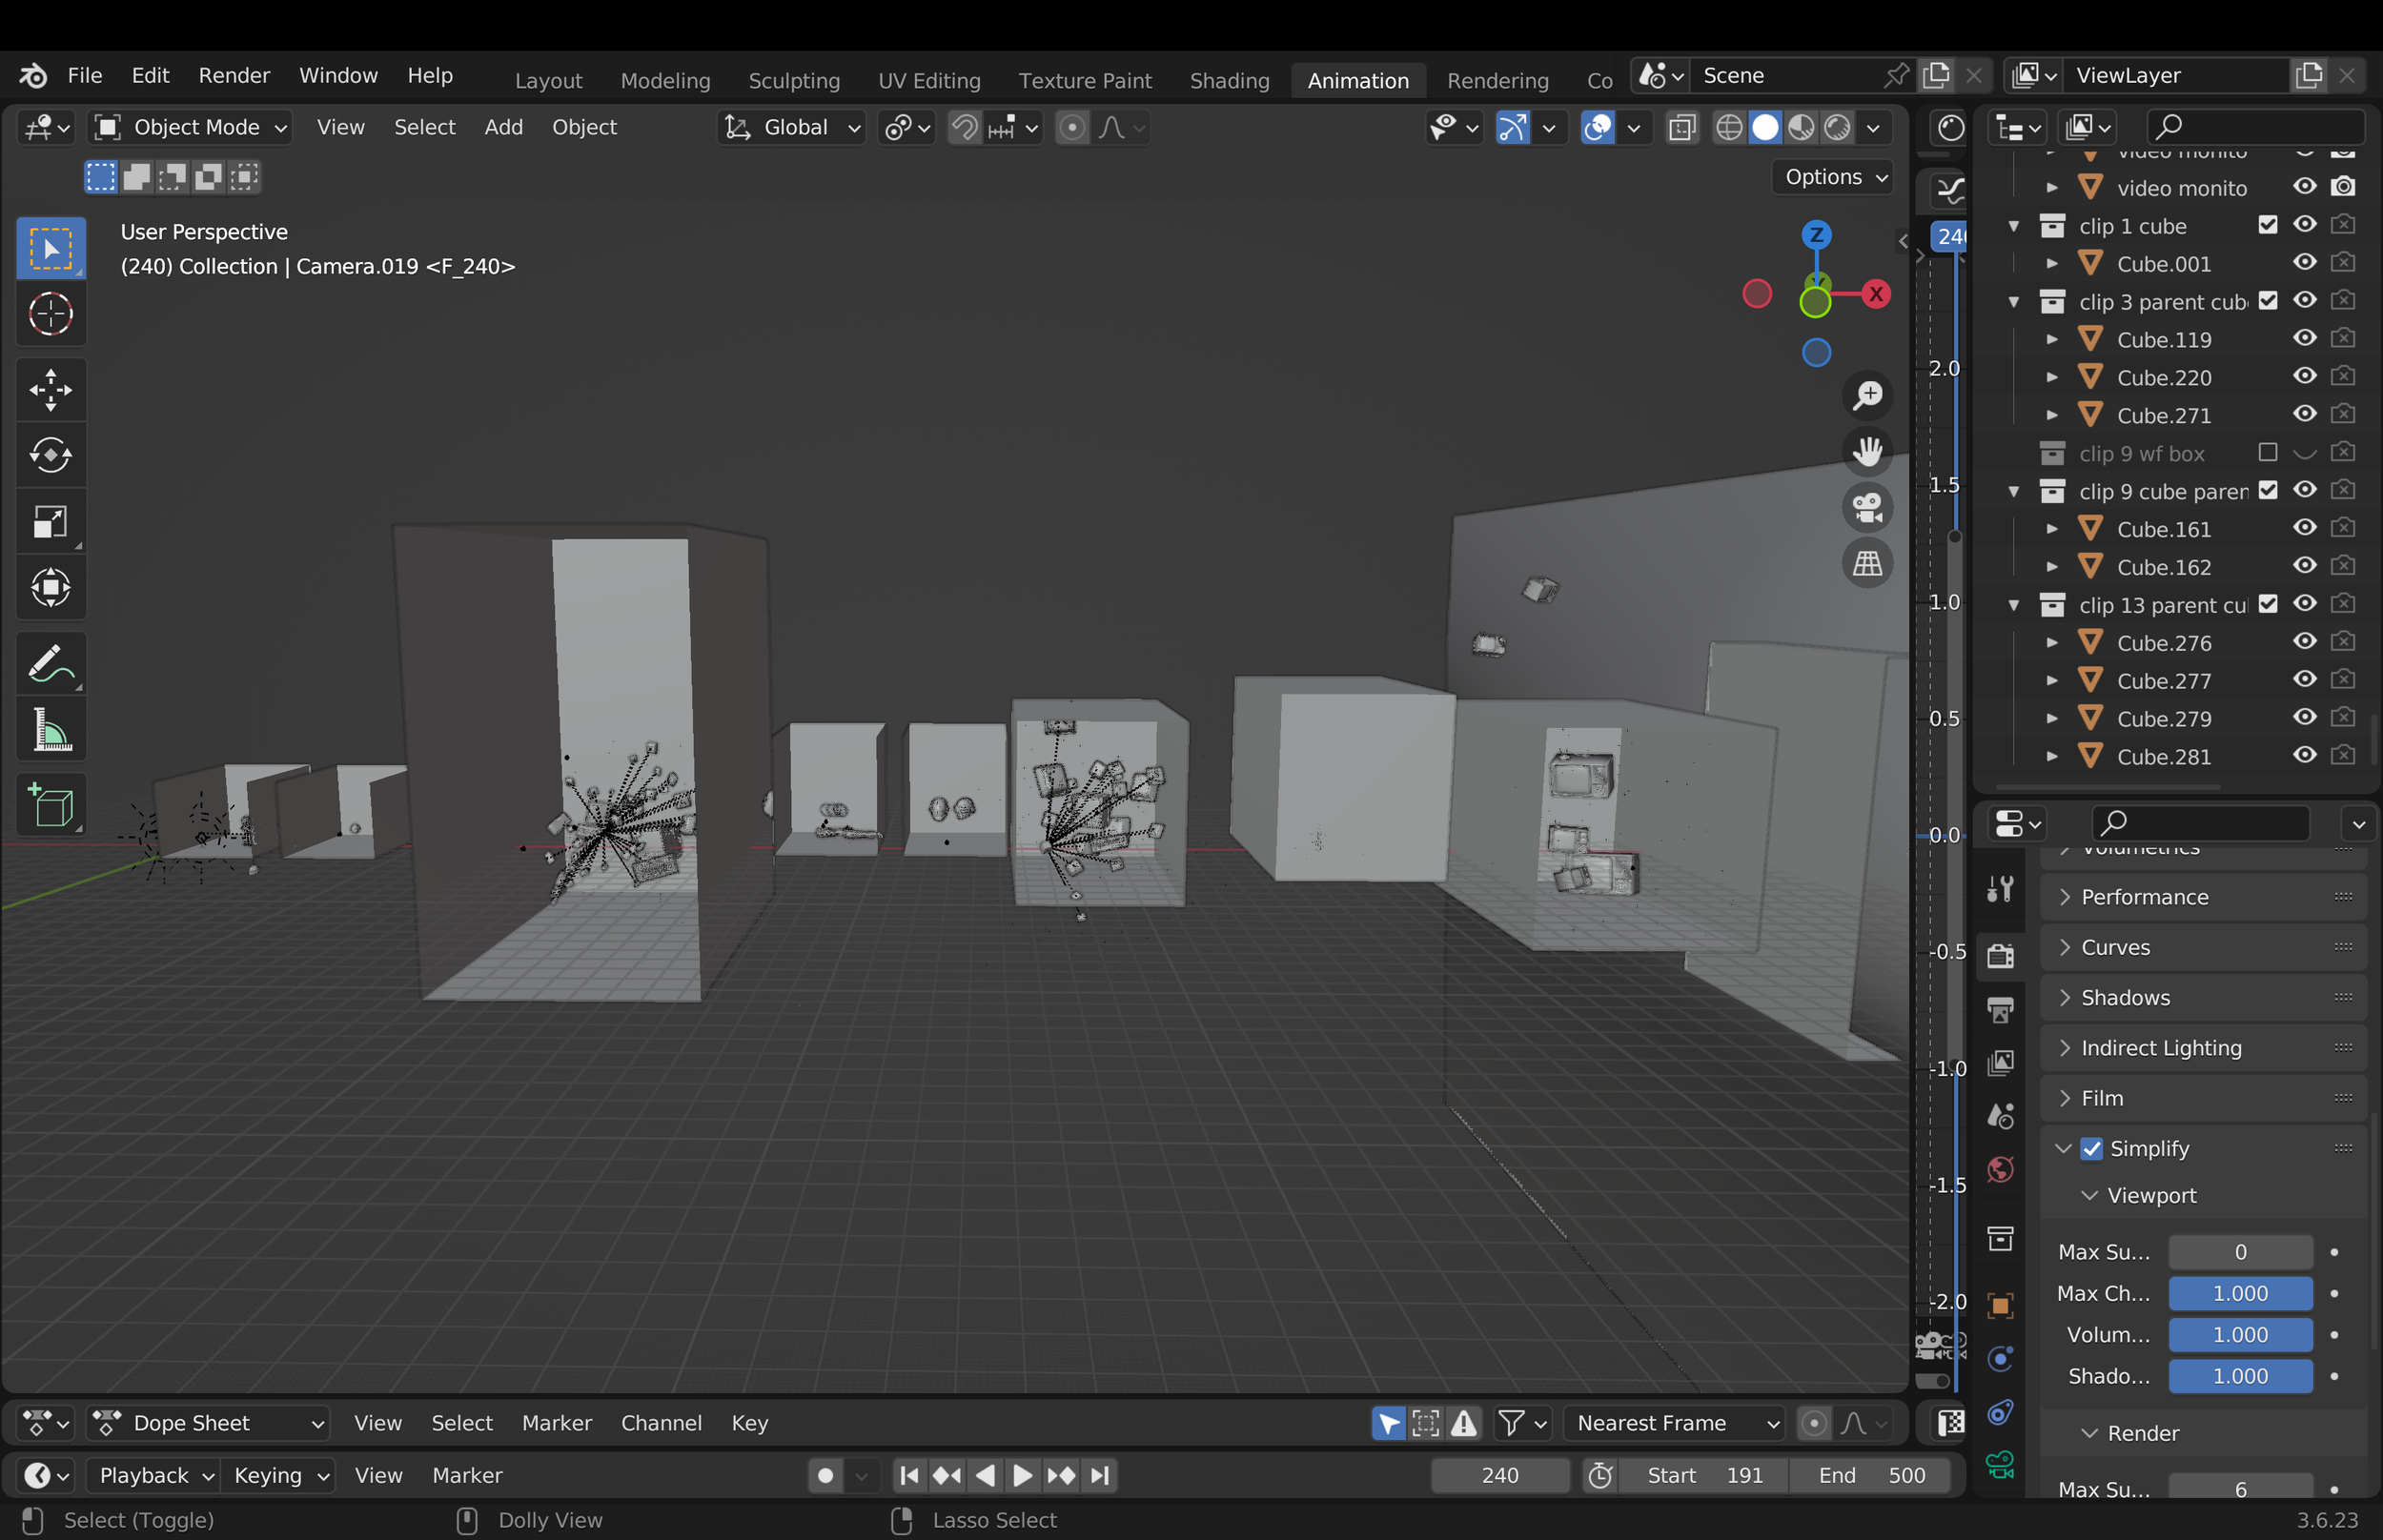
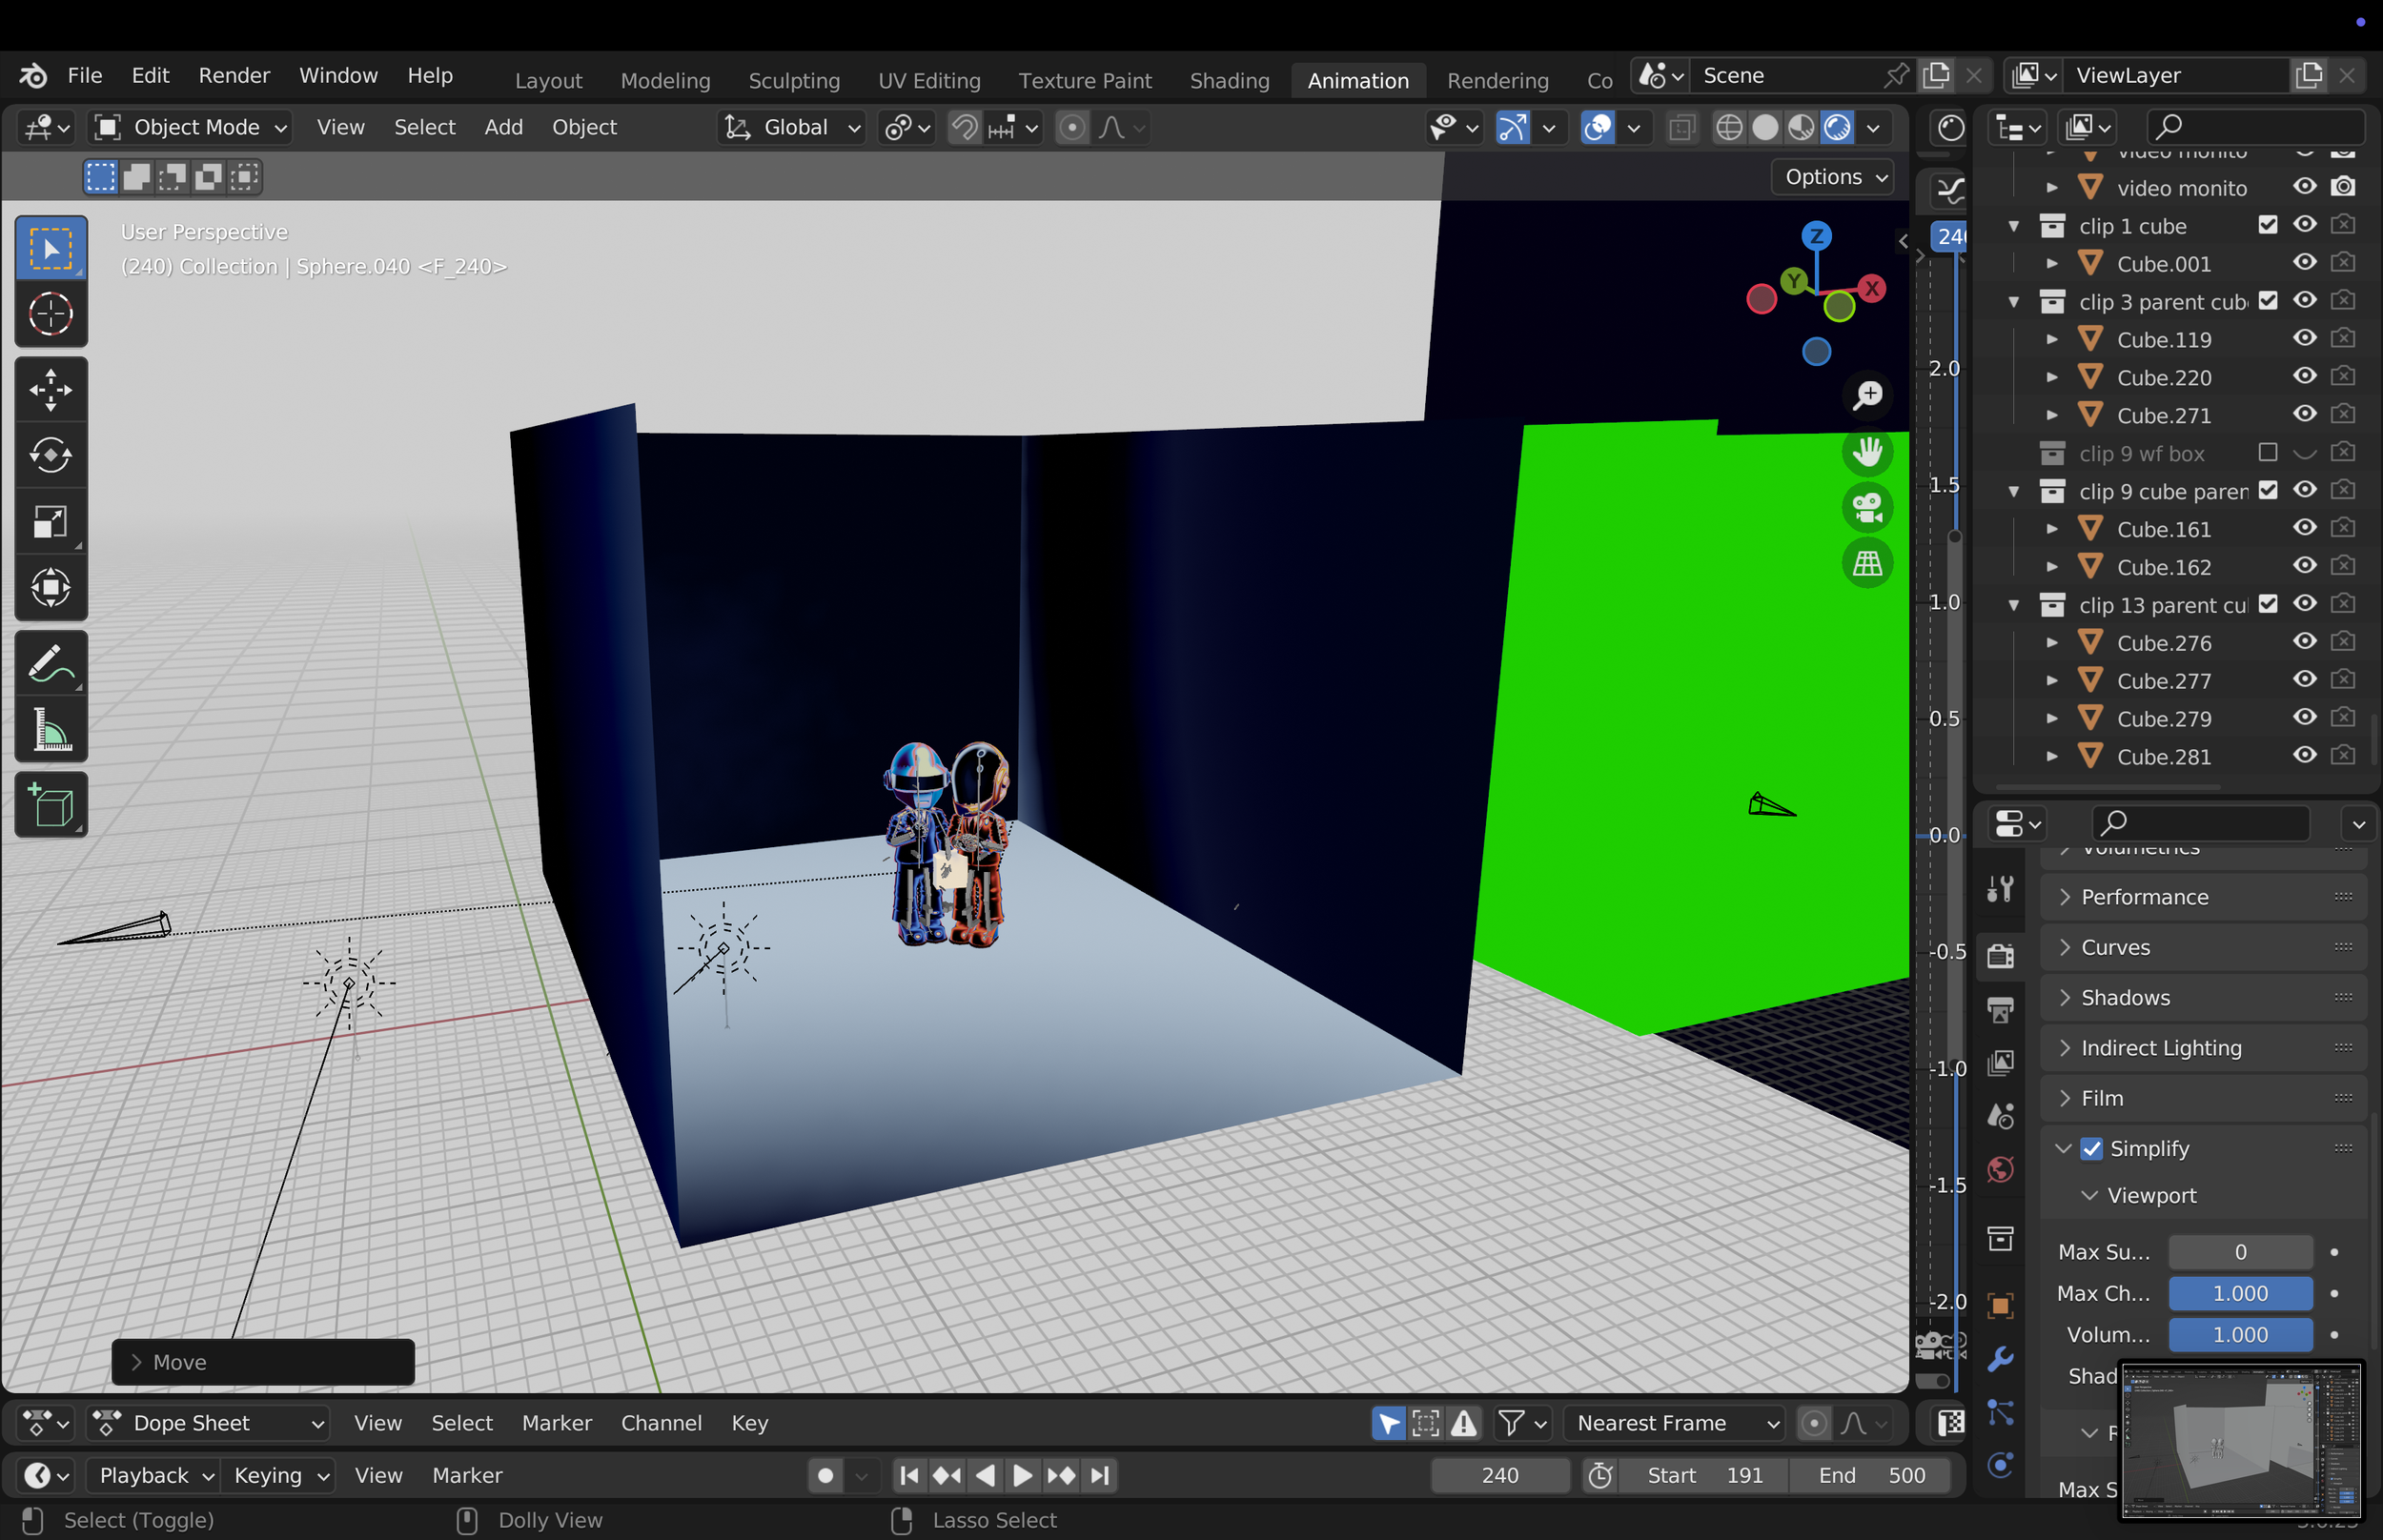
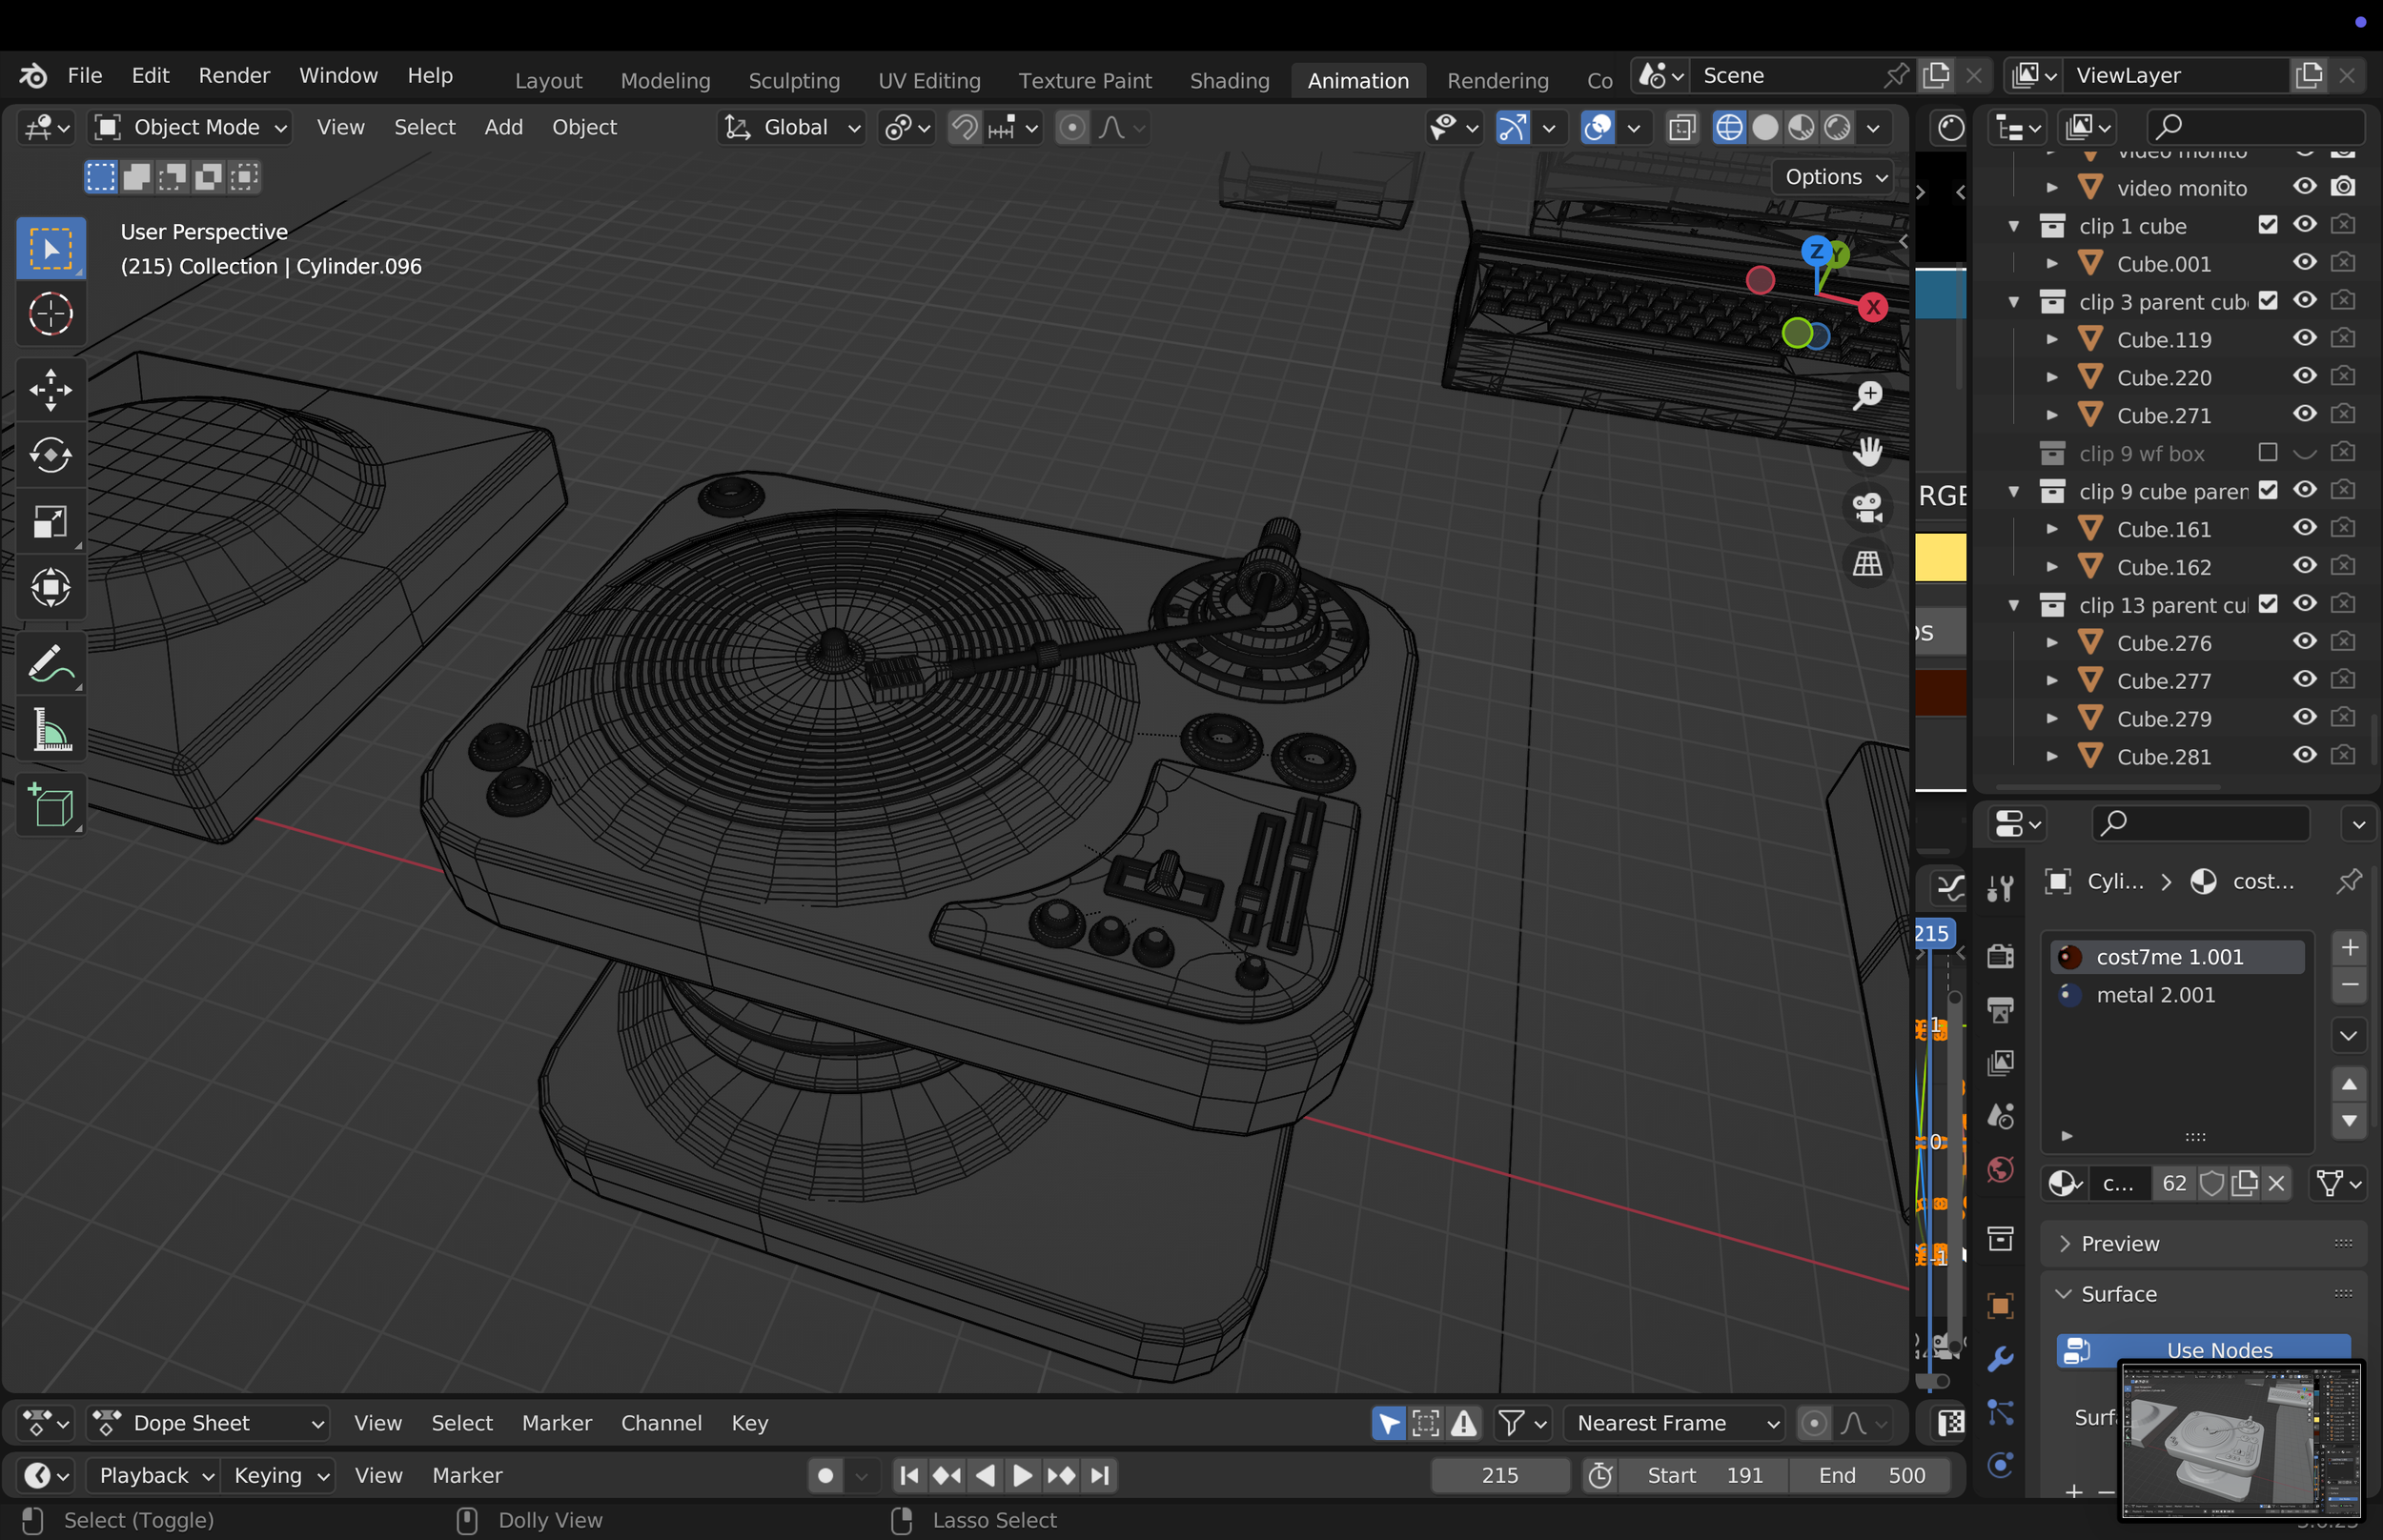
Then, I create a dedicated environment for each clip directly in the Blender project, organizing the scene like a factory, with each section corresponding to a specific shot.
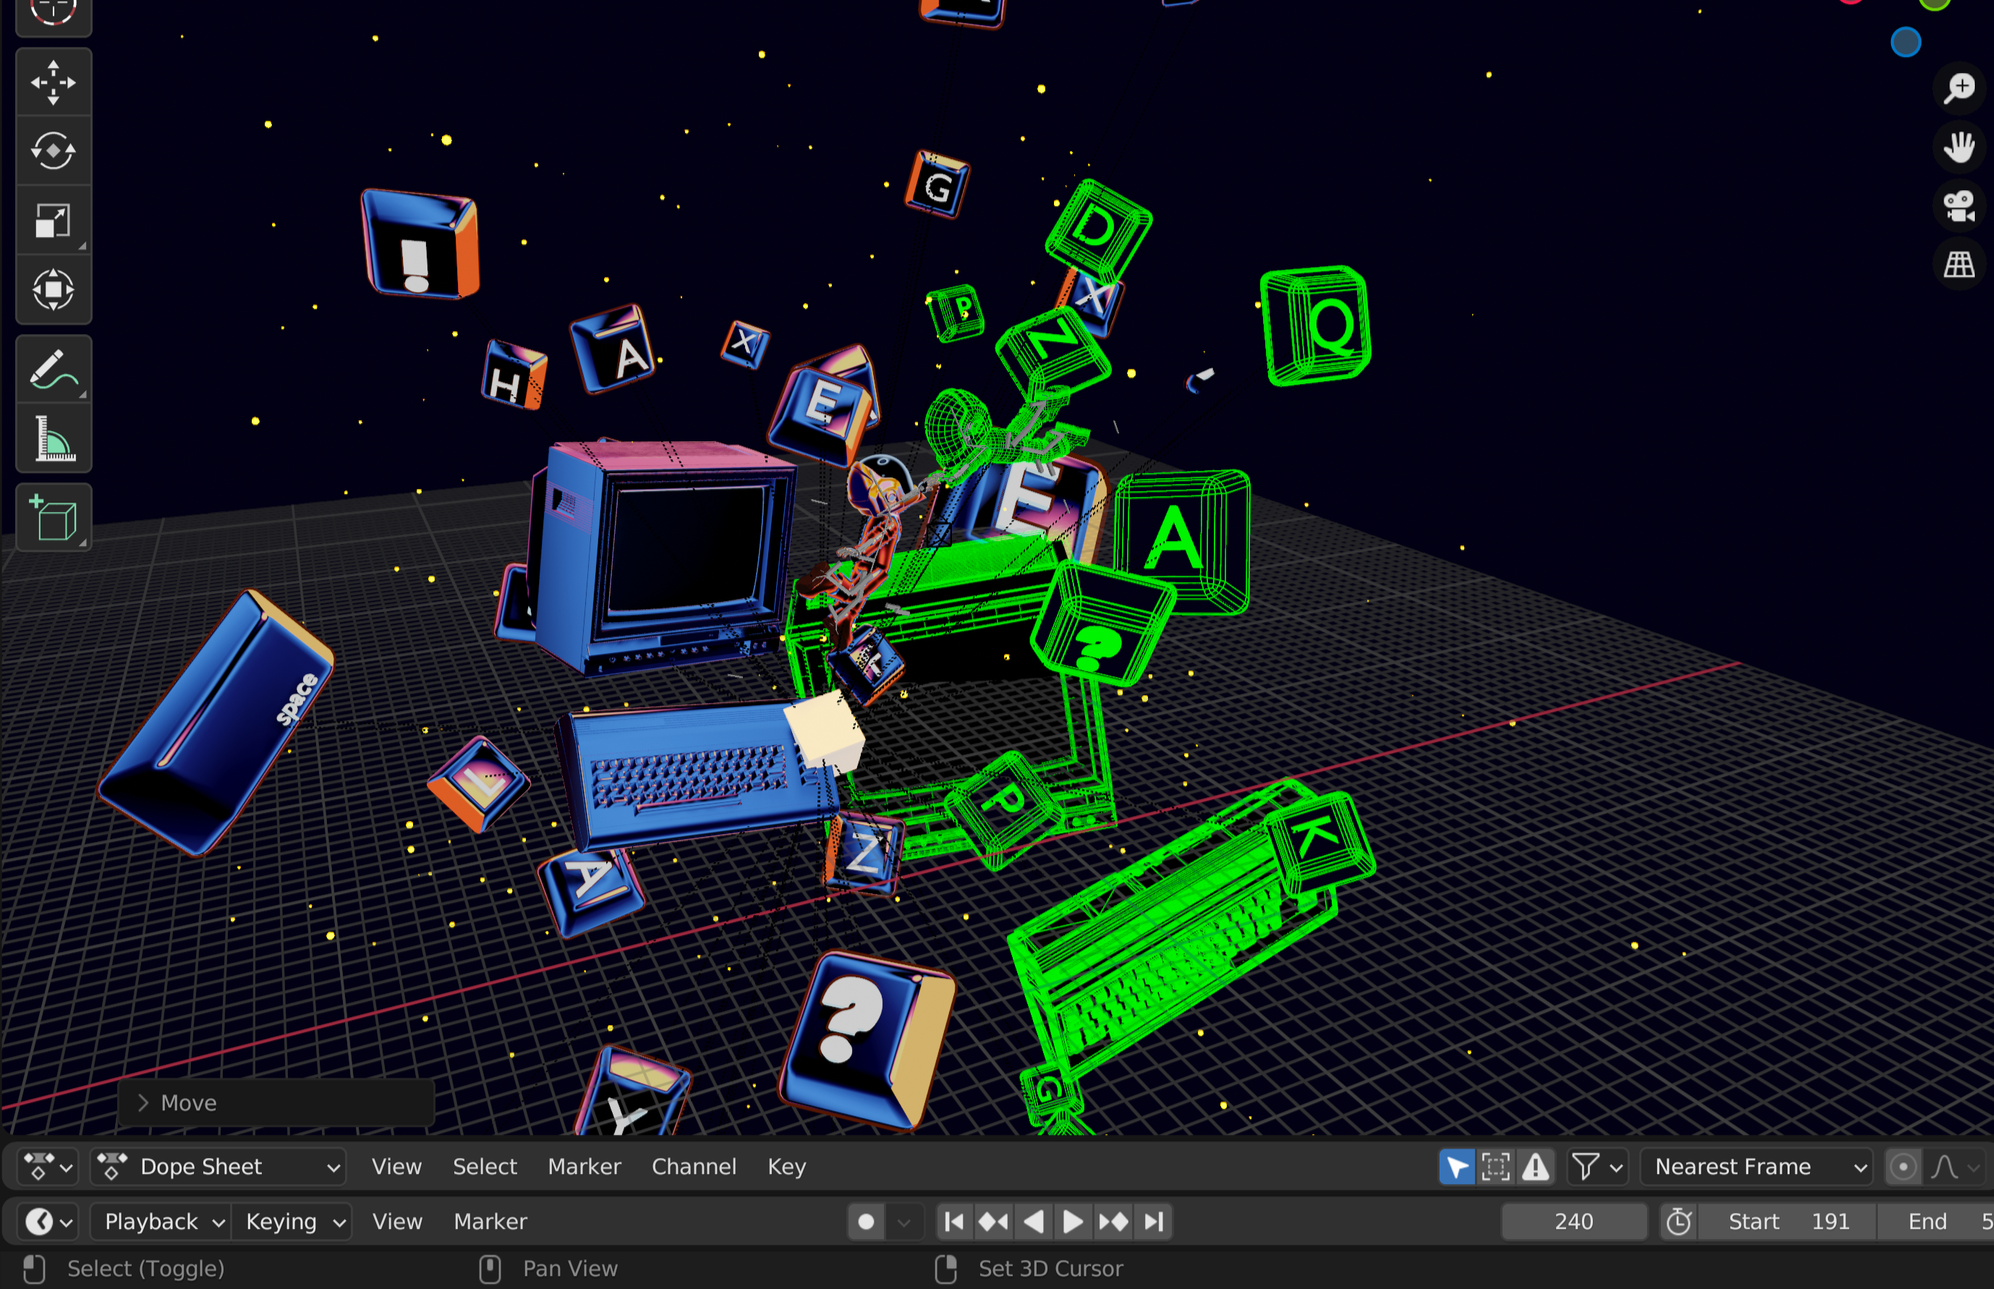
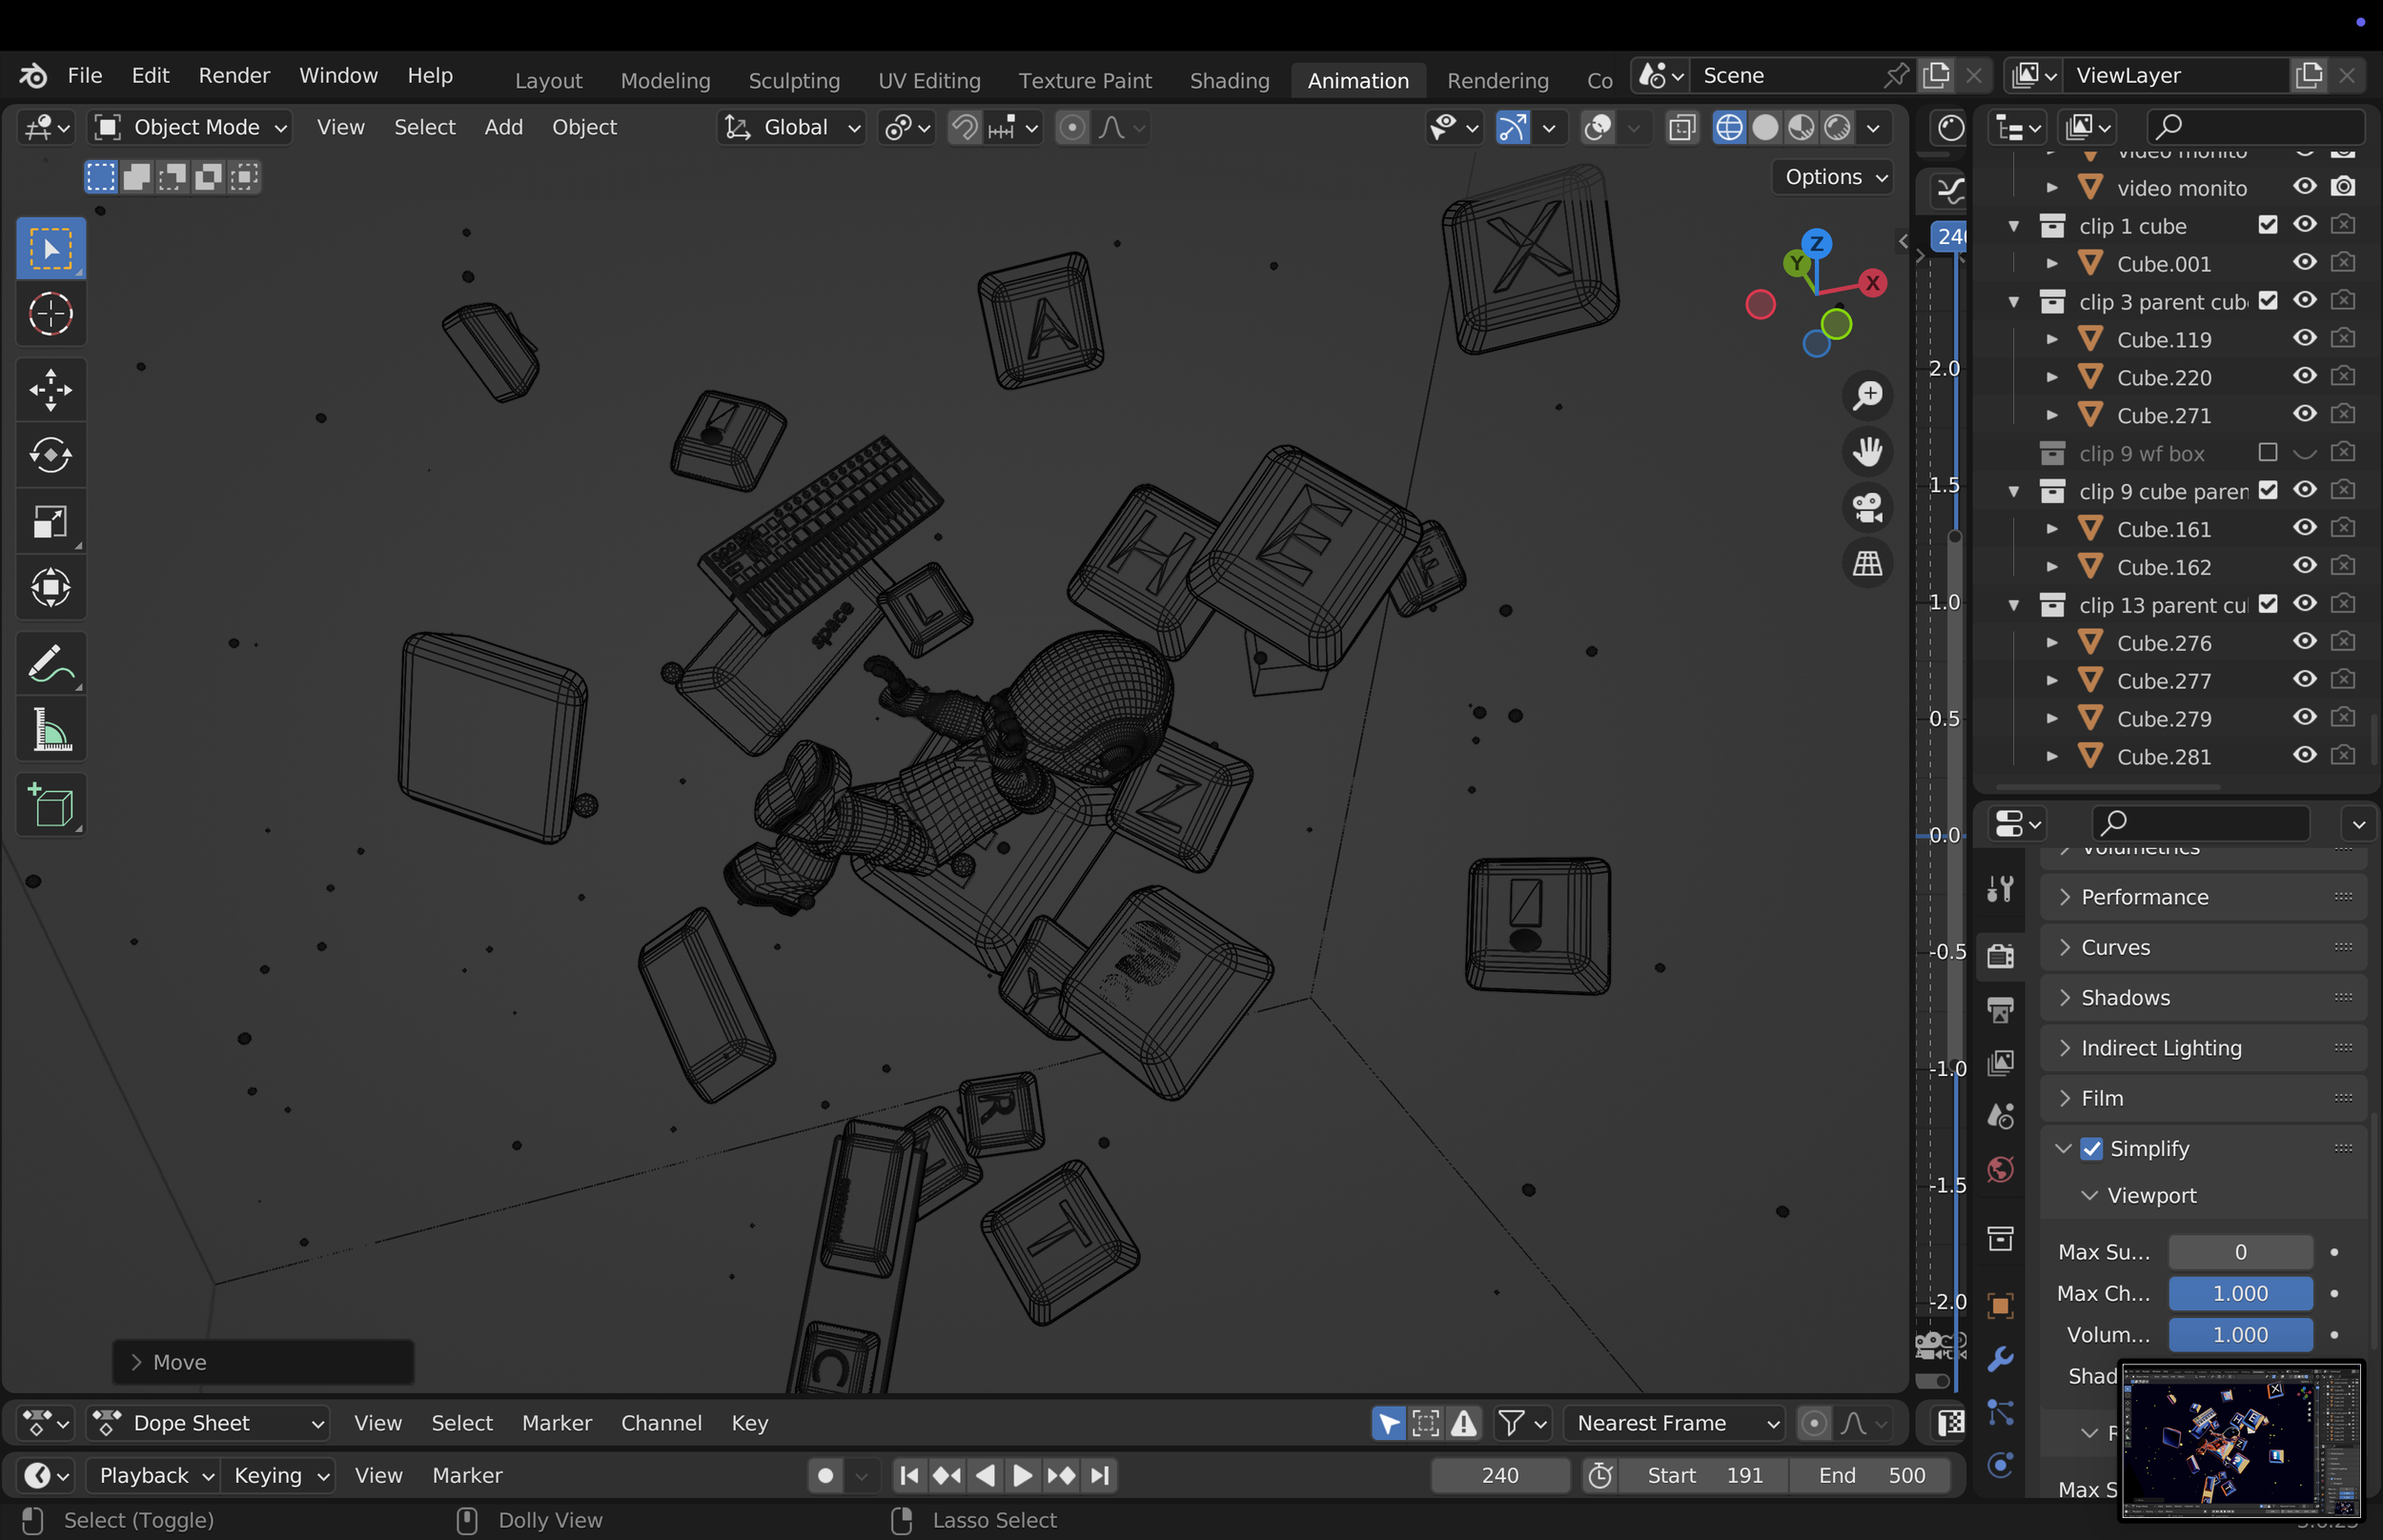
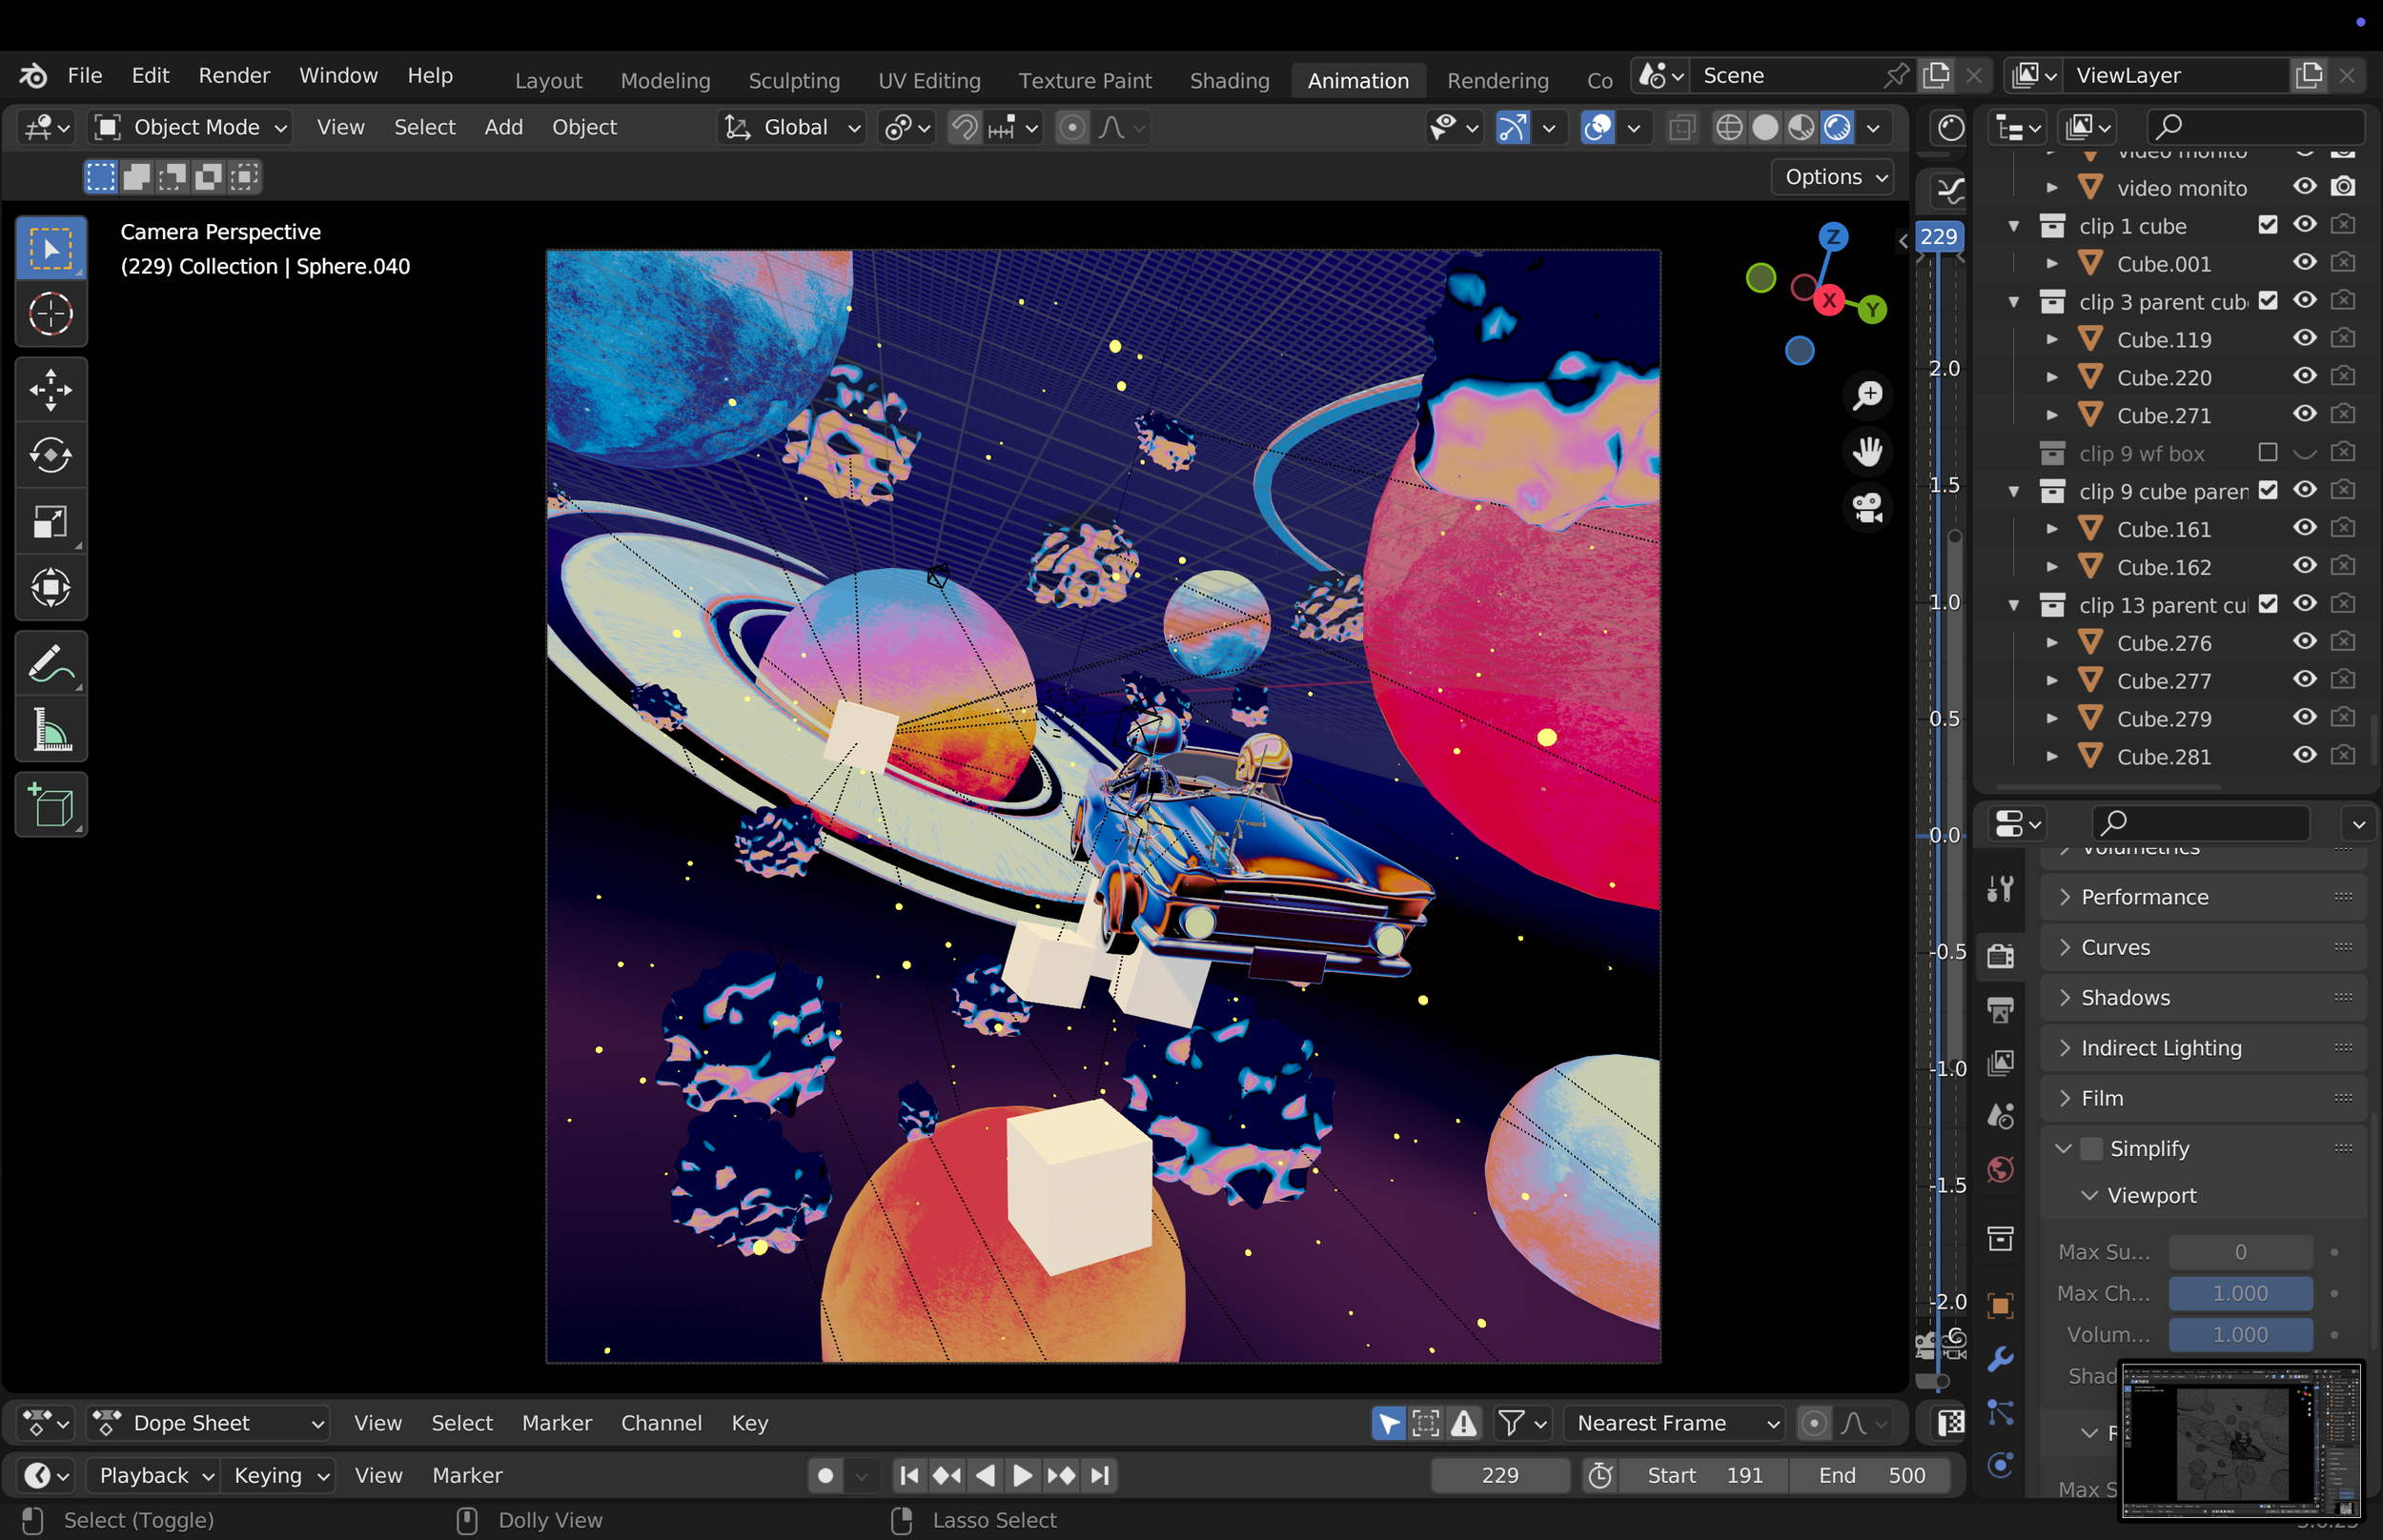

PARENTS AND GRAPHS
PARENTS AND GRAPHS
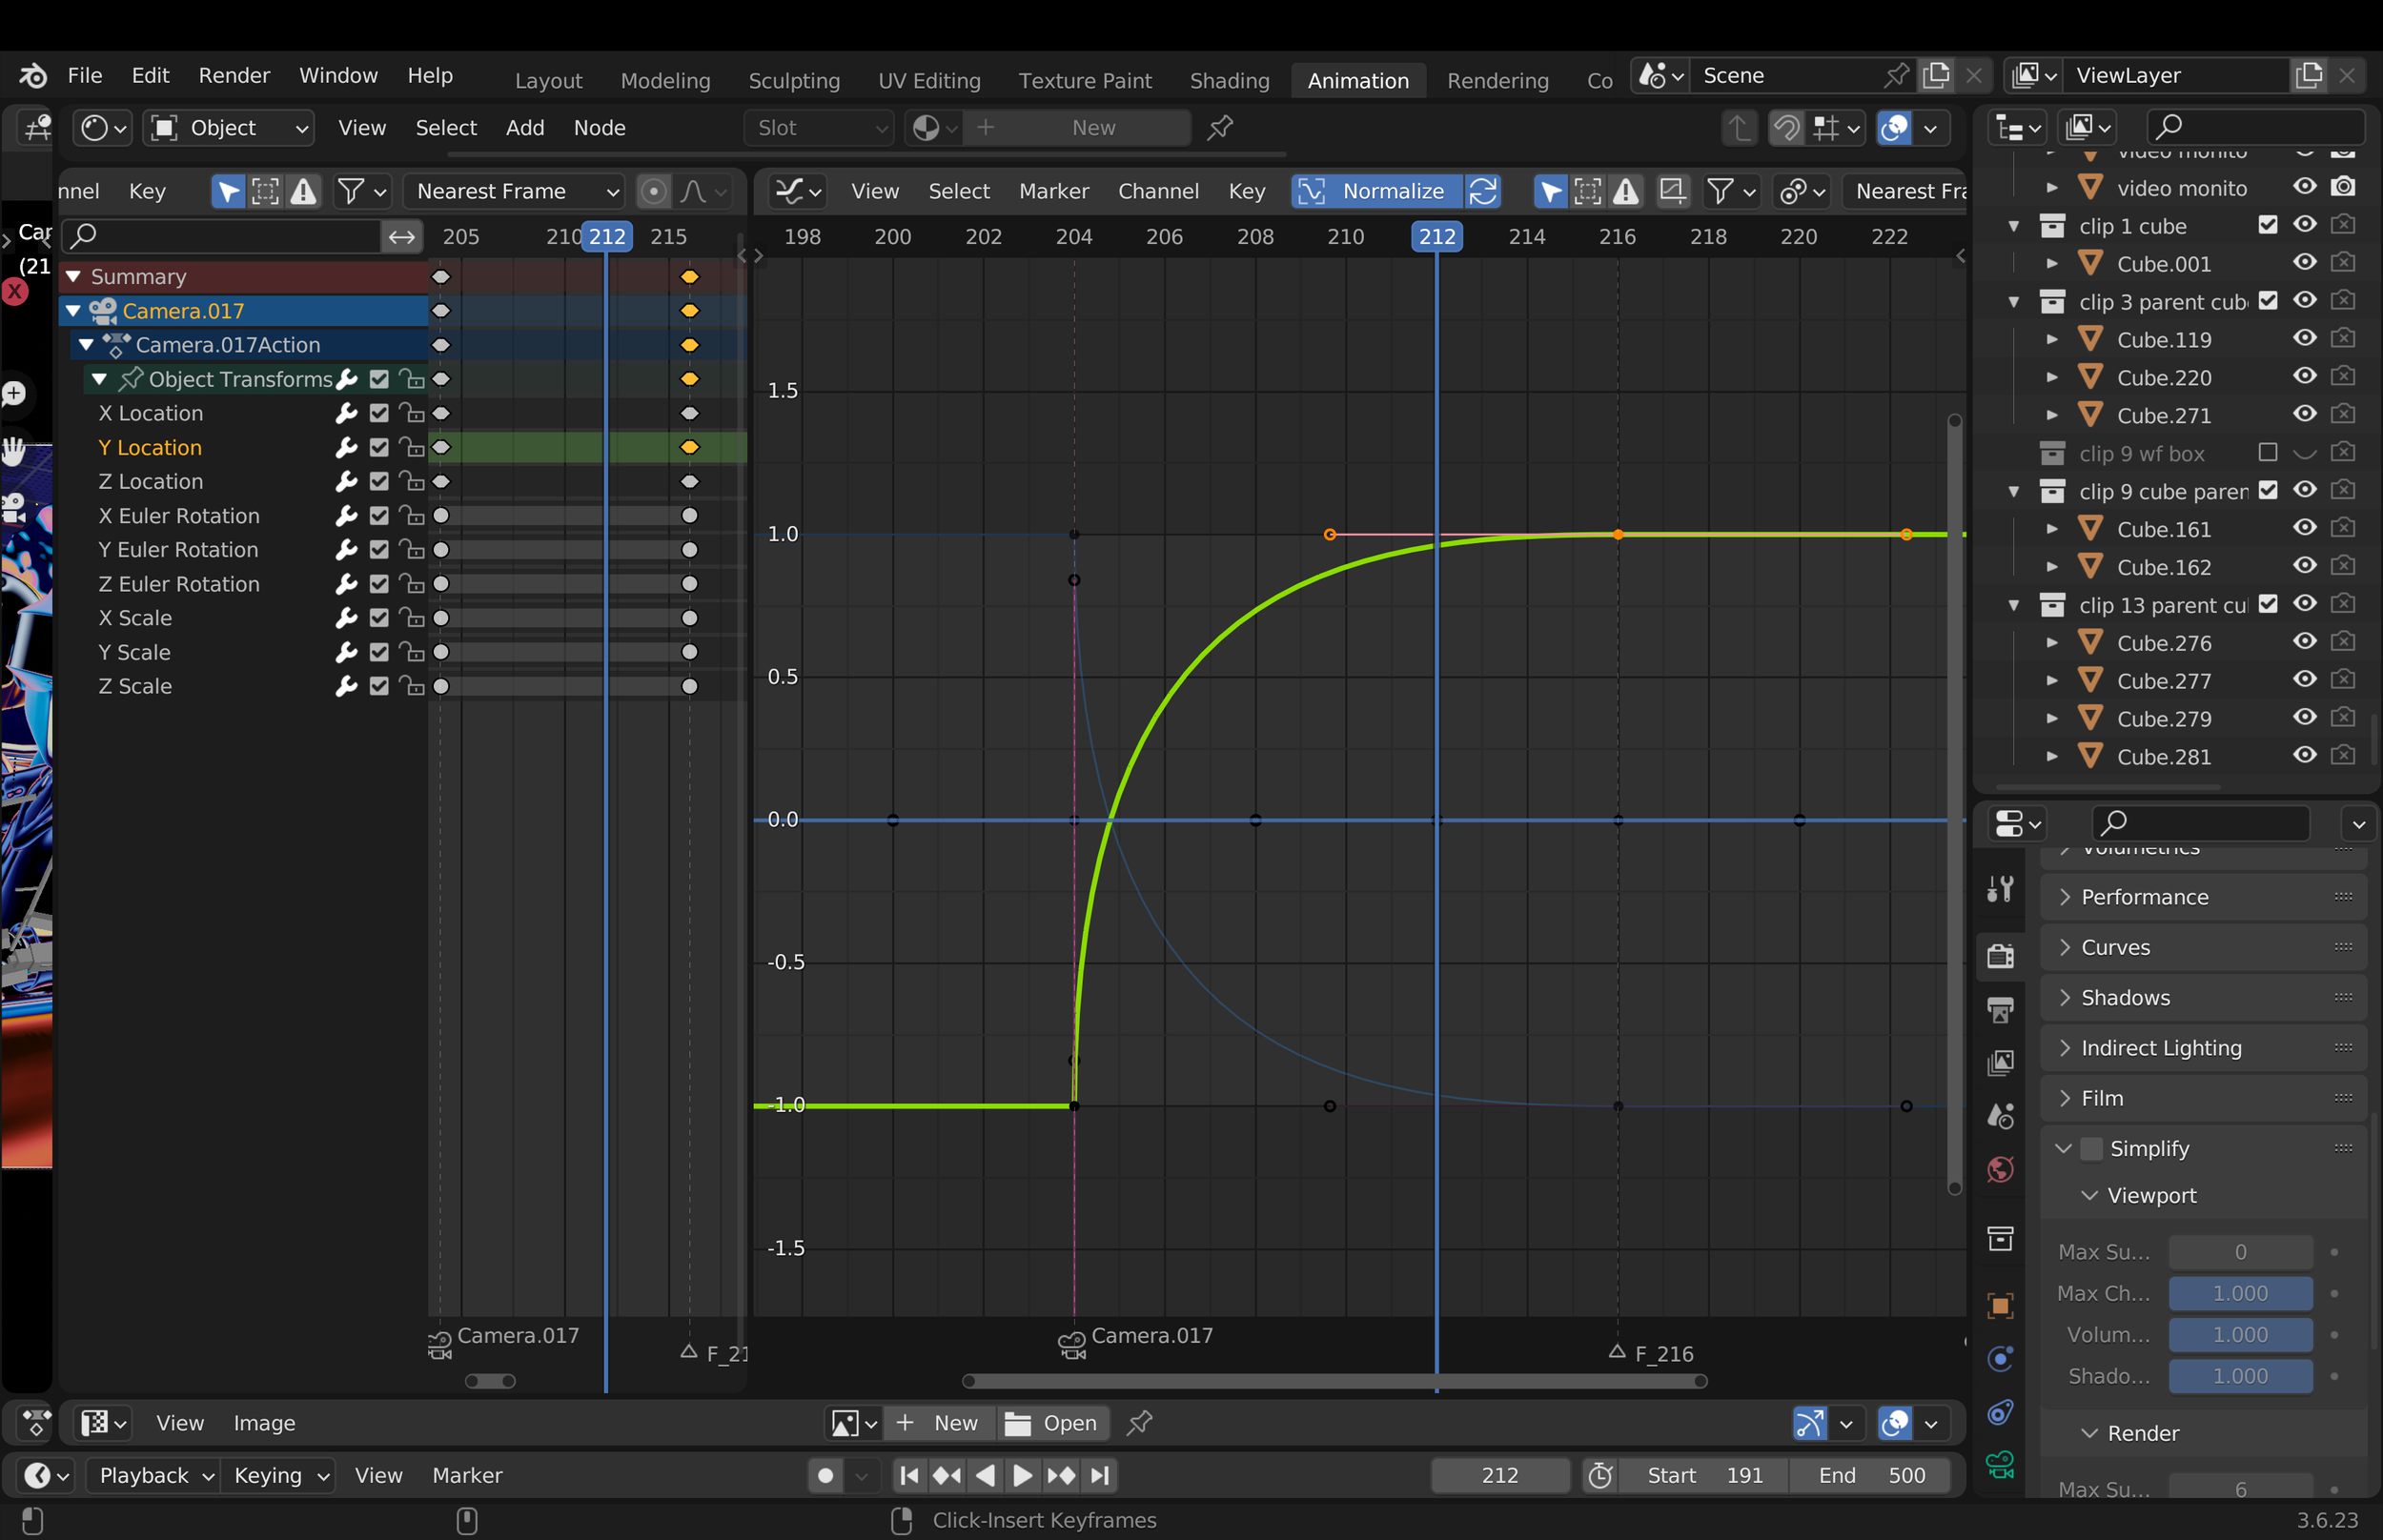
Most of the camera movements are driven by cubes parented to the camera, which gives me more precise control over its position and rotation. I then use a simple graph to manage the overall speed and smoothness of the motion.

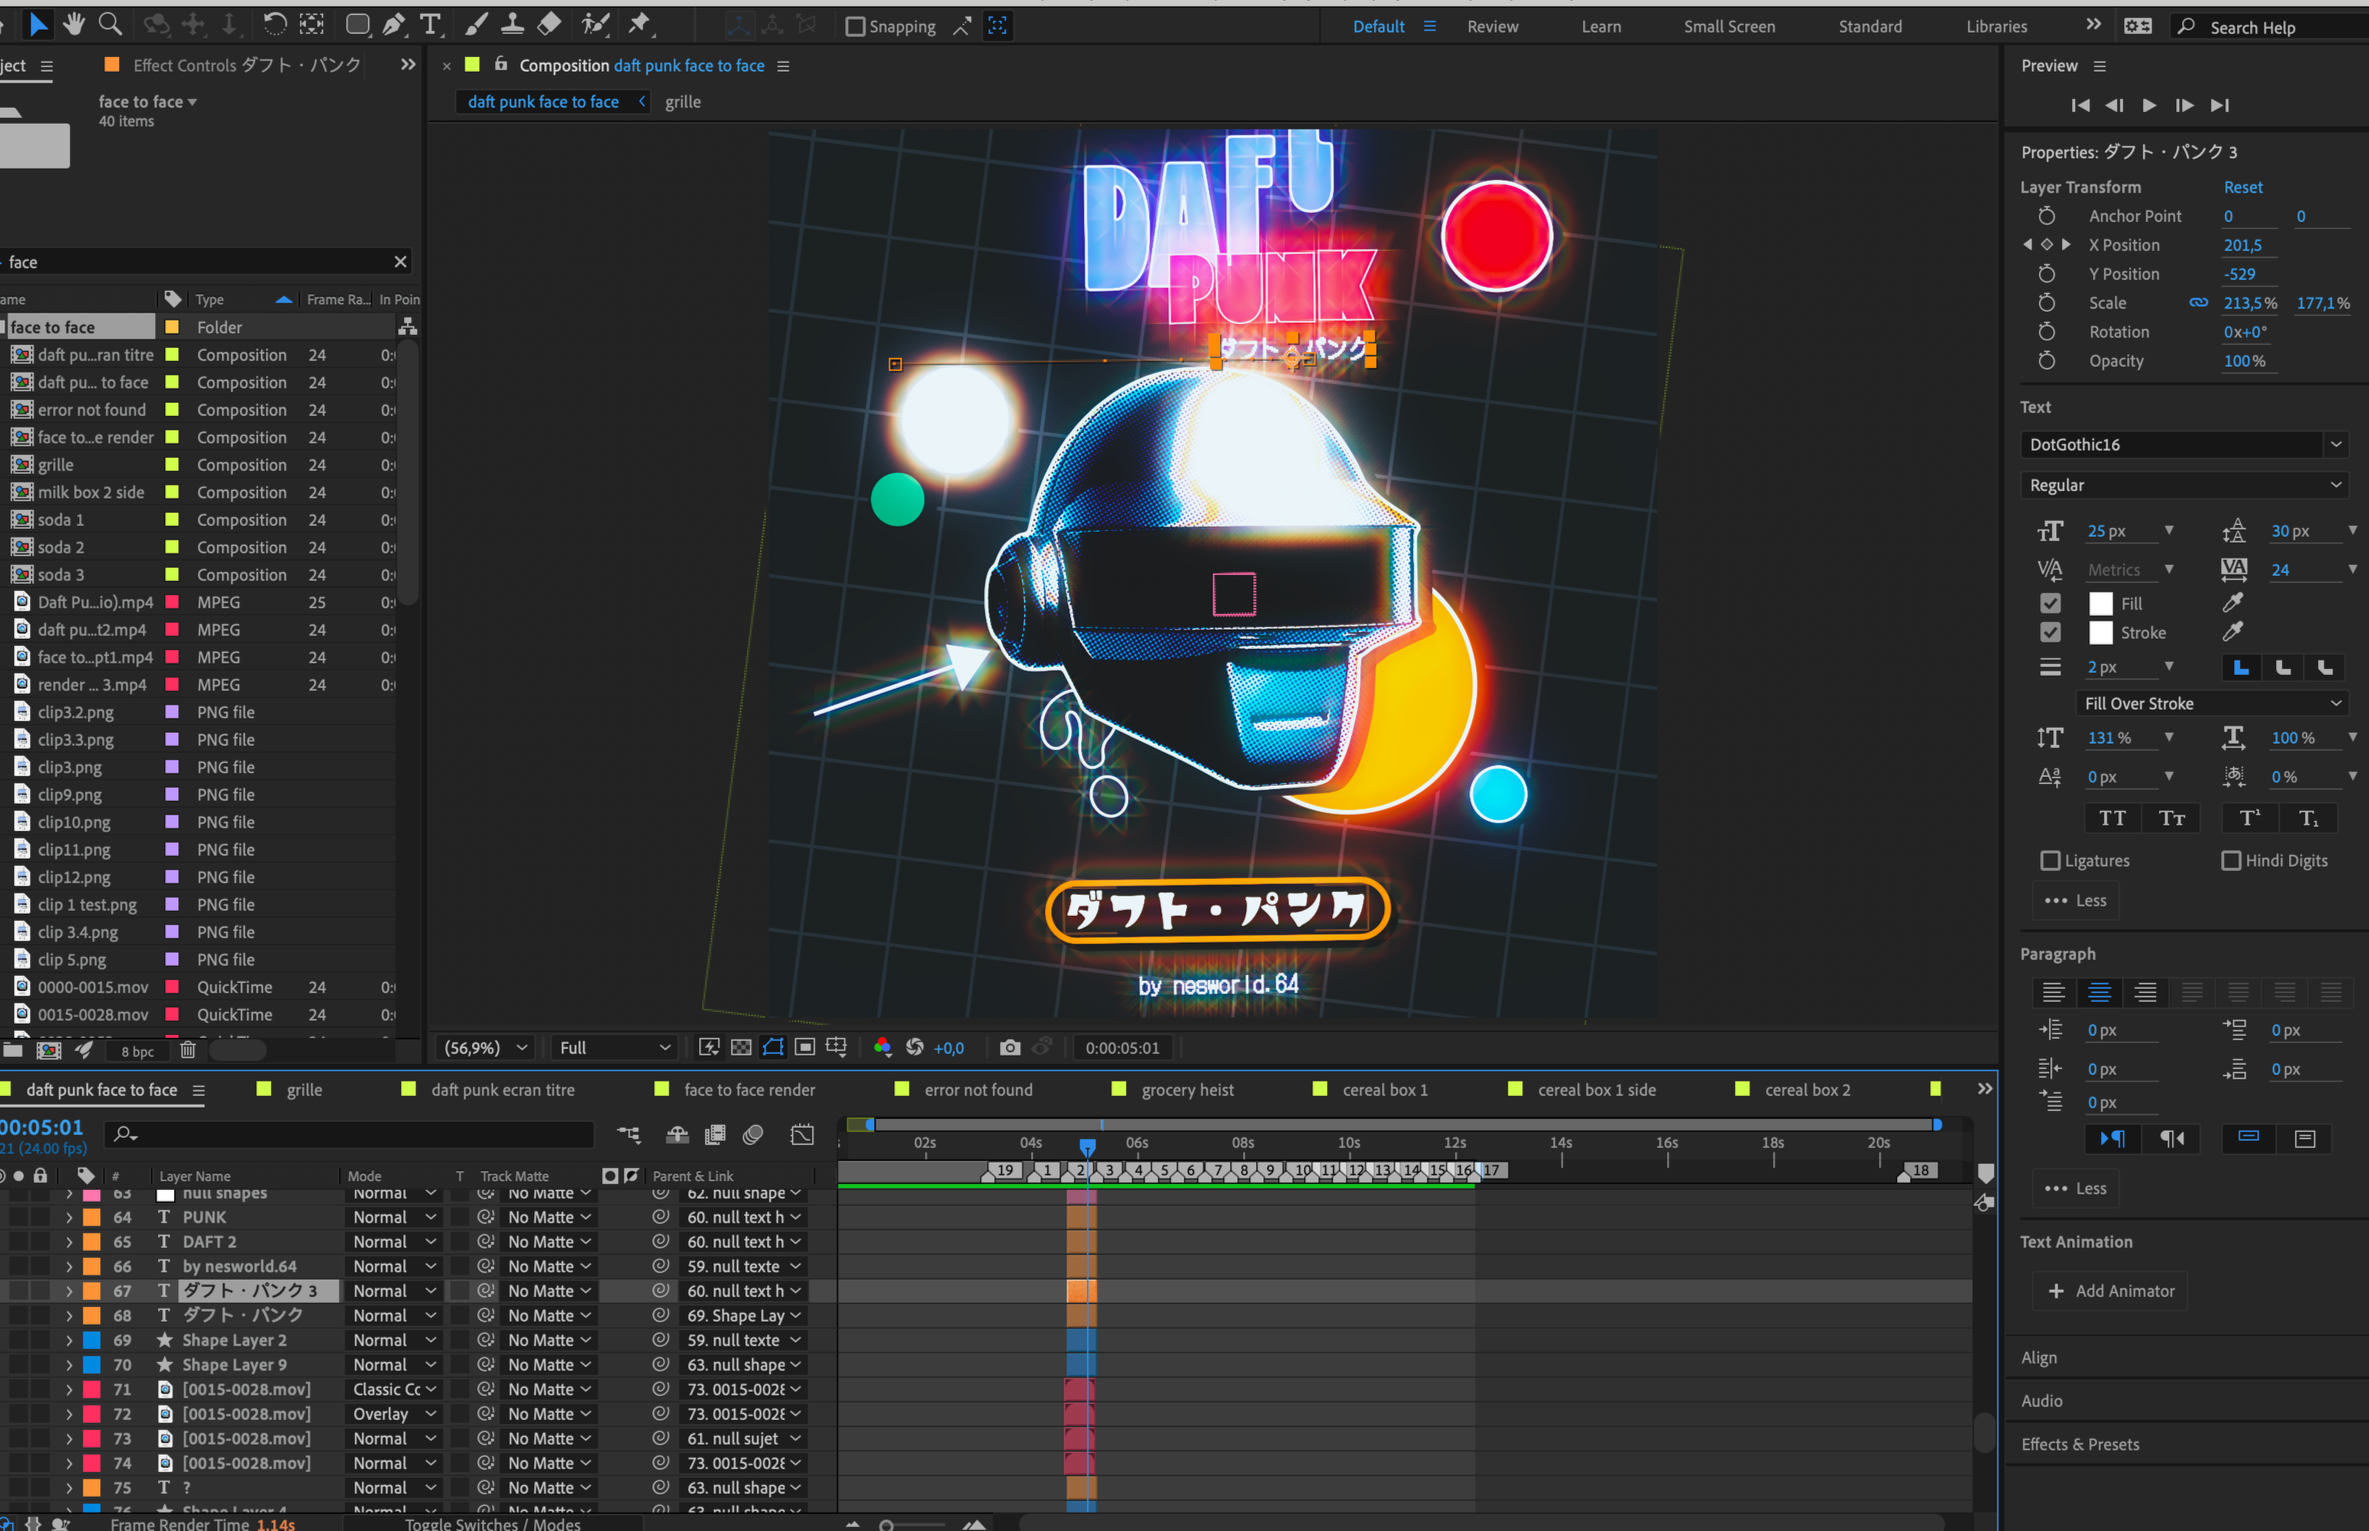
AFTER EFFECTS
LAYOUT